
Results 1 to 10 of 35
 85Likes
 LinkBack URL
 About LinkBacks
-
04-02-2017, 06:38 PM #1Senior Member


- Join Date
- Mar 2016
- Location
- Denver, CO
- Posts
- 1,031
Thanked: 105 Ever-Ready restoration questions from a beginner
If this is in the wrong forum, I apologize.
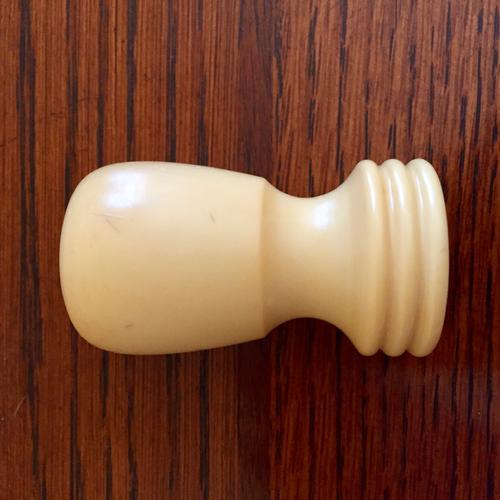
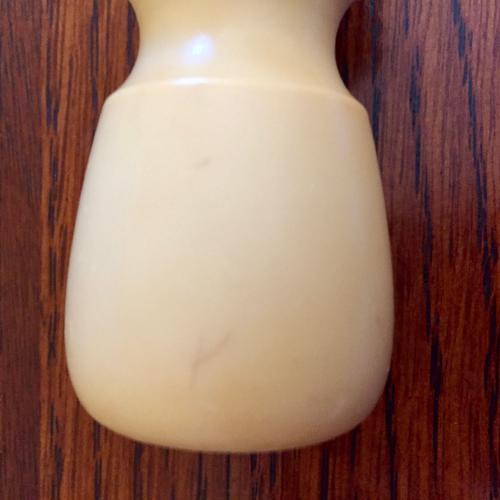
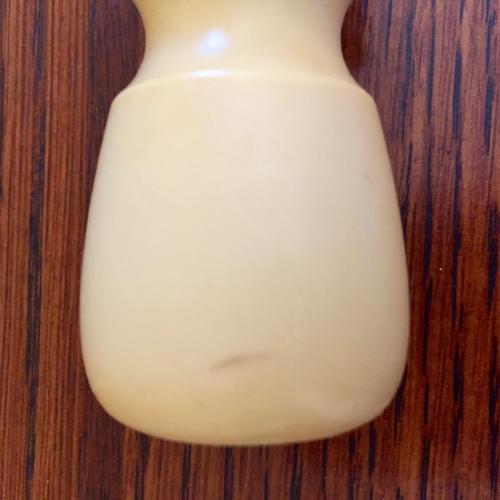
I was in an antique store last year and found a vintage Old Spice mug that I wanted. Included with it was an Ever-Ready 1000 Pure Badger brush that has been sitting around since then. The knot was pretty shot but I liked the handle and figured I would re-knot it at some point. I started working this weekend and got the old knot out with a drill and a dremel wheel. It looks pretty nice but has a few scratches that are discolored which I would like to clean up. Can I safely use wet & dry sand paper on this or does anyone else have any recommendations? Please let me know what you think. Please excuse the not so great pics from my cell phone. Thanks in advance.
 -Doug
-Doug
-
04-02-2017, 06:51 PM #2'with that said'


- Join Date
- Aug 2010
- Location
- Walla Walla in WA State USA
- Posts
- 11,208
Thanked: 4237
Nice looking handle

I'm no help but I bet that those that are in the know will be chiming in.
With that said, I don't see why some high grit wet and dry (used wet) wouldn't work. Demetrius likes this.Our house is as Neil left it- an Aladdin’s cave of 'stuff'.
Kim X
-
04-02-2017, 09:33 PM #3Str8Faced Gent.


- Join Date
- Aug 2013
- Location
- Orangeville, Ontario
- Posts
- 8,442
- Blog Entries
- 1
Thanked: 4206
Will be a nice handle restore.
Is it wood or resin? If Wood you will want to mindful of the depth as you sand, don't want to burn through. With resin, you are less worried. Some wet dry will work well on it wet.
Good luck."Depression is just anger,, without the enthusiasm."
Steven Wright
https://mobro.co/michaelbolton65?mc=5
-
The Following 2 Users Say Thank You to MikeB52 For This Useful Post:
cudarunner (04-02-2017), Demetrius (04-02-2017)
-
04-02-2017, 09:45 PM #4Senior Member
- Join Date
- Mar 2016
- Location
- Denver, CO
- Posts
- 1,031
Thanked: 105
It's some kind of hard rubber/bakelite. It's an old Ever-Ready that says "Set in Rubber" on the bottom.
-Doug
-
04-02-2017, 10:26 PM #5Senior Member
- Join Date
- Mar 2016
- Location
- Denver, CO
- Posts
- 1,031
Thanked: 105
I started with 1200 grit wet&dry. It wasn't quite getting to the scratches, so I dropped to 800 grit just lightly over the worst parts, then back to the 1200 over everything. I followed that with some Maas polish. The pics aren't great but the actual result is like night and day.
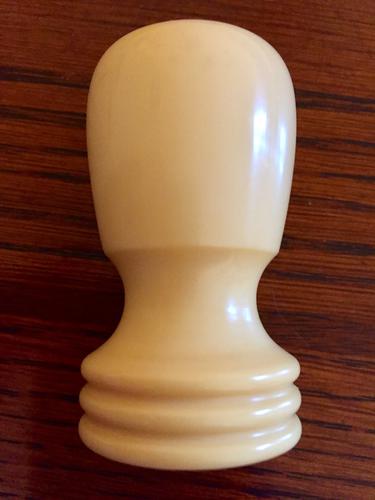

Now for a knot...-Doug
-
04-03-2017, 12:05 AM #6Senior Member
- Join Date
- Mar 2016
- Location
- Denver, CO
- Posts
- 1,031
Thanked: 105
I measured the inside diameter of the handle and it is about 21cm. The Ever-Ready spreadsheet on the SRD Library says the knot size for this brush is 20mm. Based on what I have read on some other threads, especially from HARRYWALLY, I ordered a 20mm two-band knot from Virginia Sheng on e-Bay. It should get here in about who knows when, but I'll be back to let you know about the next step.
Thanks for the advice, everyone.-Doug
-
04-03-2017, 12:09 AM #7Str8Faced Gent.
- Join Date
- Aug 2013
- Location
- Orangeville, Ontario
- Posts
- 8,442
- Blog Entries
- 1
Thanked: 4206
Looks great Demetrius That knot should fit nicely.
Let us know when it arrives,,, in July.. "Depression is just anger,, without the enthusiasm."
Steven Wright
https://mobro.co/michaelbolton65?mc=5
-
04-03-2017, 12:22 AM #8Senior Member

- Join Date
- Jun 2016
- Location
- NH
- Posts
- 1,924
Thanked: 1363
Cool looking handle, that will be great when it's back up and running. I re-knotted a couple Ever-Ready brushes for the first time a couple months ago and went with that same knot you got for both, worked great. What's the inside of the handle look like as it is now? The ones I did were hollow and I filled the empty space with pieces of Popsicle sticks and epoxy up to where I wanted the the bottom of the knots to be. Nice job so far!
ejmolitor37 and Demetrius like this."Go easy"
-
04-03-2017, 12:24 AM #9Senior Member
- Join Date
- Mar 2016
- Location
- Denver, CO
- Posts
- 1,031
Thanked: 105
Thanks, Mike. I think the over/under on the arrival is about May 28th, but we'll see. The only other thing I ever ordered from China on e-Bay was a Loupe. It actually made it in about 4 weeks. Originally Posted by MikeB52
 -Doug
-Doug
-
04-03-2017, 12:28 AM #10Senior Member
- Join Date
- Mar 2016
- Location
- Denver, CO
- Posts
- 1,031
Thanked: 105
Thanks. This one's not hollow, which surprised me since most of the Ever-Ready handles are. It's a little uneven at the bottom. My plan, for now, is to use a dremel grinding wheel to even it out as best as I can, put some epoxy in to level it out, let it dry, then set the knot. Originally Posted by xiaotuzi
HARRYWALLY and xiaotuzi like this.-Doug


 Reply With Quote