
suggested by Rezdog
https://sharprazorpalace.com/worksho...ml#post1580885
My last tutorial seemed well received so I thought I'd try another.
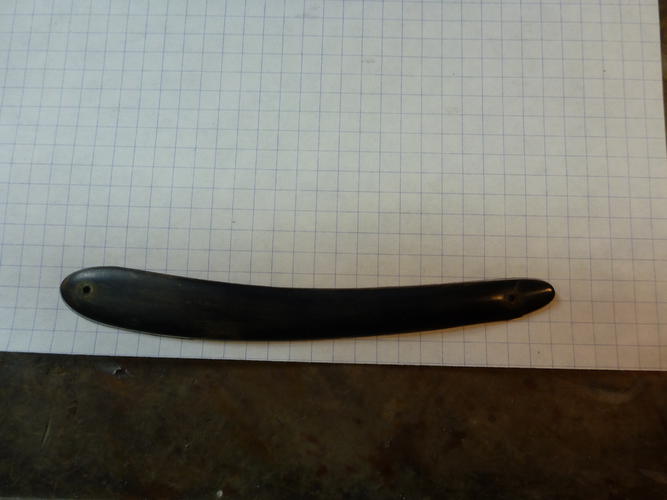
I selected a piece of black horn I received from Masecraft Supply which was nice and flat. It doesnt always work out that way. If they are not flat on the inside surfaces they need to be. There are a number of ways you can approach this but I recommend you wait until you have band sawed the scales to their basic shape as sometimes they warp after they are cut. I think because some of the natural stress is relieved when it is cut. Its also easier to flatten 2 small scale halves than a large blank. If I have to flatten the scales then I polish them inside when they are done. It not only gives them a finished look and improves the transparency but I think it helps any water runoff and helps prevent the accumulation of gunk.
Since this tutorial is geared toward the beginner Im not going to draw my scales by hand. I have a box full of old scales. I throw just about nothing out. Ive picked a scale that is pleasing to the eye and not too big or too small for the 13/16 near wedge Wosti.
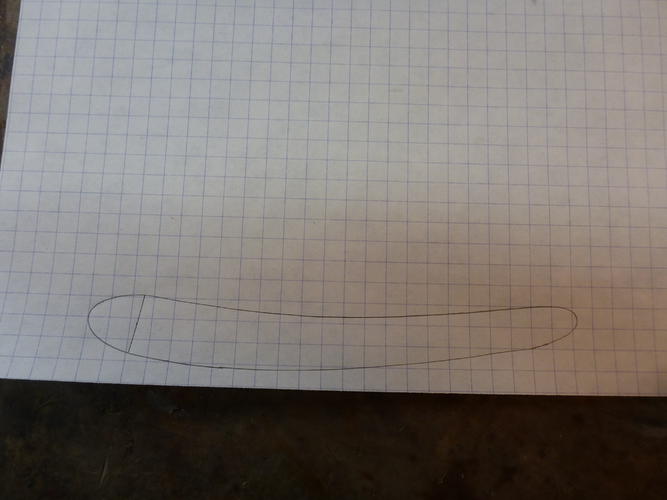
Lay the scale on a piece of paper and trace around. This will have a wedge that is 9/16 long. A very common size based on a large number of wedges Ive measured. It also looks aesthetically correct. Draw a line on the scales were the wedge will end.
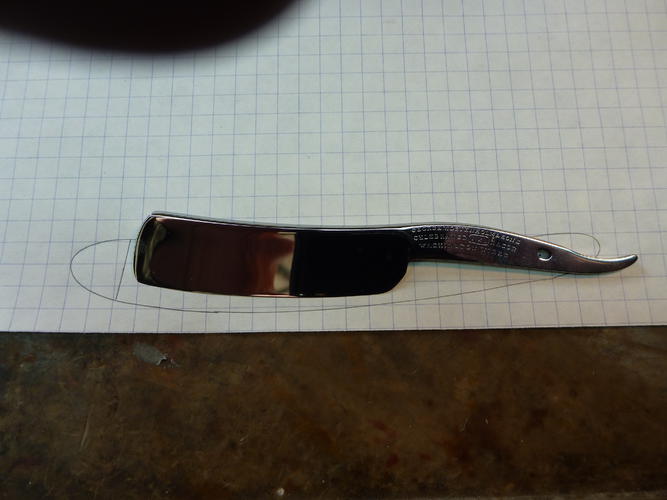
Lay your blade on the drawing. Most folks like the blade tucked up close to the wedge. I like mine 1/16 to 1/8 from the wedge. If you get it closer than that you run the chance the blade will hit the wedge. Some pivot pin holes are large and the blade is going to move around some during the life of the razor. A lot of the older razors had the blade further from the wedge. I recommend you go no more than 1/4".
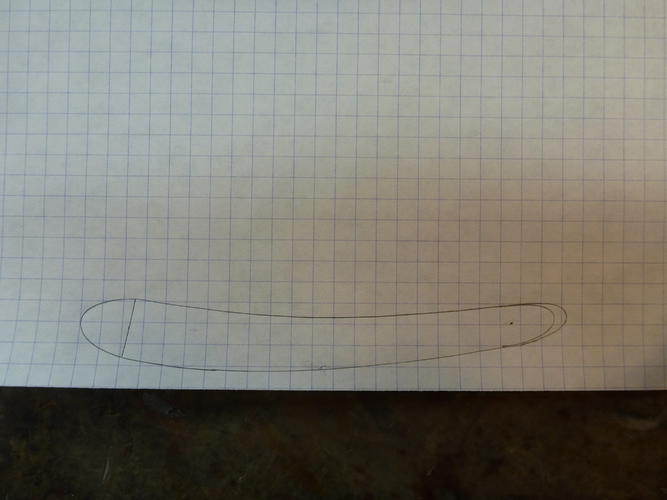
Now that we have located the pivot pin hole on the drawing you can see the scales are too long. A good rule of thumb is the distance ofthe tang hole to the end of the scales is 1/2 the length of the tang. Some tangs are very long so that would be out of place. 1/2 from tang hole to the end of the scales is another good rule of thumb. So slide the pattern scale back until the pivot hole lines up with where you want the pivot pin and redraw the end of the scale.

You need 2 scale patterns so fold the paper in half and cut the pattern out. Take your time, be precise and stay to the inside of the line or the scales will be too fat.

I use an Elmers stick glue to glue the patterns to the scale material.

Now over to the bandsaw. Leave about a kerfs width as the horn will break out some on the bottom. If you cut right up to the line your finished scales will have broken edges. The 1 x 42 belt sander with 80 grit will make short work of the excess material.
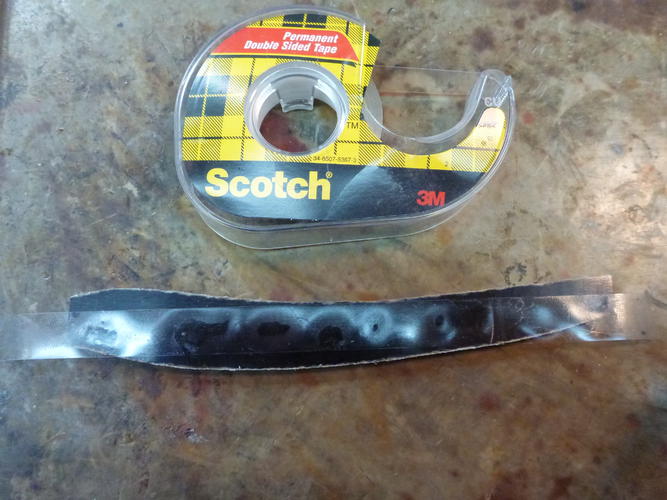
Once the scales are cut out use double sided scotch tape to put them together. Some folks use carpet tape. This is thinner so I like it better. The scales will stay together now until the final polish.

Next its over to the belt sander. Take the excess material off right down to the edge of the paper. You dont want big scales so follow the pattern right to the edge of the paper.
If you are happy with the shape its time to drill the pinholes. Mark a point 1/8 behind the edge of where the wedge will be and draw a line. Measure it, divide by 2 to get your pin location. Mark it and use a punch for the drill bit to locate on. I use a scribe and push it into the material rather than a punch and hammer. With some material you might create a crack using a hammer. Use the same method for the pivot pin hole. Get it right. Nothing worse than off center pins.
At the drill press I use a .067 dia. bit. A 5/64 will be OK. I use a tapered reamer later to open the .067 hole more and give the hole some taper. You want the hole bigger than the 1/16 rod so you can close up the scales to the wedge and move things around some to help with centering the blade later.

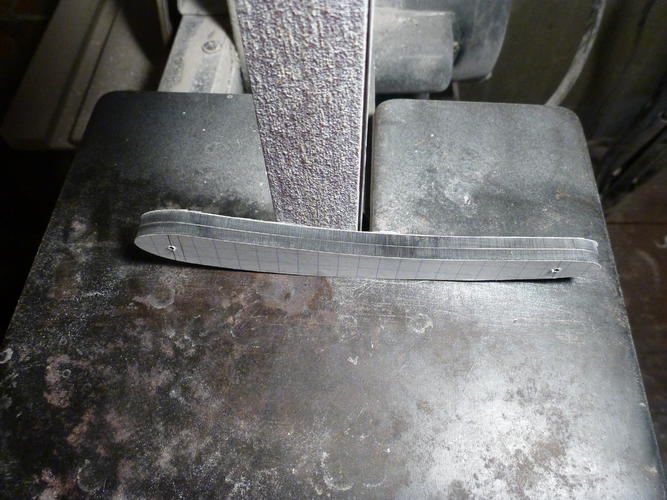
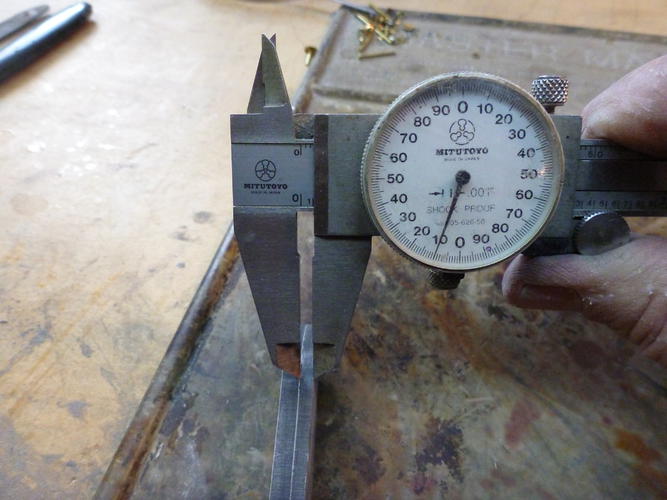
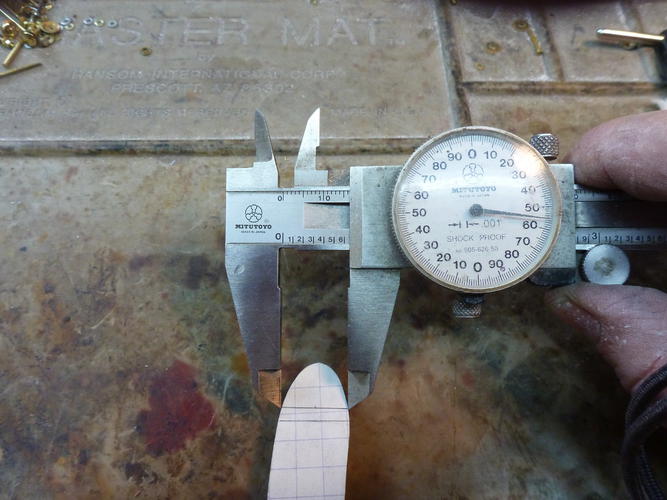
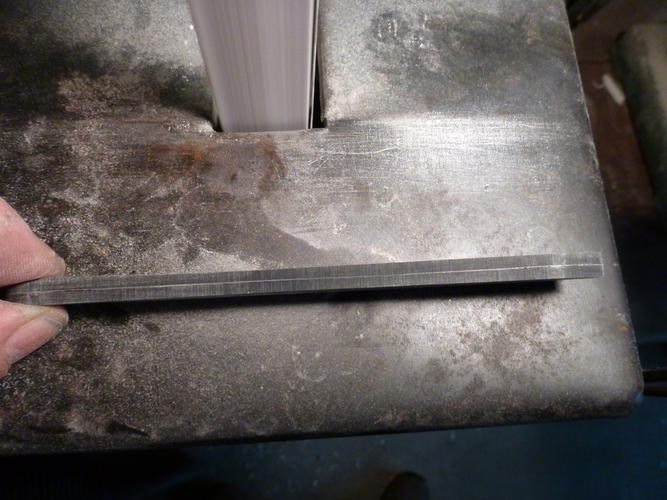
With the holes drilled it's time to thin out the scales on the belt sander. Dont forget your respirator and I have a dust collector hooked up to my machine. I hold the scales up to the belt and work it back and forth taking no more than 2 passes before I turn it over and make another pass. I take one side down to final thickness at a time. You want no more than .120 thickness. Ive measured a ton of scales and they average .120 to .110. .120 on a large blade, say a 1 chopper, and down to say .095 on a smaller blade. For this I chose .110 and after finish polish it measured .105. You can thin these out on other types of sanders but I have the most control with this and its fast with an 80 grit belt.
Check the scales as you remove material. They will get hot and can warp. If they do, bend them back straight. If they are warped your blade will not center.

This part is sort of difficult to explain. It would be easier in a video. I hold the edge of the scales to the belt at a high angle and make 2 passes along each edge. Cutting to about half the thickness of the scales to the edge.


