14 Attachment(s)
How a knifemaker makes a razor or a 7/8 French point WIP and how to
I started working with steel and making it sharp by making knives. Mainly, I make professional kitchen knives. It's only logical that after shaving with a straight razor that I'd want to make one. So I took my knifemaking knowledge and applied it to razors and failed multiple times. I talked with Charlie Lewis and Bob Allman at the Texas SRP meet and they encouraged me to try again and gave me some tips.
With some work, I made one that shaved...well. I was surprised by how well it shaved if I'm being honest. I've made many more after that first one and now have a nice process that I think works. By no means do I think that I have it figured out! I truly want everyone's opinion so that by sharing information we may all be able to benefit from it:)
Here it goes:
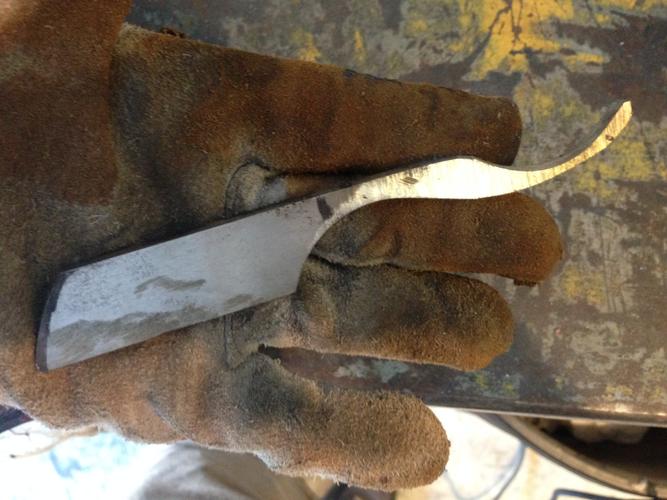
I lay out the razor similar to the way Mastro Livi does it, loosely. Bob Allman told me to start with a 6" by 1" section, using 3" for the head and 3" for the tang and tail with a forward taper of about 1/2" at the heel. I do my version of that. This one is my take on a thumb notch.
Attachment 164079
I use an angle grinder to cut this shape roughly out of the billet and clean up the profile on my KMW with a 36 grit cubitron belt. At this point, I let the steel take shape in my hands, letting feel and look dictate form rather than staying inside the lines:)
Attachment 164080
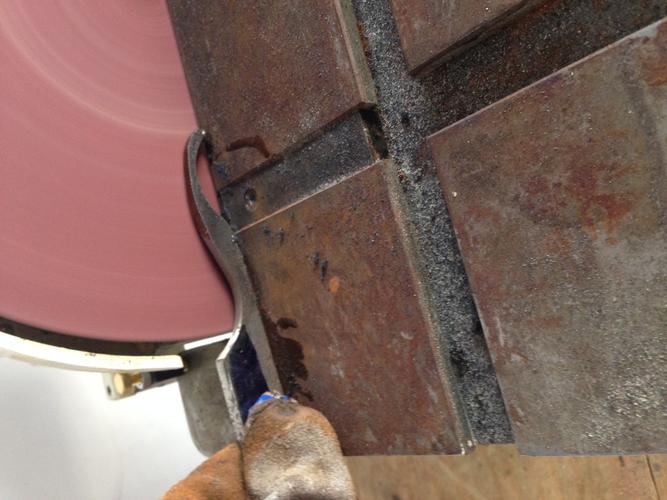
From here, I take it over to the disc sander to square up every edge and make sure everything is nice and flat before I start grinding.
Attachment 164081
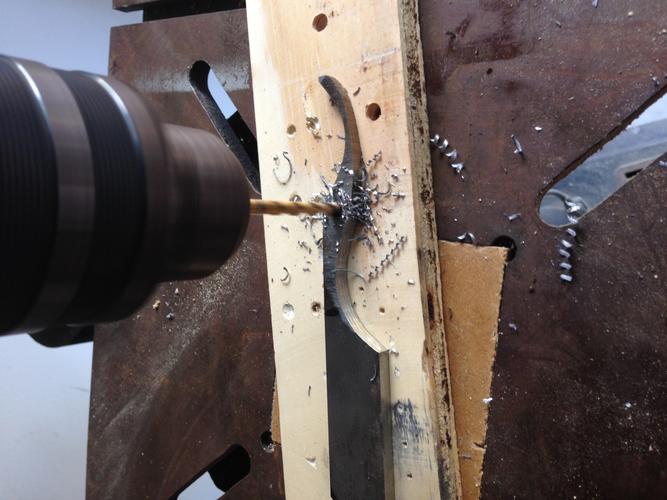
Once it's flat and square, I take it over to the drill press for a pivot hole. I use an old Delta press that's heavy and exact and drill on top of a perfectly flat, square piece of stock. A master machinist told me to drill at 400 rpms and since I heard that, I rarely break bits:)
Attachment 164082
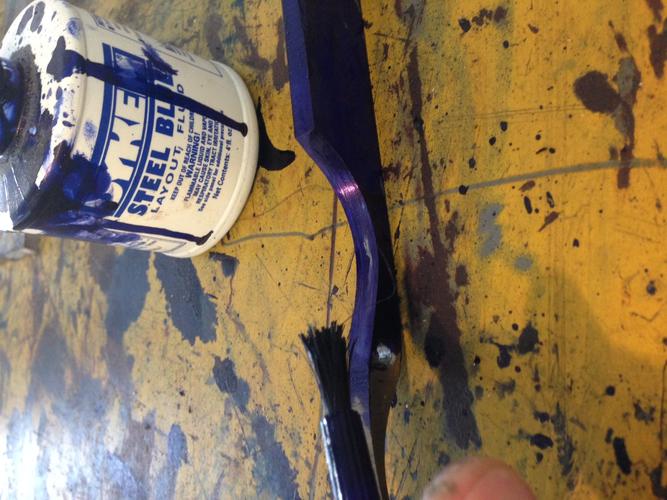
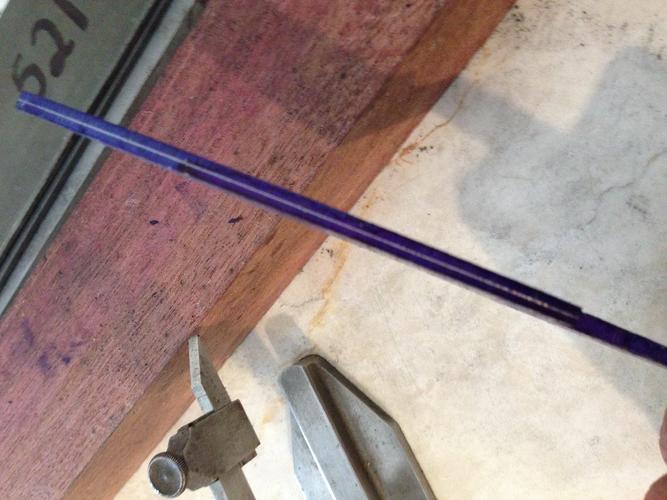
After the pivot hole's in there, I take it back to the disc sander and give the tang and tail a rough taper, which I'll clean up later. Then I take it to the layout part of my bench and hit it with some steel blue to get it ready for scribing.
Attachment 164083
I use a Starrett height gauge to scribe a line dead center all the way around it. Then, I scribe a grind line on each side of the face near the spine. I don't have pictures of scribing the razor, but this is the same process with a knife:
Attachment 164084
Attachment 164085
With all my lines scribed, I go back to the KMG. There are a bunch of ways to grind a razor and I don't think that I have a perfect way of doing it. I've tried several ways and this is what works for me. Starting on the cutting edge with a worn 60 grit cubitron, I grind toward the centerline I scribed, slowly moving up the face toward the spine, alternating sides.
Attachment 164086
When I've pretty much got my hollows set, I move to an 80 grit Hermes and go with it 'til I'm nice and uniform. From there, I move to a 120 grit Hermes to get everything really close. At this point, I shore up my plunge cuts. I then move to a 220 grit Hermes and get all the 120 scratches out and perfect my plunge cuts. I clean up the sides on the wheel then move to the flat platen to shore up the taper and clean up everything else.
I hand sand to 220 before heat treatment.
Attachment 164087
Heat treatment is a long-debated topic and I am not pretending to be an expert. I produce dependable, sharp blades that stand up to rigorous testing and that's what I want. I've learned a ton about heat treatment from reading Verhoeven's Steel Metallurgy for the Non-Metallurgist as well as articles, posts, etc. by Mike Blue, Tim Zowada, and Kevin Cashen. These men are truly amazing. I am only following their lead.
We're dealing with O1, which is about as basic a HT as you can get. Still, there are a lot of different takes on it. Personally mine looks like this:
Stress relieve: heat to 1250, cool in still air. With all that grinding, I make sure I do this to every blade.
Harden: 1450-1500, soak for 10 mins, quench in medium-speed oil
Temper: 400-450 which yields an HRC of 63-61. I like mine a little harder than 61. For the record, 61 is the optimal HRC for O1 meaning that it has both maximum hardness and ductility.
I quench in medium speed oil and interrupt the quench when the oil is still smoking and let it slowly come back down to temperature. It's not really a martemper because I don't have salts, but I've gotten great results with this technique.
Attachment 164088
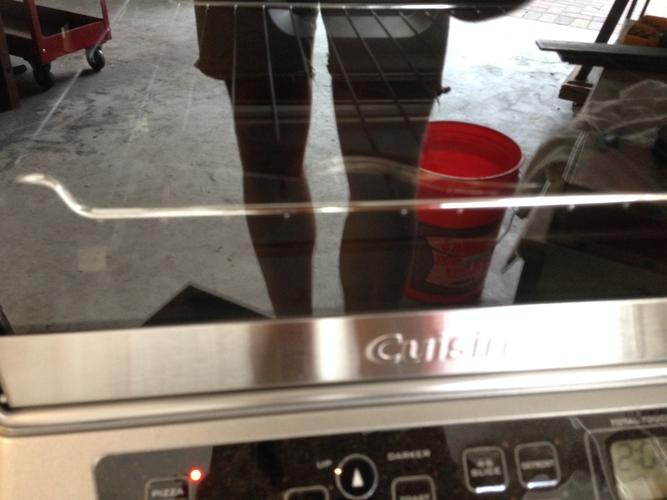
From here, I wipe off the oil and take off some of the scale with just a bit of hand sanding. I pop it into my (wildly accurate, seriously) toaster/tempering oven and temper twice for two hours a time, allowing it to come down to room temp before each cycle.
Also, those are my legs in the photo. I am wearing cutoffs. I live in Houston and am right next to the forge, 'nuff said.
Attachment 164089
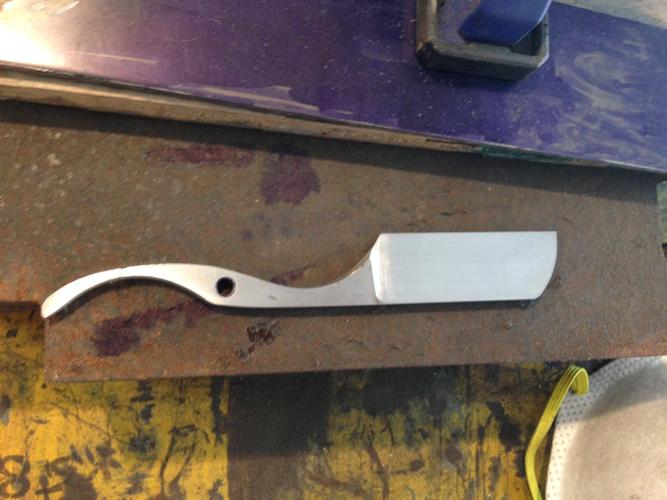
Out of tempering, I take it back to the grinder. I start with the 120 Hermes and get all the scale off and grind very close to the center line. Then, I switch to the 220 and go even closer.
Attachment 164090
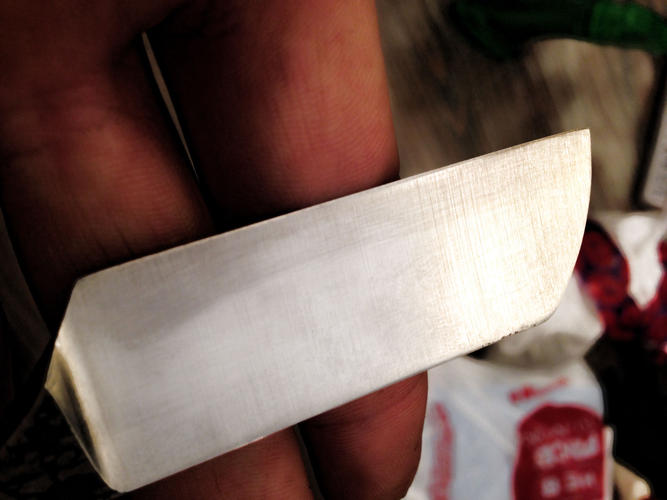
As a knifemaker, I'm constantly concerned with the state of my plunge cuts. Here they are, nice and even. Go check the razors in your collection; you'll be surprised by how uneven they are!
Attachment 164092
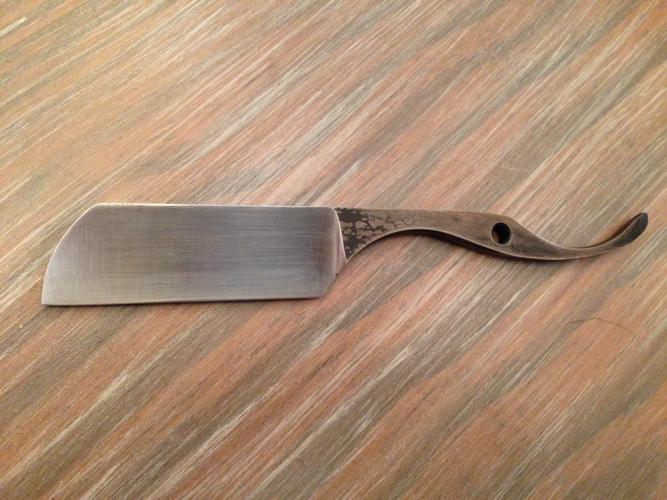
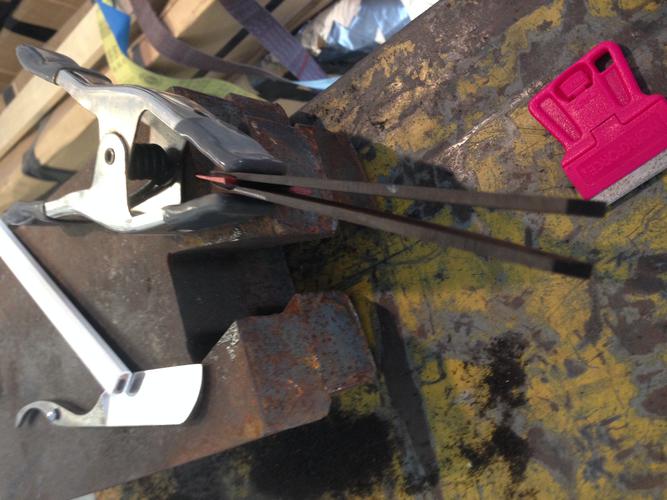
At this point, I tape it and set the bevel on the DMT to see how I did. It's a bit fat and uneven so I take it back to the KMG and work with it a bit. I get it to where I think it should be and then hit it with a 400 grit gator belt to really smooth it out. Then, I go back inside to the DMT again.
Attachment 164091
I'll let y'all decide, but I think I nailed it:)
For now, this is where I am. I've still gotta finish sand and everything and make some scales for it. I haven't decided on scale material yet...Opinions?
Thanks for looking y'all!
