yes thanks for the step by step description . i will be waiting with expectation.
Printable View
yes thanks for the step by step description . i will be waiting with expectation.
Really impressive work, thanks Bruno! Looking forward to the next installment!!
Thanks for sharing Bruno.
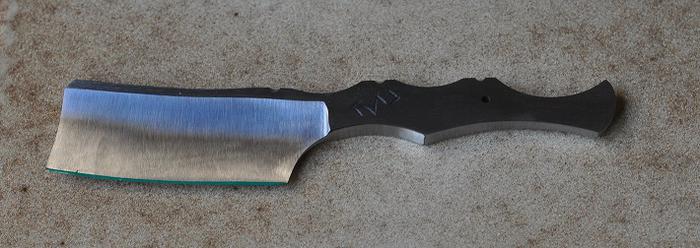
After HT, I use a 120 grit ceramic belt to complete the hollow grinding, and then progress with 240 grit and 500 grit until it is nice and shiny. The rest of the blade is cleaned up with 120, 240 and 500 as well. It is important to really get the top surface off the blade. Just because it is shiny is not enough, because if you only remove the fire scale with a high grit belt, there will still be a thin decarb layer that will refuse to etch properly.
It doesnt have to be shiny or perfectly evenly finished. The etch will clean it up anyway.
Attachment 224164
In order to not destroy the edge chemically, it needs to be protected with something during the etch. I prefer nail polish. On knives this is rarely done, but a shaving edge is so thin that the etch will destroy the steel deep enough to turn a razor into a razor shaped object. In order to create a clean, thin coating, I first use electrical tape to create a mask.
Attachment 224165
Then I apply the nail polish.
Attachment 224166
And remove the tape while the nail polish is still wet. The result is a thin even coating.
Attachment 224167
Wait until it is dry, flip around, and repeat. When the other side is dry as well, it is time to etch. I did not take pics of the etching, for 2 reasons. Firstly, it is not something that will photograph well, and secondly, my wife would strangle me with the camera strap if I used the camera while handling ferric chloride.
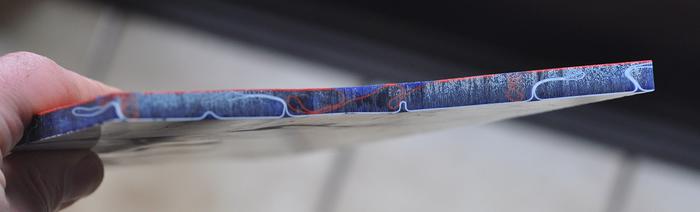
It is not a difficult process. I wash the blade with dishwashing detergent, and dip it in ferric chloride. I swirl it around for a bit, and then take it out. The patterns will be visible by now, but not yet very deeply etched. So I use a piece of 1000 grit sandpaper to gently polish away the black. Then I dip again. This process repeats a couple of times. At some point, the gently polishing will make the top layers shiny while leaving alone the deeper layers. At that point I wash the blade again, thoroughly, oil it and use nail polish remover to clean the edge again.
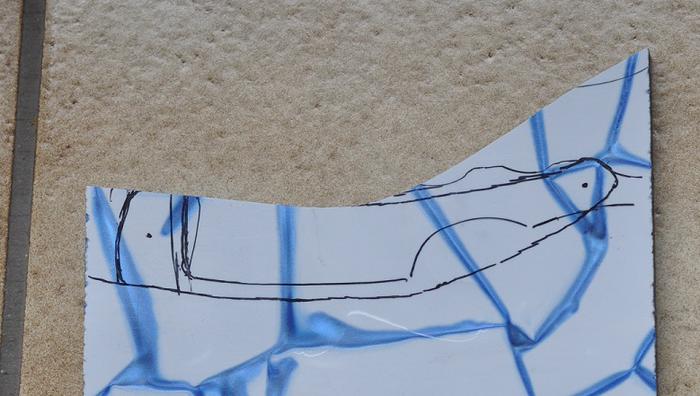
Now it is time to make the scales. For this I use the Patriot type kirinite, on which I outline the blade first, and then draw the scales. I always use ¼ thick material.
Attachment 224169
Then I saw out the outline and drill the holes. Working like this has the advantage that the holes will always be outlined properly.
Attachment 224168
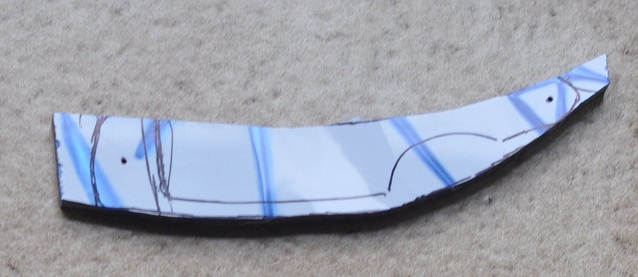
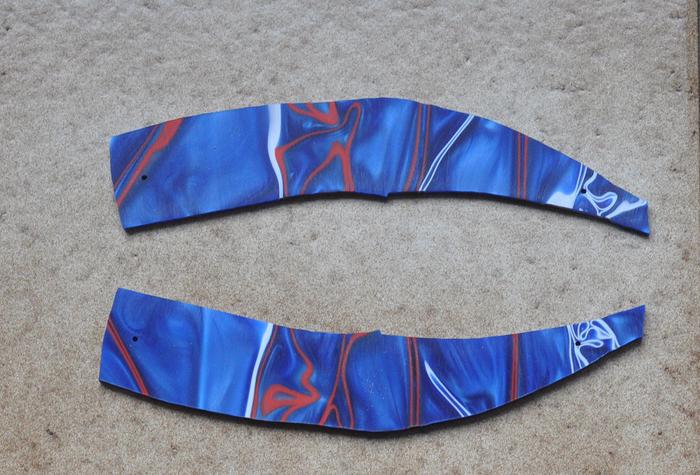
I saw it lengthwise, and normally Iuse it like that because that way the patterns on both halves of the scales match which is really nice. However, the Patriot kirinite is special in the sense that it has 2 colors of patterns going through it, and they come from different sides as you can see in the next pic. If I used it like that, one side would be mostly white, and the other mostly red.
So in this case, I will reverse them. This means the patterns do not match exactly, but both outsides will have white and red patterning.
Attachment 224170
The outsides
Attachment 224171
The insides
Attachment 224172
Awesome write up and pic tutorial!
Thanks Bruno!!!
:tu :tu
What percentage of ferric chloride in water?
I am not sure. Somewhere between 10 and 20%.
I went by the words of my friend Howard: the color of coffee that is not strong enough :)
Thank you Bruno, this point is important to me.Quote:
Originally Posted by Bruno
Excellent work Bruno!! It's a work of art!! Thanks again, jim