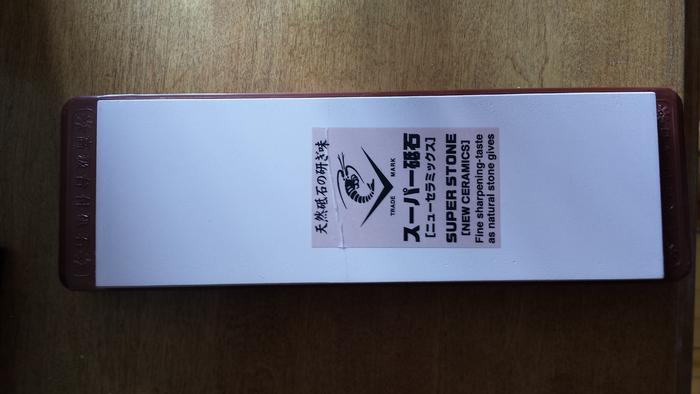
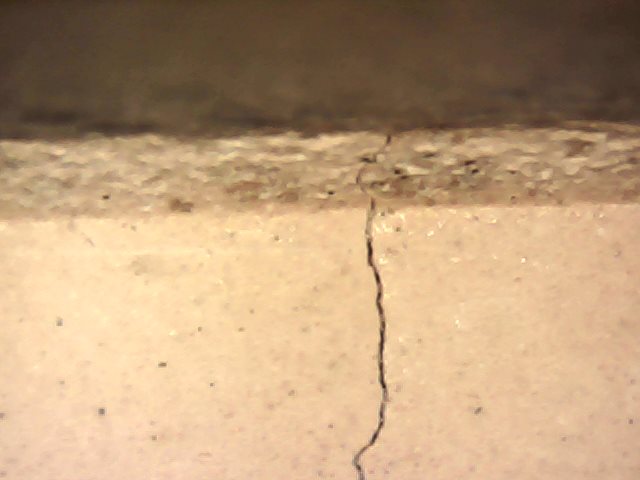
Got this rock in a bundle.
It is broken in 2 parts.
Attachment 137797Attachment 137798Attachment 137799
What are the options here?
Try to glue it with epoxy?
Maybe somehow remove it from the stand and use the two parts as "barber hones"?
Thanks
Printable View
Got this rock in a bundle.
It is broken in 2 parts.
Attachment 137797Attachment 137798Attachment 137799
What are the options here?
Try to glue it with epoxy?
Maybe somehow remove it from the stand and use the two parts as "barber hones"?
Thanks
As 2 hones as u said.
Have you contacted the seller?? Perhaps you can get it replaced! :shrug:
Well, I was aware of the problème when I bought this stone in a sweet bundle with a norton 4k 8k a lapping plate a barber hone some razors and a strop.
I have anothe Naniwa 12k so maybe I will make touch up hone for sale.
Just have to figure out how to remove the rock from the plate.
Maybe you can leave it on the plate and cut the plastic bottom to match the size of both pieces. That would limit the risk of breaking it even further.
Take a look at Alex Jacques videos on you tube. He cuts his finishing stones in half, length wise to use as his finishing stones. My brother took this aproch after cracking his Naniwa 12k and he has really liked how it works and has now cut all his stones besides his bevel setting norton. Not to sure if this helps but who knows.
I considered cutting my hones as well. But as I was told you can achieve the samw thing by keeping the blade on one side of the hone. I have choseras and they are not combos so you can use them in their side as I do as necesary.
You can remove the base. Put it facedown on the workbench and cut off the plastic bits that stick up with a hacksaw. Then use a handheld belt sander with a coarse belt to carefully grind the rest of the plastic away.
Let some thin CA wick into the crack, that should stabilize the hone, then just lap lightly with a few figure 8's before use and it should be fine...
If it were a different hone then a Naniwa SS I would say don't even bother with the CA but the SS tend to swell when you add water...
ps: There is a thread on here from way back about popping them loose and cutting them lengthwise... Many of us fell for the thoughts back then of how it was easier to hone problem blades on thinner hones..
Honest, it isn't, the stroke you do on a 1.5 inch hone is the exact same as you do on a 3 inch hone to correct for problem razors, they both use the exact same Honing Gymnastics..
Just take your 3 inch hone and draw a pencil line down the middle and figure out the stroke needed to keep the edge on one side of the line, same same, once you realize that then you will quickly realize that you no longer need the line or a thinner hone to get the whole edge..
Wait... you'll pay for the whole hone but you'll only use the edge?? Sounds like the seats at the dragracing track where I grew up. BE THERE Be There be there... SUNDAY Sunday sunday...Quote:
Originally Posted by gssixgun
This puts me in mind of a little project I keep wanting to try. I'd like to get a couple of naniwas, maybe the 5000 and the 10,000, pop them off the stands and glue them together, then cut the whole thing in half and have two "barber hones" that will have known grit, known honing properties, etc. that I can take with me when I travel. I know, I know, lots of nice barber hones out there, but sometimes on long trips (I take a good many of those) I'd like just to have my Naniwas and a home-made barber hone of the 5K/10K or maybe 8K/12K type could be nice.
PM me. I'm considering selling, that's right, selling my Nani 12k. I want to master the 4k/8K and try to reduce my honing acquisition disorder
I began my razor honing "career" with a smaller stone. I think it's 1.5" X 6. I love holding the stone in my palm and honing. Though I love my Nani's - they have always seemed too big and cumbersome for me... for me.Quote:
Originally Posted by LawsonStone
If someone would cut those nani's in 4, and in half height wise, and then glue two together with a thin piece of brass in-between to give it a little strength - I would be a happy camper indeed! Very happy!
I always wanted to do it myself, but the saw needed is illusive - what would you use? If anyone could tell me how to do it - I'll be the first to do so.
_______________________________________Quote:
Originally Posted by earcutter
You should be able to accomplish that with a hack saw. Either 24 tpi or 32 tpi. Let us know how you make out.
Lol - I think any body could cut these things with a hack saw... Even me. :-) How I cut it evenly width wise is what's eluding me.Quote:
Originally Posted by mrsell63
Any simple answers there would help enormously.
______________________________________________-Quote:
Originally Posted by earcutter
Use a combination carpenter's square. Then just cut on the pencil line. Draw a center line and a cross line. Then saw carefully.
From various vendors, I've seen Naniwa stones in 20mm or 10mm depth, with or without the plastic stands - if you look around you should hopefully be able to find them.Quote:
Originally Posted by LawsonStone
I bet a band saw with a really fine-toothed belt, taking it slow, would work.Quote:
Originally Posted by earcutter
Now you have two more barber hones, no saving it as a complete 8" stone.
I've heard of guys putting them in a pre-heated oven around 200F and it will soften the glue.
make a small jig out of wood, a base with two sides screwed to it. the sides will have cuts made in them that should be exactly opposite each other when fastened to the base. like a little mitre box
Just glue it back together with CA, lap it, and use it. I have a half width naniwa 3k/8k I got it from a friend, and it broke while in the post in the middle. I glued it back together with CA, lapped both sides flat, and use it without any issues since then, and this is a stone without base. I am fairly sure you won't have any problems with the stone, mine was glued back maybe 3-4 years ago.
Went to the old Ace hardware today to see what i could find to get started on the project. I think it's doable as you describe. Moreover, as shooter's info has made it easy for me to pop off the stone - there is nothing really to hold me back! Heck! I think I WILL be giving it a shot.Quote:
Originally Posted by Noisykids
BUT (and this isn't a cop-out)... There is one thing holding me back right now which is going to see me wait a bit.
What pray tell lol? What else? Money. Cuz if I mess it up, after spending a fortune getting old Humi the humidor healthy and full of smokes again, I am a bit strapped for cash, and I would die if I blew it and couldn't replace the stones in a timely manor. Some of my favorite blades just don't like how I run them over a coti lol.
That said - thanks for the inputs! I have been thinking about this for a while and I am going to get it done in a month or two I figure.
Well, so much options!
I have 3 Naniwa 12k (I k now, I know) so I could live with 2. Im considering selling the broken one but at the same time I love the barber hone idea.
I think I could cut the stone with a water tile saw to make a nice straight cut.
Thanks for the inputs!
I am really looking forward to hearing what you think when all is said and done and anything in-between! Good Luck!!Quote:
Originally Posted by Tchuko
Maybe this would work. Remove the stone halves from the base. Rotate each half 180 degrees and bring the square ends together. You should have two square ends that match up and the original bottom surface of the stone should be facing down.
Then glue what used to be the original top surface of the stone to the original [or new] base. When the glue is dry, lap the new top surface of the stone. I glue stones to wood bases using exterior grade liquid nail.