Thanks Euclid440. I'll Do straight strokes to see the stria better (that really helps), and will go to 4K.
Printable View
Thanks Euclid440. I'll Do straight strokes to see the stria better (that really helps), and will go to 4K.
Did heel leading rolling X strokes, with pressure, and one layer of tape on the 4K Norton. Checked with ink and I'm hitting the whole bevel, end to end, both sides. Did about 60 strokes.
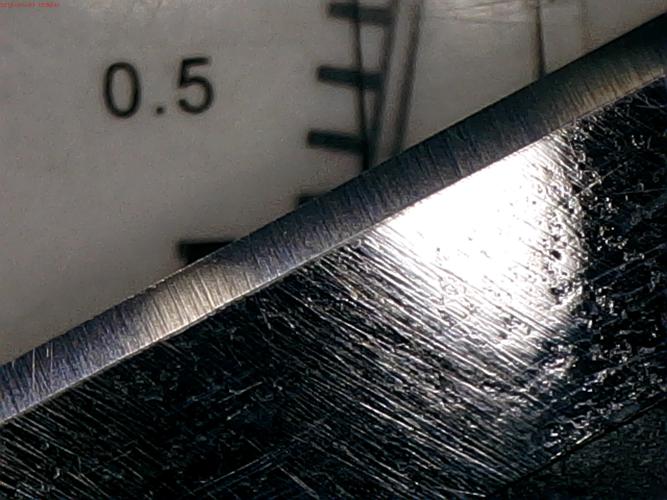
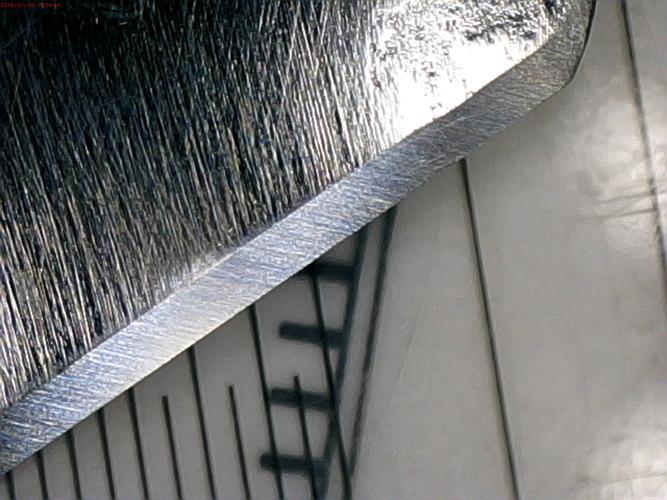
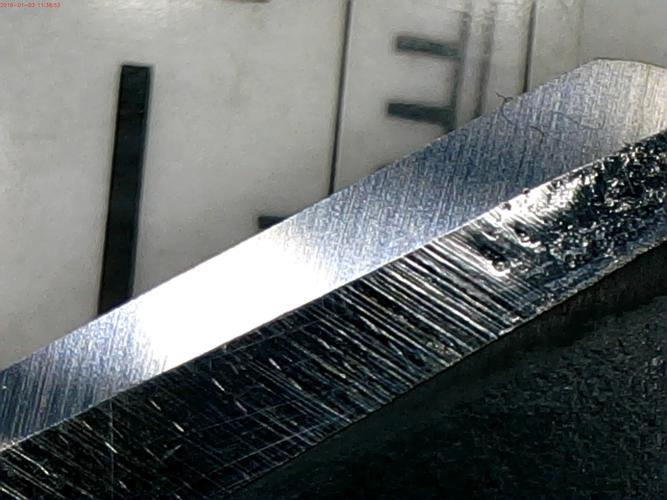
Switched to perpendicular strokes (about 20), so that I could see if older stria is removed. Here's the interim results:
Attachment 223461Attachment 223462Attachment 223463Attachment 223464Attachment 223465Attachment 223466Attachment 223467
Seems like most of the diagonal stria are gone, except for the heel (a tiny bit) and toe (more) on the right side (as you look at the blade). I know with a perpendicular stroke I don't hit the toe/heel as well.
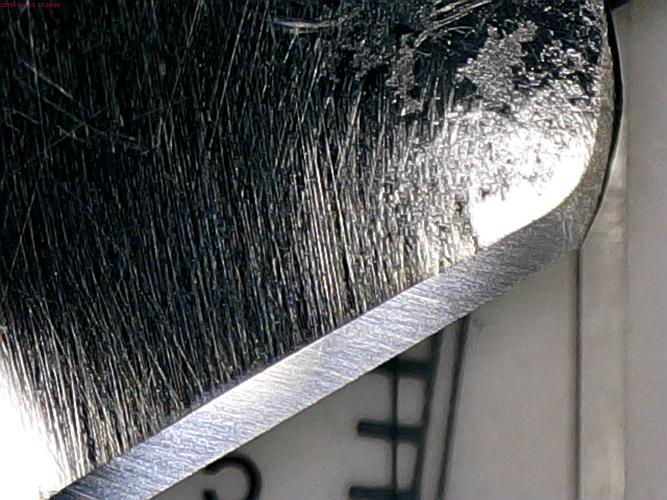
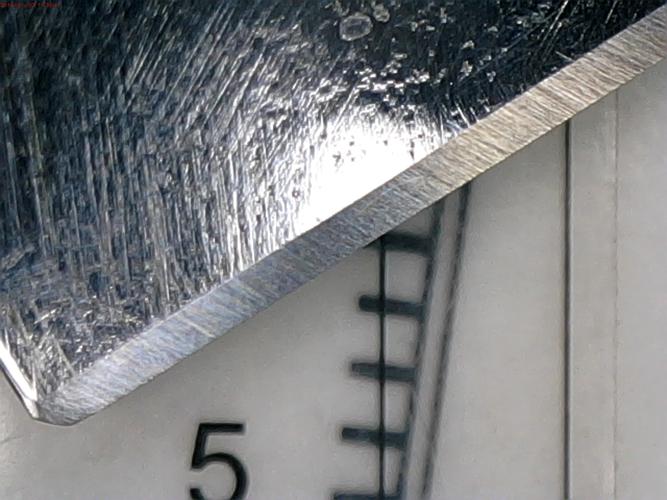
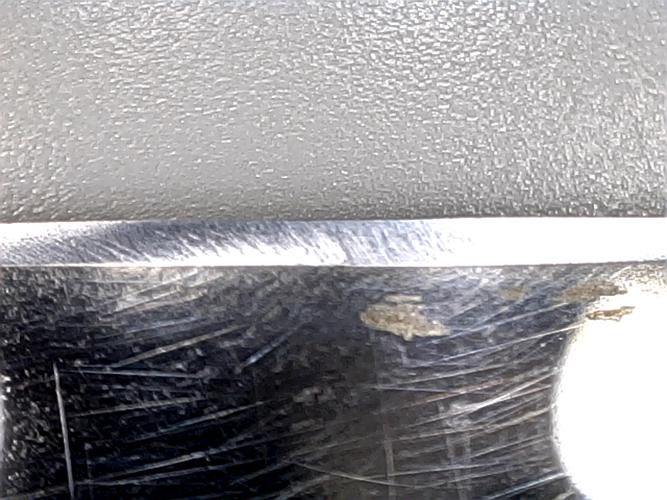
I went back to the heel forward rolling X stroke, replaced the tape, and did lighter strokes (again about 60 or so), checking periodically. Here's what I have now:
Attachment 223468Attachment 223469Attachment 223470Attachment 223471Attachment 223472Attachment 223473
The toe on each side, still seems to have some deeper stria. The rest looks pretty good, especially the heel on the left side.
Thoughts? Suggestions?
Thinking I need more rolling X strokes, focusing on the toe...
I would do a few more laps on the toe, either rolling X or a finger of pressure on the left side to clean up the stria in photo 4, at the toe, then move up.
Did another 20 rolling X strokes, with pressure only on the toe and heel on each side...
Attachment 223474Attachment 223475Attachment 223476Attachment 223477
Nice honing and nice photos. What are you using for the magnified photos?
I bought this from Amazon:Quote:
Originally Posted by Utopian
Digital 5mp 300X USB Video Microscope Set Magnifier Camera with Base Stand,Software
by OXA USA $77
(https://www.amazon.com/gp/product/B0...?ie=UTF8&psc=1)
It works pretty good. I just would like to get a supplemental light to use with it.
I have what looks to be the same microscope but labeled 'Celestron'. If so, you should be able to access a much higher level of magnification by moving the head of the unit right down to the razor and then cranking the focus dial even further down. The image will initially blur, but if you keep going, you should see it come back into focus right before it runs out of adjustment travel at approximately 3x the original.
The first image is at approx. 100x, the second is approx. 300x:
Attachment 223529
Attachment 223530
Yes, I get two places it focuses, with a low and high resolution. For much of the viewing, I use the lower setting. When I have a problem area, or really want to see something close up, like the size of a ding or the stria from lower grit, I use the higher Rez.Quote:
Originally Posted by sqzbxr
On my monitor the bevel in the lower image is about 75mm, so around 60x. Am I wrong about how this works?Quote:
Originally Posted by sqzbxr