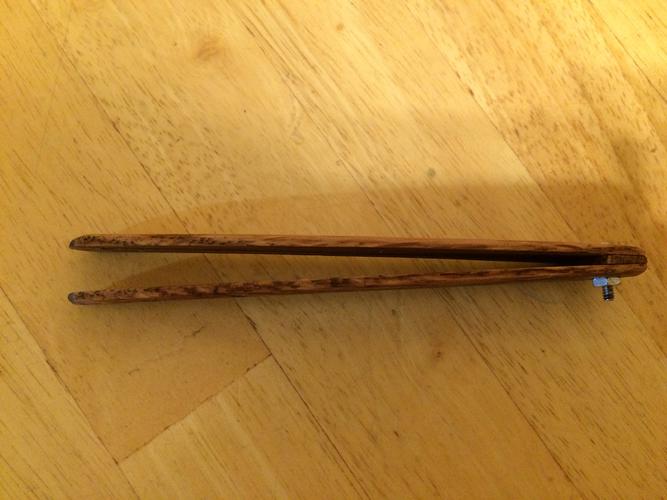
Ok, so I went back at it again tonight and got them down to about 1/2 the width, and then tapered the edges.... here's the proof:
Attachment 180705
Attachment 180706
Printable View
Ok, so I went back at it again tonight and got them down to about 1/2 the width, and then tapered the edges.... here's the proof:
Attachment 180705
Attachment 180706
great to see advise taken & applied & the effort shows, now that looks 100% better and I bet it feels a lot better in the hand also.
How does the blade sit in it now as the wedge looks narrower also,
what finnish you applying to it?
look foward to seeing the final assembly.
job well done
in those last pictures, none.... but I have a glossy stain, which was on the last of the first set of photos... I'll reapply after they dry (wiped off sanding dust just now)
Agreed they look MUCH better now.
Nice job bro! :tu
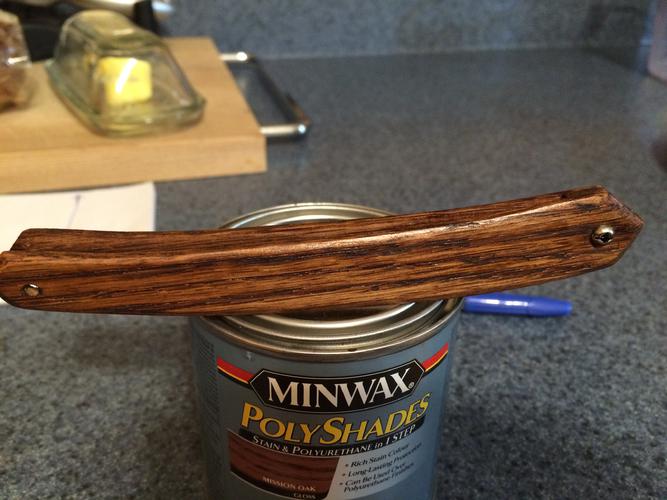
thanks guys, I couldn't have done it without this sites guidance..... great learning resource.... here they are again with the first coat of glossed stain
Attachment 180710
Very nice! One of these days I will have to try my hand at that.
Mike
Stopping is easy. Knowing when to stop is what you learn as you go. It looks like you learned some on this project and it's coming along great.
What is that in the background?? looks like a flipped butter dish?Quote:
Originally Posted by ecormier
not flipped, just a plain butter dish :) can't stand that margarine stuff
I always look behind the picture :)