Richard, I am aware of your vast knowledge and experiences. So when you say possible and probable in the same sentence that is very encouraging. I am trying to stay focused on carving so I am hoping Mike runs with this one.
Printable View
Richard, I am aware of your vast knowledge and experiences. So when you say possible and probable in the same sentence that is very encouraging. I am trying to stay focused on carving so I am hoping Mike runs with this one.
Can't wait to see what it looks like!
Thanks for chiming in Richard. As Shaun mentioned, formidable experience you bring to the thread.
Old scale reproduction is definitely part of my long game plans for all this stuff. Fortunately I have a fair bit of injection molding experience from back in my Husky Injection days so am optimistic I can dial in the mold cavities required. None of the scales I intend to try have undercut's or protrusions. Biggest problem, is they seem to have one piece wedges and I don't want to damage them opening them up. Boker, Morley and the like come to mind.
Getting ahead of myself though. One idea at a time.
;)
Me too! :popcorn:Quote:
Originally Posted by dinnermint
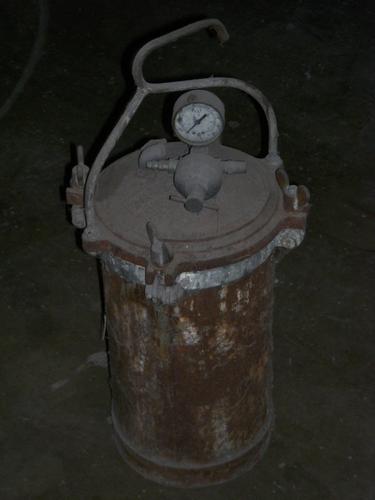
Hummmm......
Attachment 250506
Fire it up tommy!Quote:
Originally Posted by sharptonn
Here is a little more info on a process similar. The materials are proprietary but can be duplicated easily. Brush turners may find some nice possibilities here.
https://www.pennstateind.com/store/a...ful-resin-pens
~Richard
Seeing as how I don't get to open birthday presents any earlier now then when I was a kid I need to wait till the weekend to slice up that first big blank sadly. So realizing I will always have a little left over resin mixed up for everything I cast I thought it wise to make up some small volume items to have at the ready before I pour any more.
First attempt at a latex mold will involve some tired scales for a cool project blade Tom gifted me a while back.
Attachment 250539
A Henckel 14's scales, if faithfully reproduced provides a good first attempt at working with something with an embossed logo I figure. And scales for a 14 are just about as big as you will ever need so I have a volunteer.
Attachment 250540
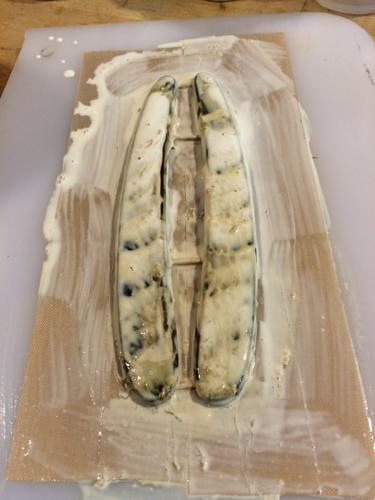
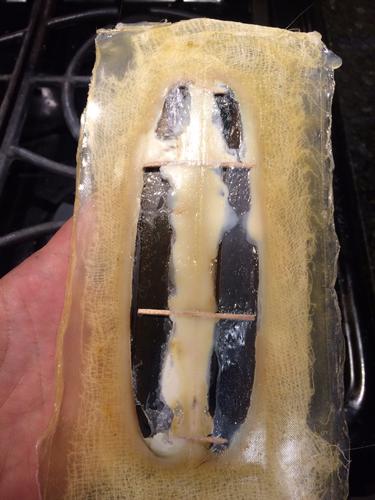
Teflon tape applied to uhmw sheet. Two sided tape applied to that, and toothpicks laid across all that at even intervals.
Attachment 250541
My thinking, develop a deeper mold to allow for final trimming by using the toothpicks to effectively deepen the scale cavities,,as well as providing self leveling channels for the resin to flow between the cavities themselves after the pour.
Attachment 250541
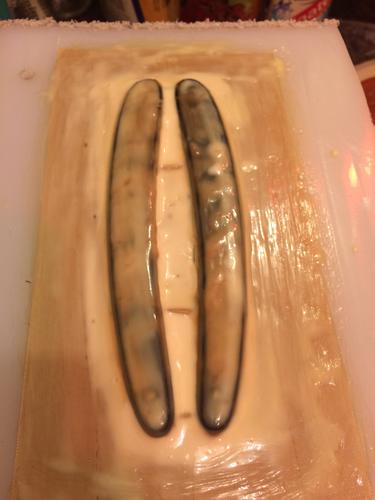
Start to apply the latex.
Attachment 250543
Realized at this point I should have tested for compatibility on the underside of the scale maybe as it looks like the scale is 'coming off' under the latex.
Panic sets in but I am into it now so using a hair dryer on medium I try to get it tacky enough to build it up.
Attachment 250544
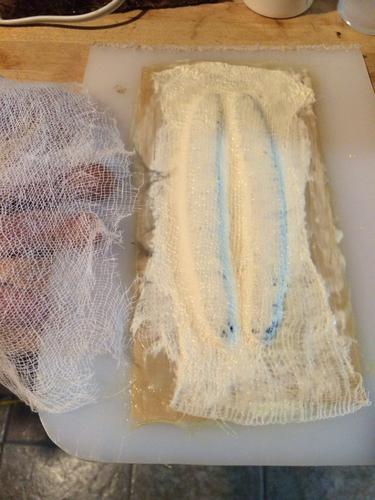
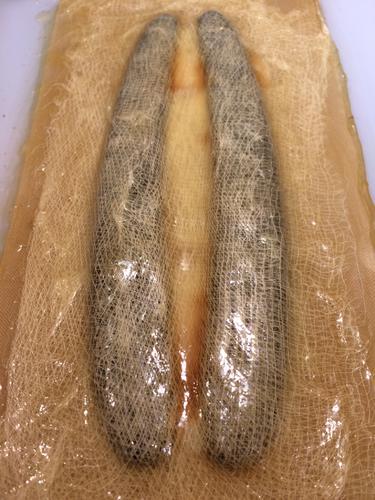
Build up 7 coats of latex, then add different layers of cheesecloth into the final three layers for mold strength.
Then I let it cure overnight.
Will peel it open tonight.
:beer1:
That is good way to start. FWW some tapes will cause some rubber and or RTV to fail to set. I would suggest that you have strips of the tapes you commonly use face up and face down on a Teflon sheet or waxed paper to check compatiblity with your various resins and rubbers. I forgot which were bad. Modeling clay really screws up RTV. We used an art clay without hydrocarbons to make mold making set-ups. Seems it was an olive oil clay.
~Richard
Great tips on preparing the binding materials in advance Richard, thanks for that. And the earlier link. Very helpful.
:beer1:
Here's what it looked like tonight once cured.
Attachment 250546
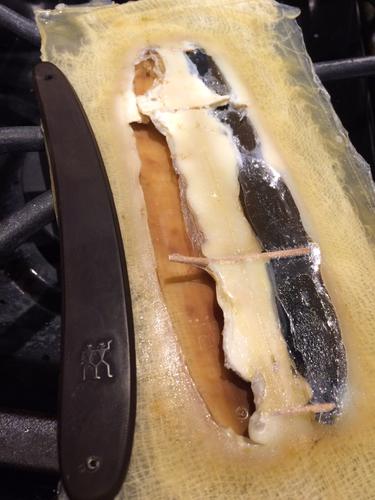
And after peeling up
Attachment 250547
Attachment 250548
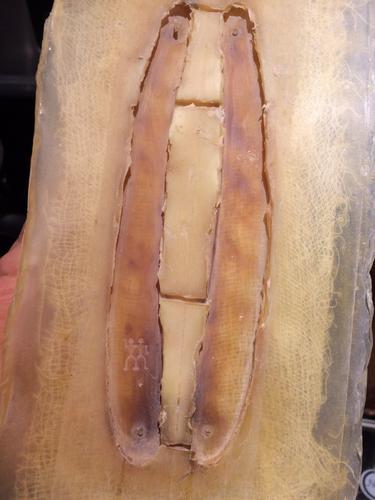
Carefully remove the scales, and yeah they didn't melt!
Attachment 250549
Quick clean up, trimming and a light dusting with talc.
Attachment 250550
Slight flaw or two from air bubbles, but nothing that shouldn't sand out of the blanks
Attachment 250552
Next time I might put the scales in the vac chamber while the latex is still wet, not sure.
Will cast these up and see how it looks.
Cheers.