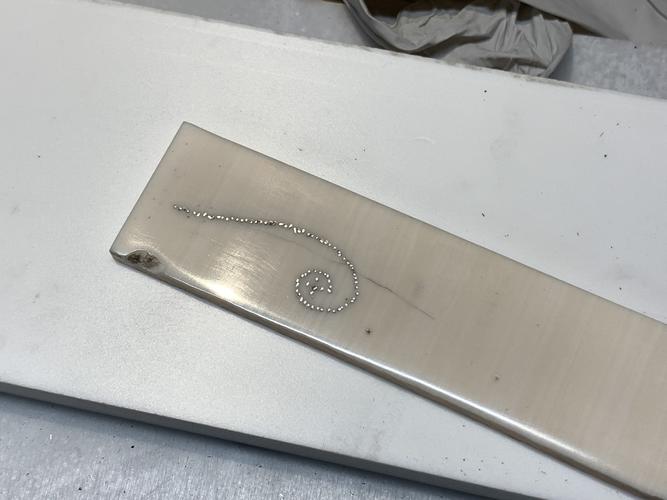
I finished a test piece on the fake ivory (which I cut with the grain going the wrong direction, but nevermind that).
There were several points during this when I really wonderered if doing a non-usable piece as a test was really the way to go.
Oh hell yes was it the way to go.
The amount of work required to make the important mistakes meant it would have sucked to be doing this on scales I could have used if only I hadnt made these mistakes.
Attachment 303937
So! A catalog of things I learned doing this.
- Printing a design on paper is very helpful, but also gets in the way
- The paper gets lifted up by debris from the drilling and offsets the location of your bit, which is how things got so... wandery.
- Cut as close as you can, but not too close!
- The worst sins (visible here) of not cutting too close can be erased with a thorough sanding (not shown, but only because the piece is downstairs and Im upstairs and now too lazy to go and get a picture)
- HALF OR LESS the number of pins I used for that space
- Embrace the mess. Its not really gonna be perfect, but neither are any of the real ones Ive ever seen
- Better way to mark the design is to print onto adhesive, then carefully use a centerpunch to score each of the dots
- Fake ivory like real ivory! will cheerfully crack if you whack it too hard
- MAKE USE OF THE DEPTH GAUGE ON THE DRILL PRESS. I drilled all the way through about 1/3d of them. Couldnt have helped with structural stability.
- To do this properly, you need to hold the wire, the work piece, a pair of tweezers, and the flush cutters. Technically you can put the tools down, but it really slows things down. Its possible to hold them all at once (if youve got tweezers with finger loops).
- Tweezers are important! I put the wire into the hole, then use the tweezers to push it to maximum depth. Its easier if you can grab the wire very close to the surface of the hole to help it not just bend
- If youre careful, and theres no real way to do this without being careful, you can do basically the whole design before peening the pins.
- Once peened, slather a little bit of thin formula CA glue over the works. Youre gonna sand everything anyway, but the thin CA will wick around all those pins and help hold them in place
- Once I really got going, it was kinda meditative. That is, if you periodically stop meditating to swear at things. You dont? Maybe Im doing it wrong.
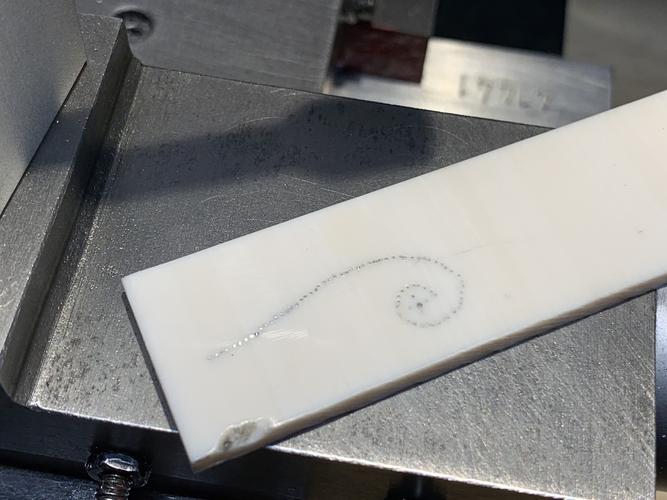
Okay, I lied. Had to go downstairs to help with dinner so I took a picture of the sanded test piece.
Attachment 303943
(There arent any missing pins there, just ones reflecting the dark ceiling of my garage)
