
Results 11 to 19 of 19
 45Likes
Thread: Saving Scales
 LinkBack URL
 About LinkBacks
-
04-18-2021, 01:43 PM #11Senior Member


- Join Date
- Mar 2015
- Location
- Akron, Ohio
- Posts
- 11,939
Thanked: 4300
Nice job, Joseph.
But I don't see the necessity for the metal pins, in repairing the cracks. A bit of CA and clamping is all I've ever needed to fix these splits.
 JOB15 likes this.Mike
-
04-18-2021, 02:21 PM #12www.edge-dynamics.com


- Join Date
- Feb 2013
- Location
- London
- Posts
- 3,066
Thanked: 512
You all have valid points ..
Outback, there is nothing wrong with a bit of overkill
-
04-18-2021, 05:46 PM #13Home of the Mysterious Symbol

- Join Date
- Dec 2019
- Location
- New Orleans LA
- Posts
- 799
Thanked: 112
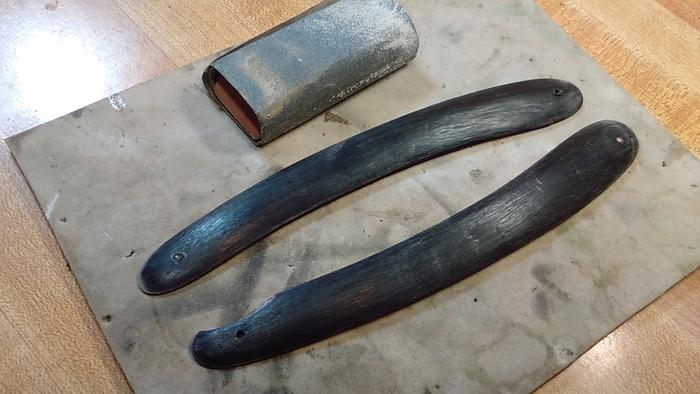
Well, what were the alternatives? You could have made new horn scales, or scales from some other material. Or what you did, which was to repair the old ones. Or retire the razor. That's about it. The old scales were toast. Turning them in to plastic I say is fine. Anyway you can always rescale later if you change your mind. You certainly didn't harm the razor. Those scales are probably good for another 30 years or more. Originally Posted by JOB15

I sometimes back cracked scales with a thin piece of G10 or micarta or similar, fill and dye, polish, then coat with epoxy or polyester resin. I say sometimes, but TBH I haven't done much of that sort of thing in the last 10 years or so.
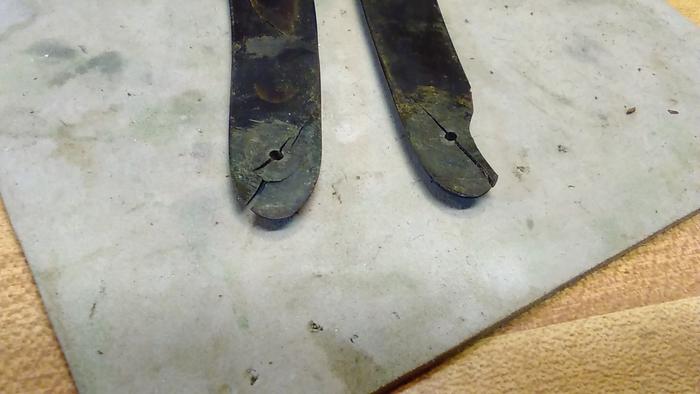
With repaired scales, obviously a weak point is the pivot hole. Sometimes I fill, then drill it out oversize and fill with epoxy or polyester resin, and then drill the center of this resin plug with a normal 1/16" hole. This way I don't have to worry about peening too tight and cracking the scales again, because only the resin plug comes under compression, not the repaired horn or bone or ivory or whatever. Then I select or make a washer that covers the plug, or else I color the resin to make it not so obvious.
-
04-18-2021, 06:42 PM #14www.edge-dynamics.com
- Join Date
- Feb 2013
- Location
- London
- Posts
- 3,066
Thanked: 512
Well i had no plan for this razor and would not normally have given any time to it but the pressed scales deserved repair . It is a stunning design and i am interested in pressing horn, bone , ivory .. I am not sure i have another William Webster too.
I saw it as a challenge with so many long cracks.. That pin method is normally for scales that have broke in two..
Currently i am working on making scales red with an old victorian method.. I have the potion ready ,i just need to fashion the scales..
-
04-18-2021, 08:38 PM #15Senior Member

- Join Date
- Dec 2018
- Location
- Gainesville, FL
- Posts
- 5,903
Thanked: 597
...and put on your hazmat suit I imagine if it is exact. They did some really toxic stuff back then. Originally Posted by JOB15
Iron by iron is sharpened, And a man sharpens the face of his friend. PR 27:17
-
04-19-2021, 08:42 AM #16www.edge-dynamics.com
- Join Date
- Feb 2013
- Location
- London
- Posts
- 3,066
Thanked: 512
Yes, i have already planned how to seal the kitchen ,hold my breath for periods etc..
I am more concerned about my eyes..Pretty sure i have already damaged my central nervous system
-
04-19-2021, 09:11 AM #17Senior Member

- Join Date
- May 2011
- Location
- Merthyr Tydfil South Wales UK.
- Posts
- 5,601
Thanked: 1413
Good save, Joseph.
Wherever youre going never take an idiot with you, you can always find one when you get there.
-
The Following User Says Thank You to celticcrusader For This Useful Post:
JOB15 (04-19-2021)
-
04-19-2021, 09:40 PM #18Senior Member
- Join Date
- Apr 2012
- Location
- Diamond Bar, CA
- Posts
- 6,553
Thanked: 3215
Nice work and finish Joseph.
I have used shoe dye, Fiebing’s leather dye, an alcohol-based dye on horn when I want a uniform black and used sharpie ink for touch up, with good results. Sharpie is also an alcohol-based ink. Both can be buffed, within reason, to a high shine.
I do not see any difference in applying finish to horn or wood from applying paint. We routinely apply finish and stains to wood and hair dye to horn to replicate faux tortoise. What is the difference?
I ebonize wood often with Fiebing’s and seal with wax. Fiebing’s works much better than Kiwi, which I think is water based. Fiebing’s is darker.
Here is an interesting video of a demonstration of different types of ebonizing wood and using India ink to ebonize wood, I do not see how this would not work with horn. He is adamant on the use of only Speedball or Dick Blick permeant Indian ink. Both are readily available and not expensive, so is Fiebing’s, about $5 a bottle.
Last edited by Euclid440; 04-20-2021 at 02:21 PM.
JOB15 likes this.
-
The Following User Says Thank You to Euclid440 For This Useful Post:
JOB15 (04-20-2021)
-
04-20-2021, 08:52 AM #19www.edge-dynamics.com
- Join Date
- Feb 2013
- Location
- London
- Posts
- 3,066
Thanked: 512
That is an interesting video , i am only 5 mins in but i will watch it all..
I am getting into leatherwork now so i'm all about Fiebings. I do have oil dyes, water dyes, acid dyes and old world chemical potion dyes. Working on Red at the moment and i will show the results, i also have a nice quantity of Verdigris for my green concoction..
I want dying techniques that penetrate, permanent and can take some sanding, Alum boils is where that starts.
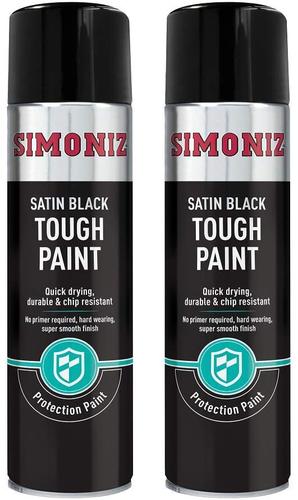
This spray i use it on my motorcycle, the rear guard hugger which takes untold flying stones and my top box . It gives a lovely finish and is durable.
1 light tack coat,
5 mins later a wet coat,
10 mins later another wet coat,
15 mins later another wet coat.. A few day ideally to fully cure.


 Reply With Quote