Jimmy, your father was a genius. Now I have 4 pocket knives to re-hone...
Thanks!
Printable View
Jimmy, your father was a genius. Now I have 4 pocket knives to re-hone...
Thanks!
Ron,Quote:
Originally Posted by Utopian
My approach to trying the method was starting with a dull razor (if the razor is shave ready and you going to dull it for the test, it's kind of fun to cut some phone book paper with it sharp first) glass the razor if it's not dull, start setting the bevel and when you feel that parts but not all of the blade are coming into being set, cut some phone book paper with a slicing cut so that you start the cut at the heel and finish at the toe, you should be able to feel the areas where the bevel is there and where it is not, now do what ever testing method you usually do and see if both tests correlate. As I said, I will likely not use this test again as it duplicates info that I already get with my TNT, but I did get good correlation with it.
Edit; Don't forget to do some more strokes on your bevel setter to repair the damage done by the test before moving on.
Not a her John,is an old he:)Quote:
Originally Posted by Hirlau
:OTQuote:
Originally Posted by Steel
Those are Case 61048 pattern, also known as the 'Dixie Switch', or the 'farmer's knife'. The 6 designating a bone scale, the 1 a single blade, and the 048 is the pattern. I was a young ironworker in my late teens when an old timer pulled one out and started peeling a peach. He just flipped the blade open with his thumb and started peeling. I went and got one and have been carrying one or another or the 048 pattern since then. Here are some I've picked up over the years, along with some 62048s (2 blades, same pattern) The one that Pixelfixed showed, that belonged to his grandfather, is a 5254 trapper pattern. The 5 designating genuine stag, the 2 for 2 blades and the 54 is the pattern #.
Attachment 191925Attachment 191926Attachment 191927Attachment 191928Attachment 191929
Jim ,do you know any knife resto people?, may want to send the above out to be done.
Sorry Bill I don't. If it was me I wouldn't want to change a thing on it.Quote:
Originally Posted by pixelfixed
The notch on a knife blade is properly termed a Spanish Notch. There are quite a few variations. Practically, as noted, it simply ends the edge for sharpening. There are other historical myths too, the truth is probably lost. They get in the way when cutting cordage.
Ok, so it is 2am again. I know many of you have no interest in the pics below. Most here know that beyond bevel set there is little need for testing.
Disclaimer: Not everyone can do this, including many well experienced honers. It has the potential to roll an edge. You may need two more passes on your bevel setter if you attempt this after setting bevel. This is not posted here to belittle any edge test method, nor to promote this one. It is posted here because a number of people here have professed a belief that it cannot be done. Actually some have professed that as being fact.
The below pics were taken at 500X. I marked the edge with a red paint pen to be able to get the same section of edge. the approximate width of the pics is 1mm. I only shave about half of the face that most do. I will attempt to mark each as I go, but they will be posted in this order
shave ready edge
after single paper cut
after 3 cuts
after 5 cuts
after shave
after 5 more cuts
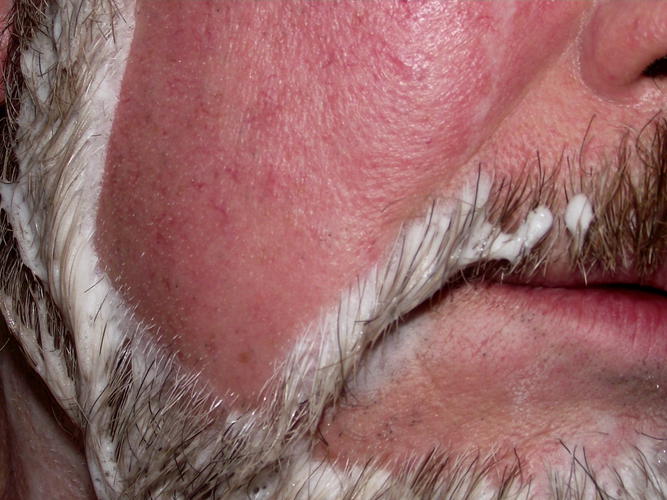
cheek after shave
edge of sliced paper
factory paper edge
pic of type of paper cut and scraps.
shave ready edge
Attachment 191974
after single paper cut
Attachment 191975
after 3 cuts
Attachment 191976
after 5 cuts
Attachment 191977
after shave
Attachment 191978
after 5 more cuts
Attachment 191979
me, first cheek finish
Attachment 191980
edge of cut paper
Attachment 191981
factory edge of paper
Attachment 191982
paper I use, and scraps
Attachment 191983
Any Questions?
Forgot to mention. Note that paint has gradually worn away. Paper is abrasive. Glad my steel was harder than my paper.
Cheers
Well done, I liked the post with information and the pictures. From time to time, and especially when honing a razor for the first time, I use the same method with paper