
Results 11 to 17 of 17
 38Likes
Thread: Muhle STF V2 25mm new handle.
 LinkBack URL
 About LinkBacks
Threaded View
-
07-04-2014, 07:07 PM #1I love Burls....... and Acrylic


- Join Date
- Mar 2012
- Location
- Baden, Ontario
- Posts
- 5,475
Thanked: 2284 Muhle STF V2 25mm new handle.
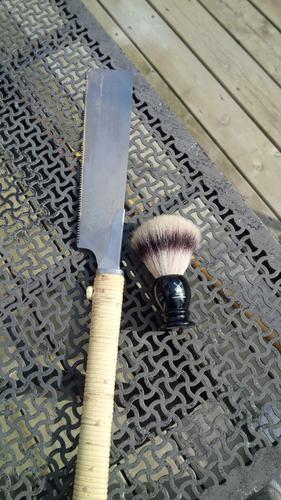
I was recently contacted by a fellow member, BobH about doing a re-handle on a brush of his. The brush is a Muhle stf (silver tip fiber) V2, 25mm. It's a very nice synthetic shaving brush IMO. These synthetic brushes are set with a higher loft to help with building lather, due to the fact that they don't hold a whole lot of water when you wet them. At least this is what I've read about them. This particular brush had a huge loft of 64mm.

What the plan for this brush is, to remove the knot from its original handle, turn a new barber style handle, and set the loft to a much more usable height of 54mm. Sounds like fun!
I received the brush yesterday and had a bit of time before I left for the evening, to pop the knot out of the old handle. Here's some pics and description of that process for anyone who might have some interest in this, or maybe wants to do this themselves.
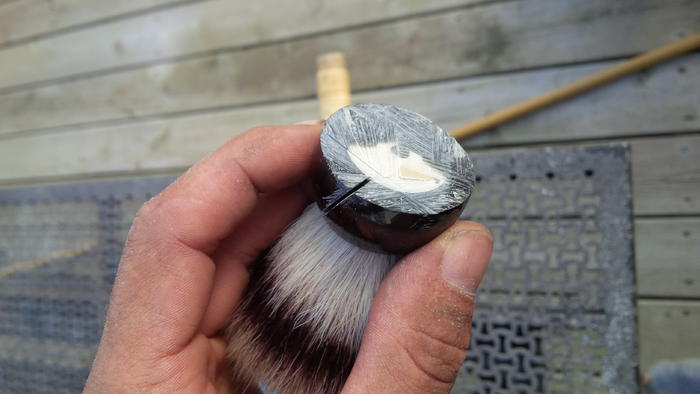
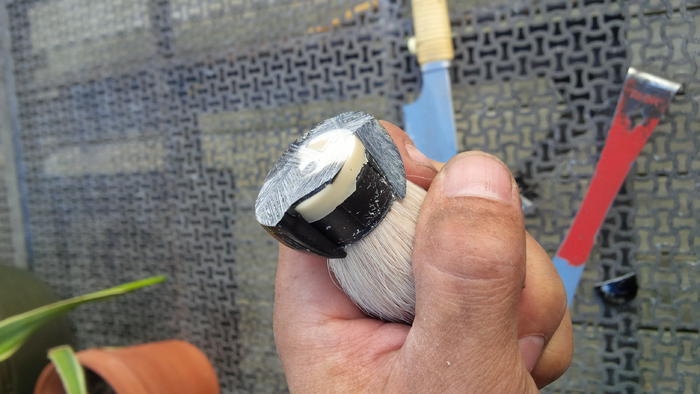
I like to use my Japanese pull saw for jobs like this, where a little bit of finesse is needed. I got real lucky when I picked the level to cut through at, just caught the bottom of the epoxy. If I didn't hit the epoxy, I would have sanded it down on the bench sander until the epoxy was exposed.
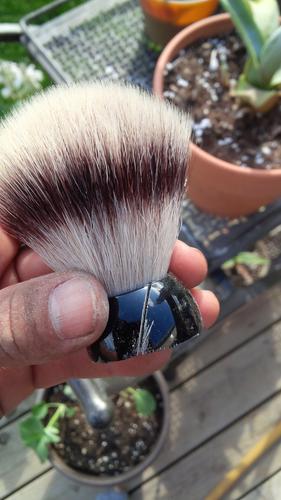
Next is to make a cut, to try and just reach the inside pocket of where the knot is. So basically stopping just before you come in contact with the knot itself, and not wreck any hair in the process. I held the hair in one hand and used my thumb to pull the plastic base so that when I did my cut the hairs were out of the way of the blade. Notice how I also cut on an angle.
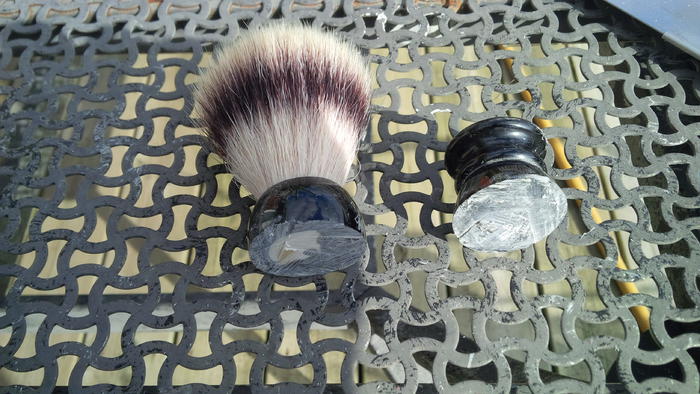
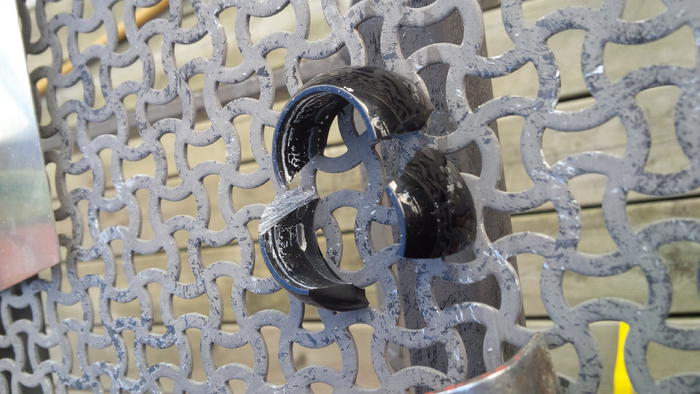
Next I used a Hive tool to start poping the handle material away from the brush knot. A thin, flat screw driver would also work. Put the tool into the cut slot and pry until it cracks off. It should come away fairly easily. You can see in the last pic the clean factory bore of the inside of the handle where the knot was and all the epoxy left on the bottom of the knot.
There you have it. the knots out and all that's left to do is sand off the old epoxy. Bench sander will take care of that pretty easy. Just take yor time and check your depth and progress often.
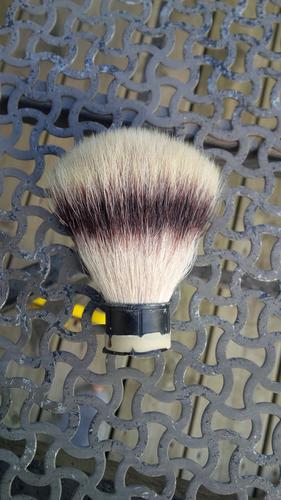
Stayed tuned for the re-handle of this knot..........
To be continued!Burls, Girls, and all things that Swirl....
-
The Following 2 Users Say Thank You to HARRYWALLY For This Useful Post:
Mcbladescar (07-24-2014), tiddle (07-25-2014)


 Reply With Quote