The more you dig, the more that you find! But like Gasman says, better now than later!
Printable View
The more you dig, the more that you find! But like Gasman says, better now than later!
100 percent. Now is the time..
And shes coming apart quite willingly.
Attachment 328427
Attachment 328428
This is the fun stuff, or the pretty stuff I should say. Its all fun.
Once the sections are safely disassembled, the sheet metal repairs and coach build prep can start..
Like to think the old girl is as excited about a new dress as I am about making it for her.
Spent some time replacing the rear body frame members from behind the doors aft as they were both pretty soft.
Lots of angles to transfer, but took my time over the last week.
Attachment 328782
A perfect 100 angle
Attachment 328783
Also had to make two tie in pieces for them to marry up with the main frame sections in front of the rear tires.
Attachment 328784
Attachment 328785
Also had to remove and transfer over the vertical angles that make up the rear of the car and connect to the rear panel. While pitted, these too were salvageable and I so want everything that can be saved from original to be saved. Just cause..
Attachment 328786
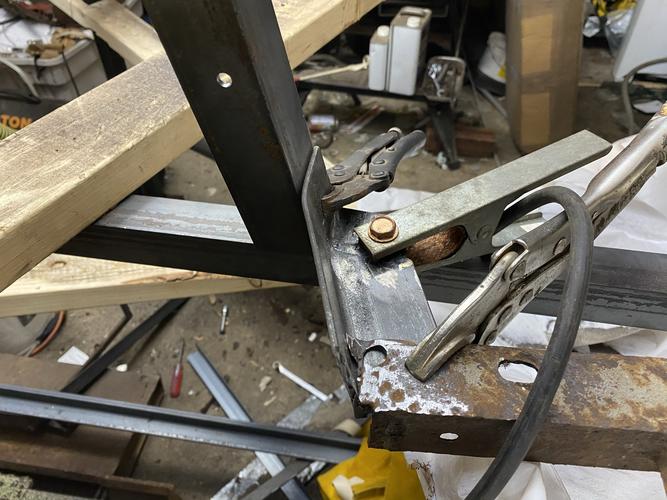
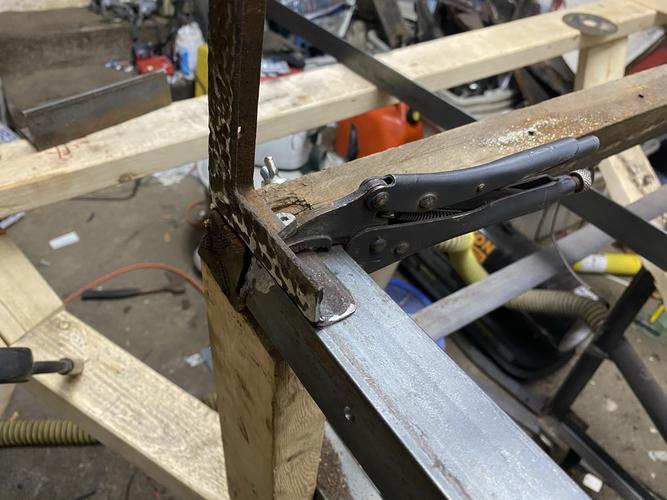
Used lots of wood to bolt everything together to act as a jig, and checked all dimensions repeatedly as I tacked things true.
Attachment 328787
Happy to say the warpage was non issue as things stayed true and plum. This next shot I tried to show off the parallels achieved on he repair. Both sides are 100 inclined angles towards each other. Some of the grace of the symmetry of the car, thats there by design.. :tu
Attachment 328788
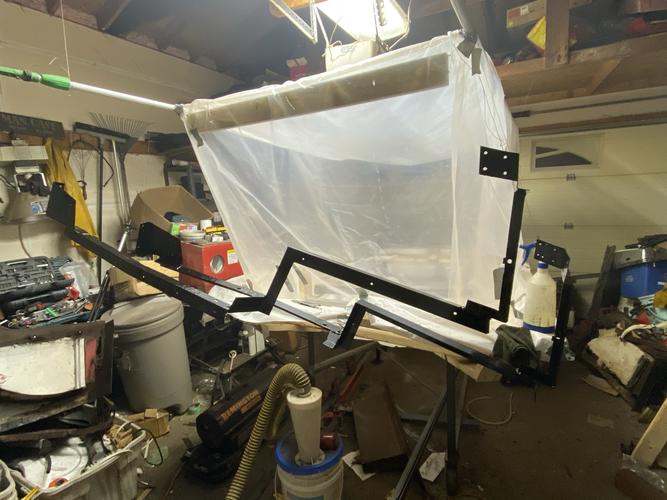
Pleased with how strong and rigid everything became once welded. The frame before was somewhat bendy, hehe.
Used 1.5X1/8 angle steel as opposed to 1 as originally used. Figure stronger is better when it comes to frame work and I didnt see anywhere the extra 1/2 would interfere as its all open to the wheel wells.
Still need to sandblast the frames down completely, then clean up the welds and hit them with a couple coats of por15.
But then on to actual sheet metal body work and then coach work and then reassembly.
Boo ya.
Damn, Mike. It's going to be a new vehicle when you're done. The next project you should do is making your own car. Nice detail.
Thats the plan entirely Jerr.
:tu
To that end, with it being mild and the Remington heater being powerful I was able to seal the frames with por15 after glass blasting in the garage, not the basement like I assumed I would in January.
Attachment 328806
Still wet, amd it will self level some more, but this is all invisible undercarriage. I went on with three coats so itll last forever..
Attachment 328807
That wraps up the frame work!
:beer1:
And so it begins,, digging into the actual painted surfaces,, the eye candy if you will.
Loved carefully and firmly persuading all these #15 little brads out of the metal, 99% came out fully!
So punky after 70 years, but the good news on the front quarters is all the important inside curves are intact on both panels, and the overall original distances are intact for reference..
Relatively good news from a stitching in new metal perspective.
Rear wheel wells are solid enough for templates and any sins in the wheel wells are effectively hidden, so all’s good.
:tu
Lots of great work you are doing.
The more I look at your project I wonder if you should just take the serial plate off it and get a set of blue prints then start from scratch.
Thanks Tim.
I’m not much of an inventor, rebuilder, sure. But a blank page scares me..
Lol..
You belittle yourself in that last post Mike.
Many of us enjoy living vicariously through you and your project!
Tim
I'll second that. I keep coming back to look in on this project. I would love to do this kind of thing. I do lots of innovative stuff for work but I don't get a chance to do it for myself, or more accurately DON'T do it for myself. Slàinte to you brother. :beer1: