
Results 1 to 10 of 35
 52Likes
Thread: New Ebay Find, Start to Finish
 LinkBack URL
 About LinkBacks
Threaded View
-
01-01-2016, 05:59 AM #1< Banned User >

- Join Date
- Dec 2015
- Location
- Calgary
- Posts
- 43
Thanked: 3 New Ebay Find, Start to Finish
Hey, all!
I recently picked up a Henckel off Ebay, dirt cheap. It looked to be in good condition. The blade was dull and blunt, (I thought it was purposely dulled to use as a movie or theater prop) but overall shape was looked good, so I was excited because I've been looking for something slightly narrower than 5/8 for shaving around my mouth/mustache area.
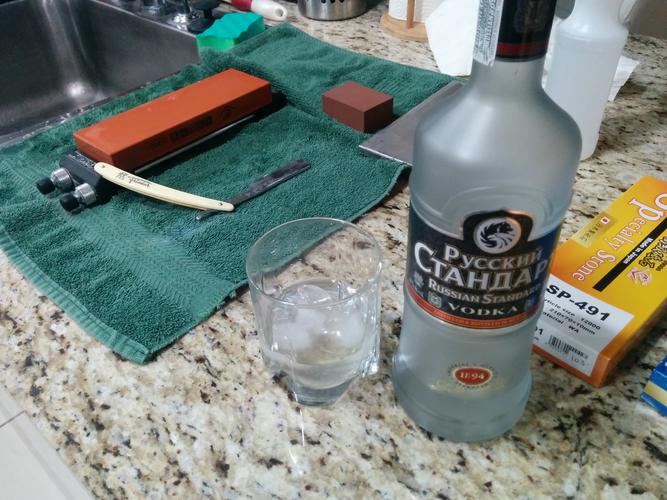
Following is some pics showing my approach. I decided to use a regimen based on the info found on Todds blog on science of sharp https://scienceofsharp.wordpress.com/, just to try something new, and plus I was half cut and forced to go home early from New Years celebration because my girlfriend was tired.
Happy New Years!
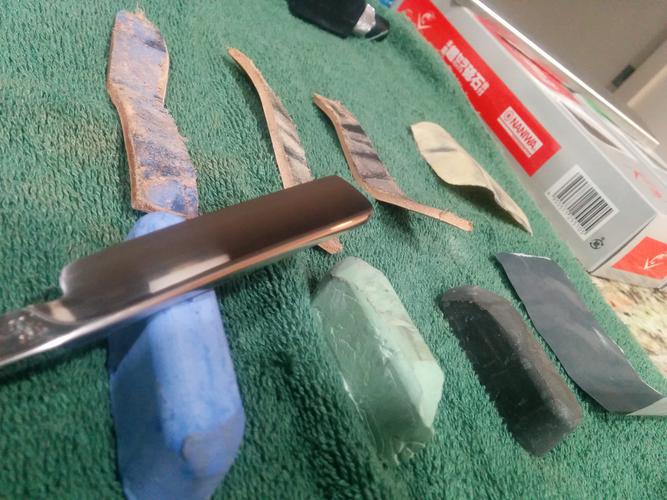
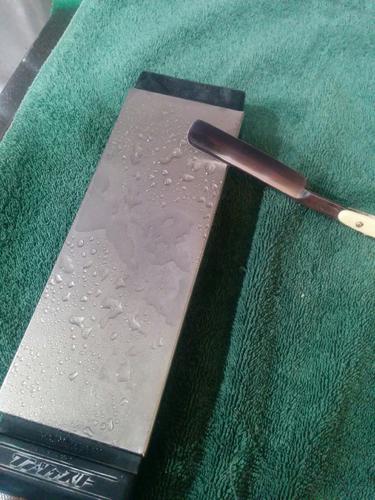
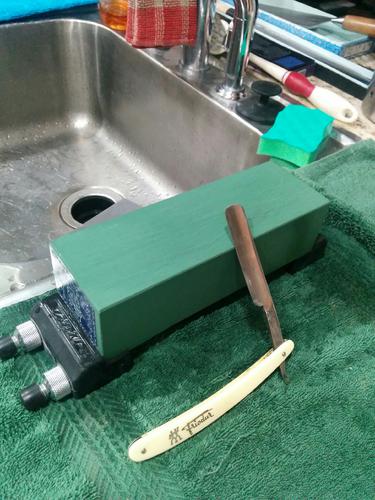
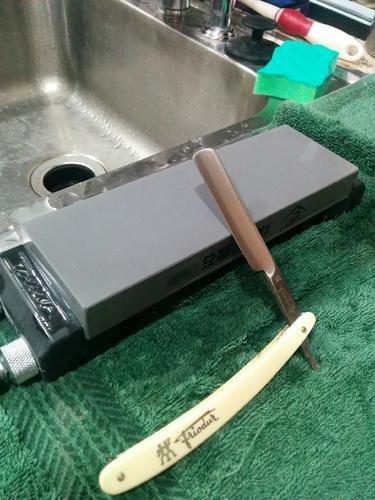
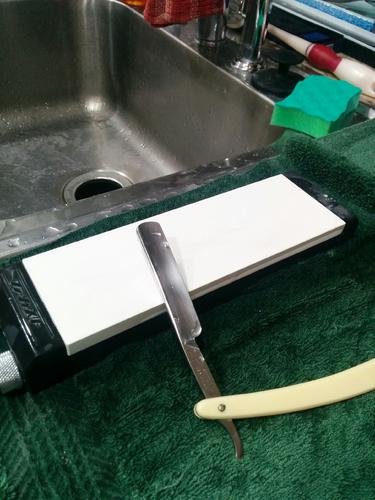
Progress was: DMT Dia-flat 95 lapping plate "140 grit" (back and forth strokes until goal reached), Chosera 400 (edge leading strokes until decent metal swarf build-up, then 20 edge trailing strokes. Method repeated for all stones), Chosera 800, Naniwa green brick, Chosera 5000, Naniwa Snow White 8000, Naniwa 12000 Super Stone, 20 pairs of strokes on pasted denim hanging strop (CrOx), rinse, 50 pairs of strokes on clean leather. I plan to add 20 strokes on pasted leather with .25 diamond next time before clean leather and after CrOx. It's all overkill, but I love using my stones. Based on Science of Sharp, I could have gone from 800 to 12000, but that's not fun.
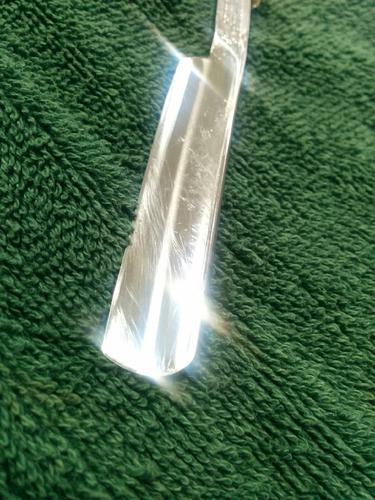
First I had to buff out the blade to get rid of weird scratches etc. I have a system I do by hand using sandpaper then various Enkay polish crayons on strips of leather. Good enough for me. One day I'll get a Dremmel.
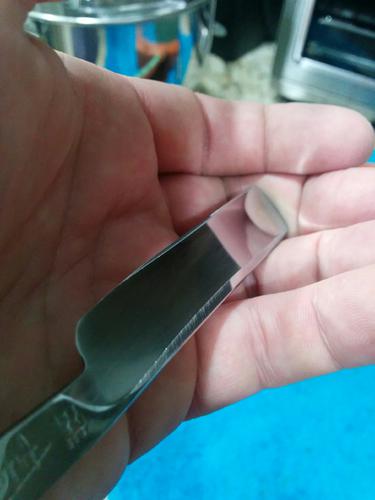
Weird scratches
Matt finish after sandpaper
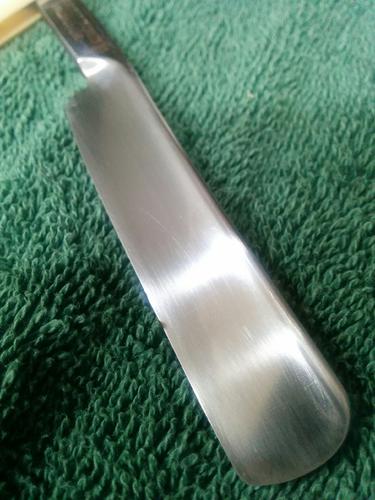
Almost mirror after leather w/polish rubbing (black>green>blue)
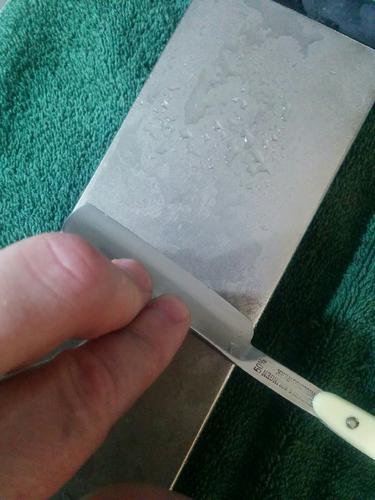
Uh-oh, after testing flatness of exiting bevel on a flat surface, a curve on the spine is discovered.
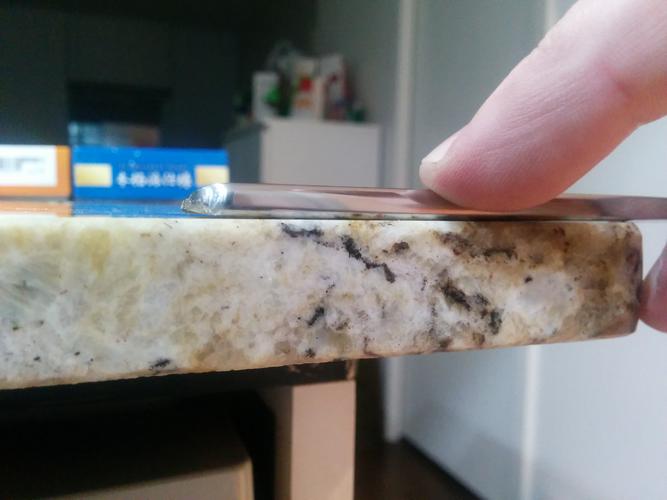

No problem. I find the center of the high point on the spine by rocking it, and inspecting closely on flat surface. I'm going to use my DMT Dia-flat 95 lapping plate lapping plate to rapidly remove metal from the spine while putting downward pressure on the spine while attempting to hold it at the intended angle of which I'd like to bevel to be set at without microchipping the edge too much during the process. This is the most challenging part of the process, but it's pretty easy once you practice it 2-3 times on extreme poorly honed razors.
Result:
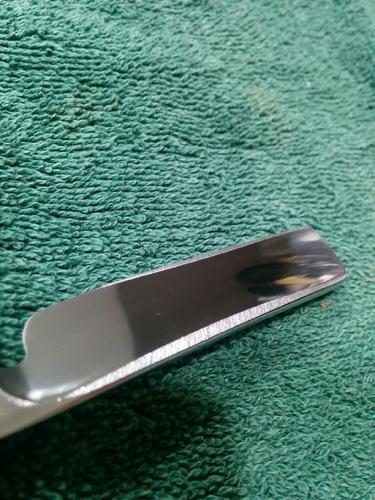
Please, no neck-beards talking about spine wear. This is intended!
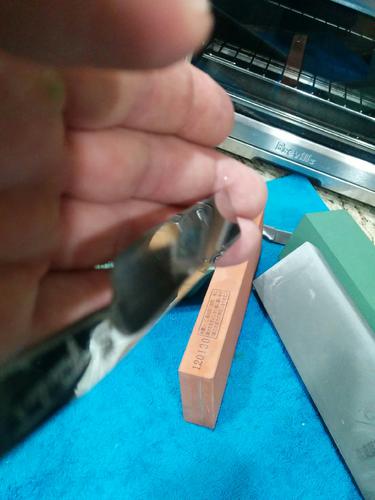
Some steps during progression. Skipped pictures of Chosera 400 and Naniwa 8000 because I forgot.

Last edited by Fruiteater; 01-01-2016 at 06:08 AM.


 Reply With Quote