14 Attachment(s)
Making a lead wedge (Pic heavy)
So in one of my other projects I struggled with making wedges and then I got told to use lead wedges, things then became much easier. I couldn't find anything in the library for lead wedges so bumbled around a bit and had a few practice runs. Hopefully I might be able to help out anyone else as clueless as myself. Here is a Picture heavy account on how I made a lead wedge.
Attachment 191140
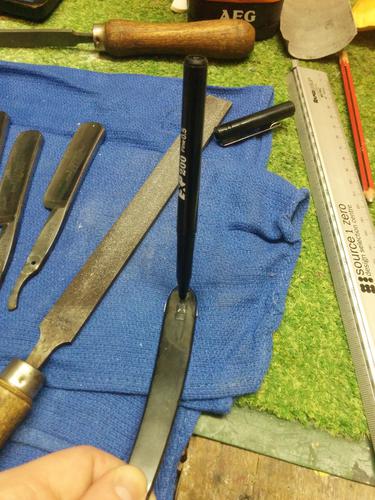
Basic gear I used, hammer, tin snips, peening hammer, duc tape, wire cutters, file, and a lead sinker.
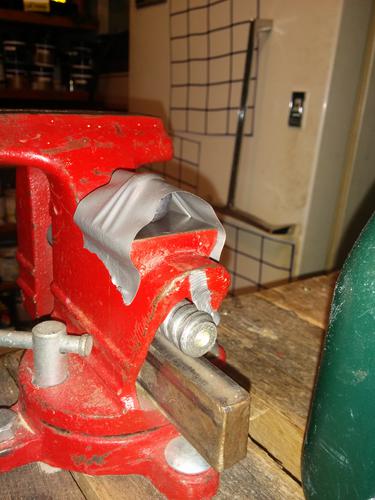
Attachment 191141
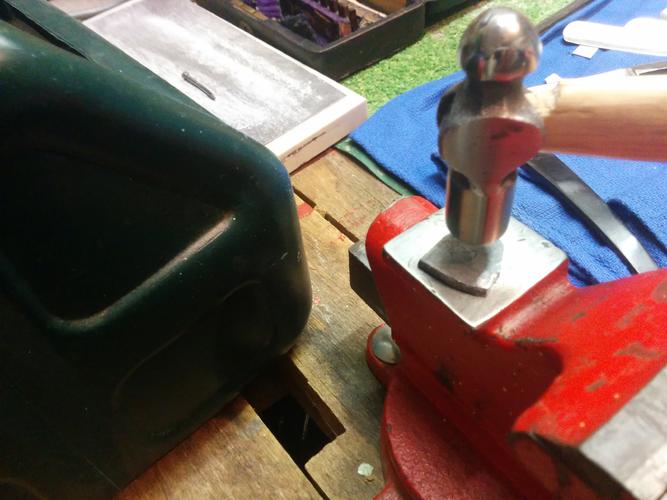
tape the lead sinker to the anvil side of the vice to stop it rolling away
Attachment 191142
beat the hell out of it with the big hammer!! (the fun part)
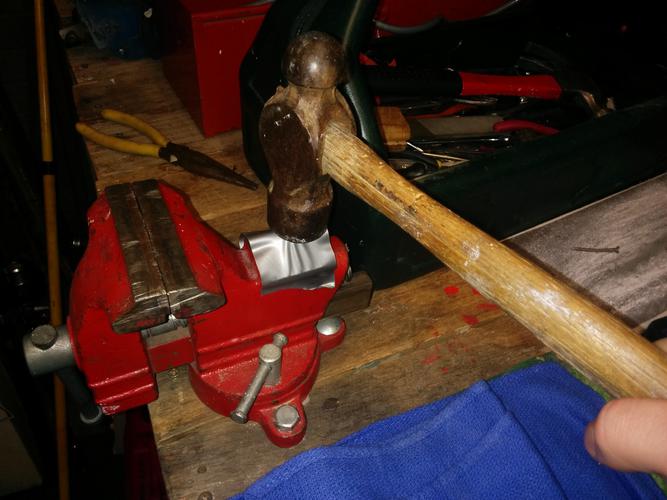
Attachment 191143
once you have flattened it out a little, double the tape over, so that way you can see what you are doing. continue beating the hell out of it!
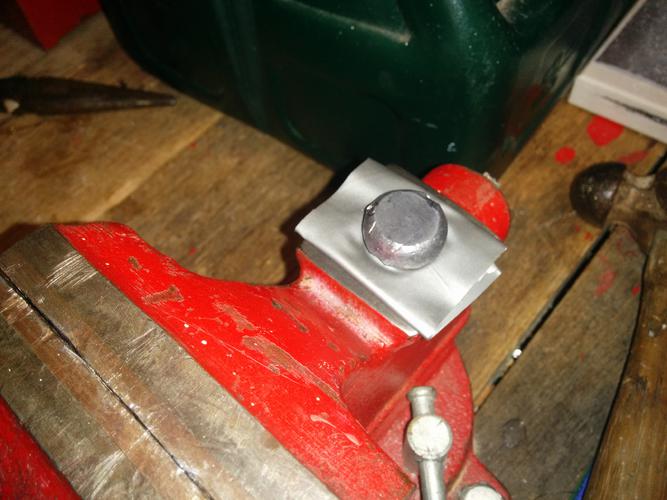
Attachment 191144
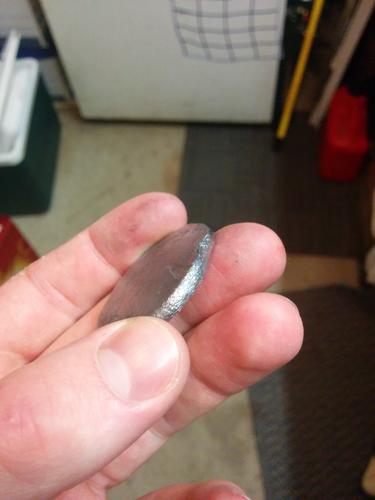
and you end up with a flat disc. don't go to the exact thickness because it will still be thinned out more and its easier to remove (thin) than it is to add more metal.
Attachment 191145
trace around the scale to outline the wedge. felt tips work, sharpies work, pencils not so much.
Attachment 191147
cut out a rough shape with the tin snips (or the wire cutters i found the tin snips were easier and got a flatter cut) you can go pretty much on the line, because it will be tapped out a little more and the wedge will compensate. keep the off cuts you can melt them down for another wedge
Attachment 191148
using the smaller peening hammer, tape out the angle that you want for the wedge. (note that the wedge will mimic and imperfections in the hammer and the anvil, so have these pretty smooth or you end up with weird dints)
Attachment 191149
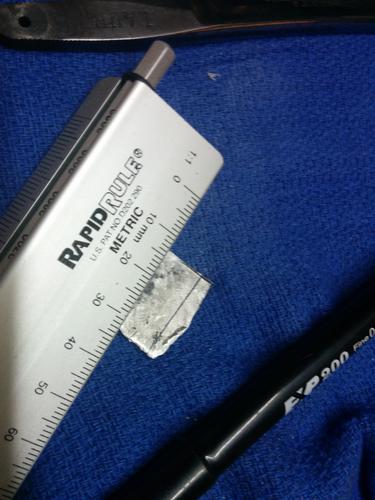
rule a straight edge for the wedge, cut using the tin snips
Attachment 191150
file it flat
Attachment 191151
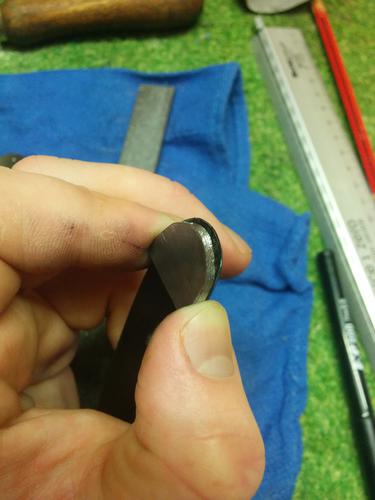
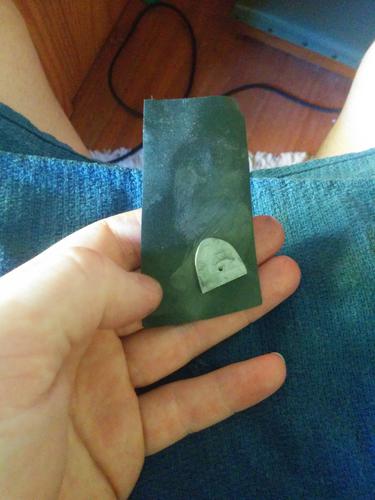
outline the wedge again but this time using a stanley blade (any sharp point does the trick) this leaves a scratch mark the exact size the wedge should be (it can't be rubbed off like the felt tip), help to line everything up and help to know how much more metal you have to remove. cut off excessive amounts and file the rest down to close but not exact.
Attachment 191153
it should be pretty close to the right size, line it up where you want it to fit
Attachment 191154
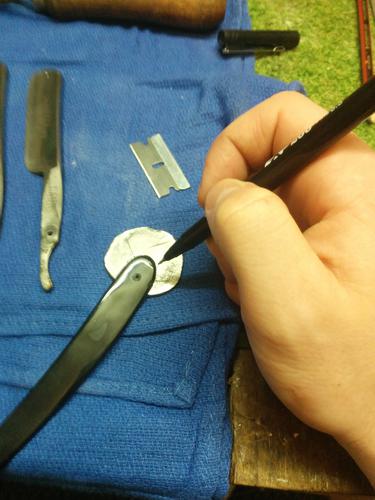
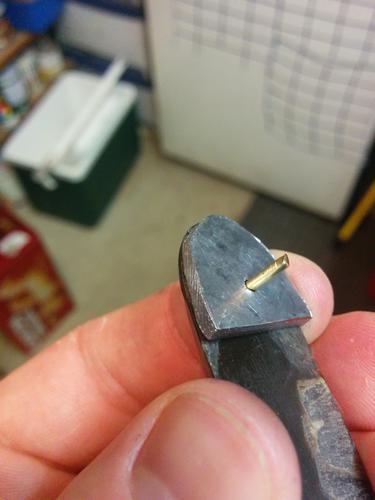
mark the hole with the felt tip
Attachment 191155
drill the hole out normal pin size (1/16 inch) . you can use the tip of the stanley blade again to put a dint where you want to drill so the drill tip doesn't slip but the lead is soft enough that that doesn't really matter.
