That got me interested and a quick search turned up this How To Make Your Own Sugru Substitute . Might be of interest to DIYers.Quote:
Originally Posted by UKRob
Bob
Printable View
That got me interested and a quick search turned up this How To Make Your Own Sugru Substitute . Might be of interest to DIYers.Quote:
Originally Posted by UKRob
Bob
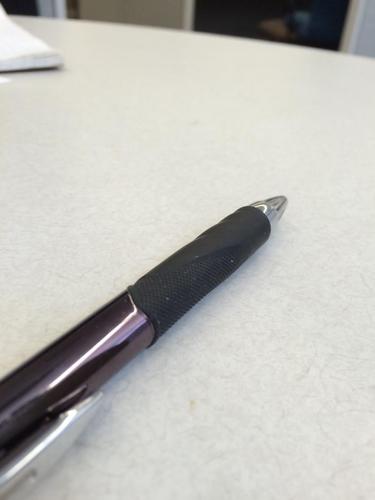
Here's how I remember reading what another member used to refashion the rubber grip on razors that had them...just a common drugstore pen...happen to see one in my office today so took a pic. The rubber on the end can be fashioned quite easily:
Attachment 236864
Attachment 236865
Since I couldn't find any information on something like this when I searched I will document how I do this so others can find something in the future. If anyone has suggestions or advice along the way feel free to jump in.
First off I cleaned all the rust off with a razor blade then go to grinding off the rest and getting most of the pitting out. This did remove some metal but as I plan to epoxy over the area this gives me room to build it up a bitAttachment 236960
Next was to put the grip back on and mark where it sits so I know where I need to prep for the epoxy.Attachment 236961
After that I took a pin file and roughed up the area I needed so that the epoxy will have something to really grip to. Attachment 236962
That's all I have had time for but will update as I go
Got some more done tonight. Started by just cleaning up the filing lines a bit and giving a good cleaning ready for the epoxy. Then taped the area each side to make sure that I only got epoxy where I wanted it.
Attachment 237187
Attachment 237188
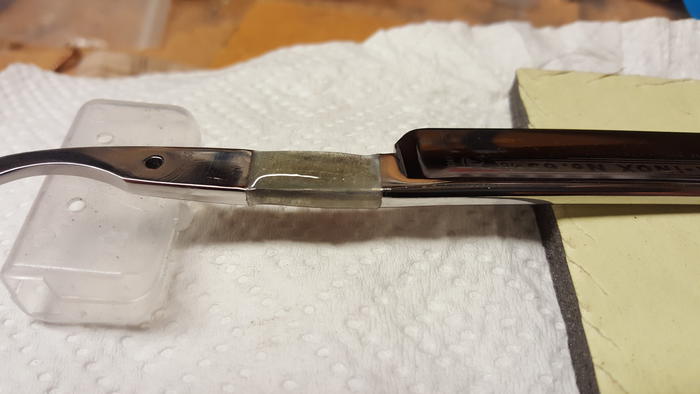
Next I mixed the epoxy and applied to my masked off area. I used one with a long setting time as it's what I had. It had a tendency to flow a fair bit and I spent a great deal of time tipping this way and that while it was setting to keep it all even and stop it from dripping off. If you do this I would suggest something that has a pretty quick setting time. I also used enough to build it up a bit. I will sand and clean it up later so wanted enough to be able to work it.
Attachment 237189
Lastly after I finally got it set enough that I could leave it I removed the tape so that it came off before being stuck in the epoxy and on the razor. Left some nice lines to work with later.
Attachment 237190
I like the look of that as-is....
So has cured now so to start the shaping. Re taped the edges to avoid scratches and use a file for bulk removal till had it roughly there. Then used some 600 w and d wrapped around a pop stick to get it fully shaped. The tape helps at the edges as it creates a level slightly above the metal so once removed you are left with a very thin raised edge with a clean line. Did slightly go through the epoxy on a couple corners as it is a quite thin layer so going to touch that up then carefully hand sand. Pics so far.
Attachment 237350Attachment 237351
Great tutorial mate
Keen to see the progress
The touch up on the corners is cured so smoothed to match the rest then test fitted. All fits nice so using w and d sanded with 1200 and 2000 to finish up to a beautiful smooth finish. While apart took the chance to re black the grip using a marker. Attachment 237388Attachment 237389
look at that, just like a bought one
no one will ever know :beer1:
did the rubber gain any thickness to potentially foul on the scales or is there plenty of room on the Pumas for this anyway?
not sure how long the marker will hold on the rubber, but if it doesn't maybe a leather dye or similar will work also ?? only time will tell hey
Didn't stretch the rubber to get it on so should be no issues with the fit. It seems almost like a paint on it atm. The good thing about the marker is it takes seconds so can touch up any time. The grip does slide both ways so as I use renwax will be able to wax right up unto the epoxy so will able to protect from further issues. Could slide it before but couldn't move far enough to get under properly and couldn't access all of the under grip area. Now the complete area under the grip has permanent protection and I just need to worry about butting up to it well. Still some polishing etc to do but will continue to post progress until finished.