
Results 1 to 5 of 5
 16Likes

Thread: Recent custom razors, workshop, random projects and updates
 LinkBack URL
 About LinkBacks
Threaded View
-
07-13-2016, 05:15 PM #1Senior Member


- Join Date
- Jul 2015
- Location
- Colorado
- Posts
- 540
Thanked: 79 Recent custom razors, workshop, random projects and updates
Hey guys! Well I'm no where near as active as I on the forums as I used to be but I am still very busy perfecting this craft! I started a year ago almost exactly, I had some taidea stones (very cheap) and was honing gold dollars. If someone told me then that I would be where I am today, I wouldn't believe it. I have never been one for anything artsy, or crafty. I am into this with no experience in metal working or wood working. Thanks to the community here I don't think I could have had such a head start along side of getting help locally. (Which is still appriciated!) well I thought I would post some of my recent work and my shop!
once more I would like to thank everyone who helped me along when I first started! I would post my work and ask for critiques and those really helped. Along with everyone's knowledge I had some very helpful dialog!
alright so here are the pictures I'm going to run though very briefly about them if u have more questions or suggestion on how to do it better let me know!
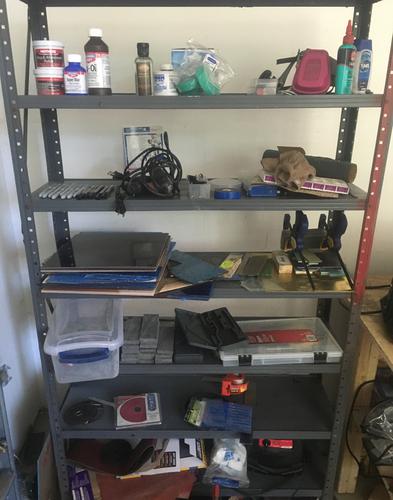
Doing some orginzing zing in the shop I have my oils and polishes on the top also the green rolls in the middle is alligator tape, I dont know if any other people new to grinding have this problem but doing final grinding bare handed and burning urself slightly for several razors I start to bleed... I now use the alligator tape and it's thin enough to feel the heat and protect my fingers a bit lol (nothing like literally putting blood and sweat into ur work!) let's see other things I feel I should mention is tru-oil, it really is amazing stuff, Makes wood really pop! Everything else is pretty standard, filed, pinning box, scale material/liners/wedge material oh yeah tums super important! Lol
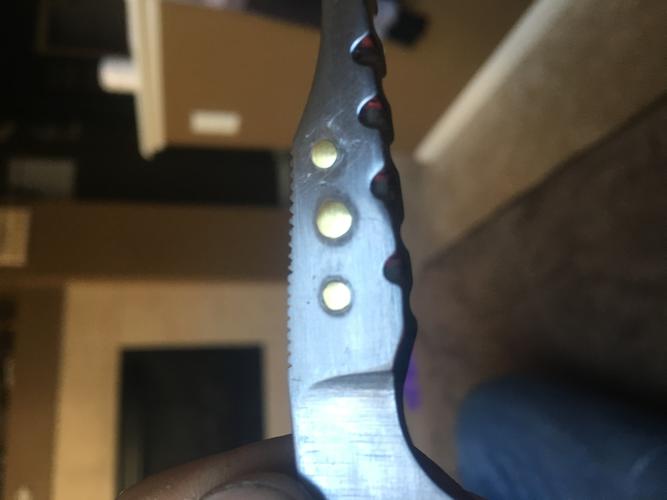
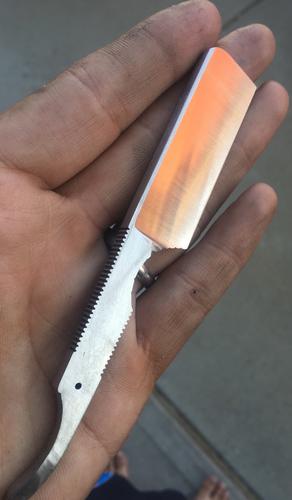
I have scrap razors that I try my new stuff with so this razor and the etched razor weren't sold but I just tried something new on those so if i don't like it it doesn't matter... So the brass in the shank of the razor, I did by drilling the holes then chamferd the holes. Put the brass stock in the hole and peened the round stock.. I learned that u have to really watch how much brass u leave to pin because it comes out different sizes like in the picture. i don't have newer picture of this work but I have gotten better at it...
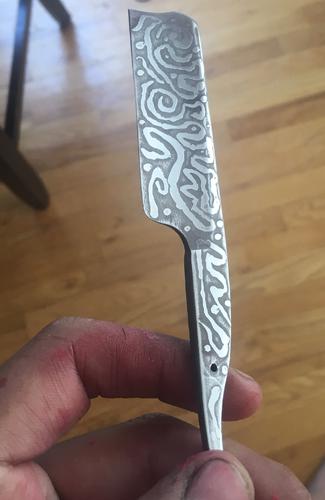
the etched razor, first I buffer and polished the razor to a mirror shine so that the difference in the colors would really pop! The resist I did was with nail polish, which was a pain in my ass so I switched to model paint which worked a lot better. But now I am playing around with iron on transfer paper and an ink jet to put the resisit on the steel, I was hoping to be able to make crisper lines using photoshop, I have yet to get a successful transfer. I first used hot vinegar for the etching solution which didn't seem to work all that well so I switched it to 20 minutes in ferric chloride and that was the result in the above picutre! Much better!
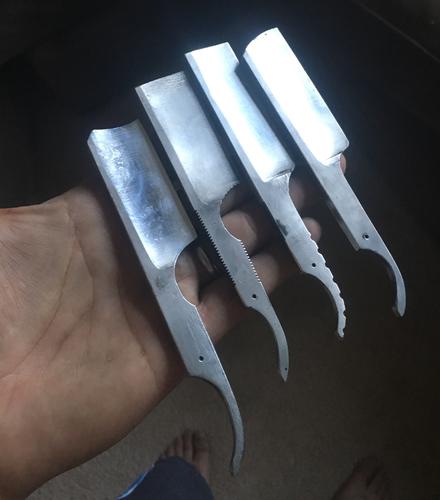
These are my blades after heat treat on 01 steel and I used to only do 1500 degrees then a dunk in heated canola oil. Since I have done a ton of reading about heat treatment and steel. I actually reccommend a book called "steel metallurgy for the non-metallurgist, which has taught me a great deal about stressing the steel, grain structure, normalizing and heat treatment and now my recipie involves normalizing the steel in a couple cycles, then heat treating, I do a snap temper and dunk in LN2... Of course it could just be me but since I started cryogenic hardening I feel my edges really have improved!
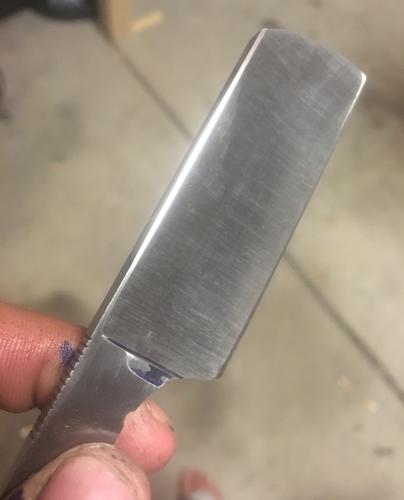
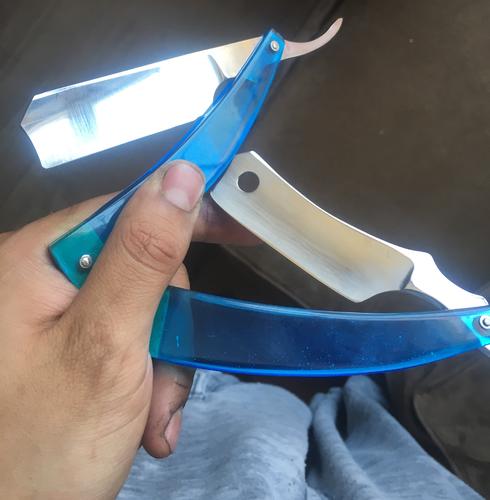
Here are some pictures of my work recently! The first two don't have the final polish on them but I was having some serious issues with even grind lines a while ago so I made it my main focus to cure and so I challenged myself to make them as thin as possible... I have vastly improved since...
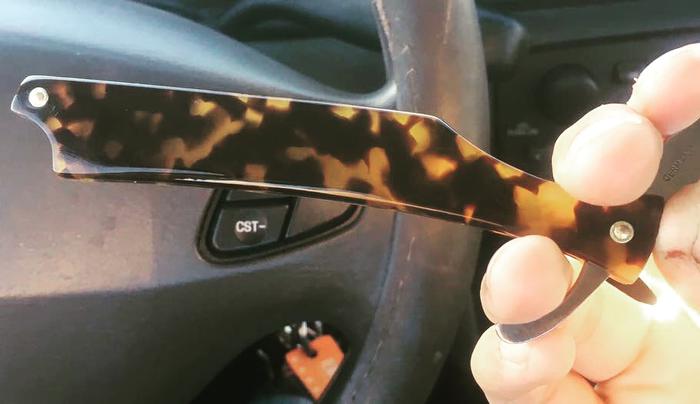
If u haven't used kirinite tortious shell, I love the stuff! That is all

The belts I used are ceramic 36 60 120 then onto some trizact belts a65 a45 and just recently I have been using these cork belts! They last a long long time the only downside to it was breaking them in which is kinda like an art I've found a balance of u will... What I like about them is they polish and have abrasives in them, u put some green compound and wow! What a finish!
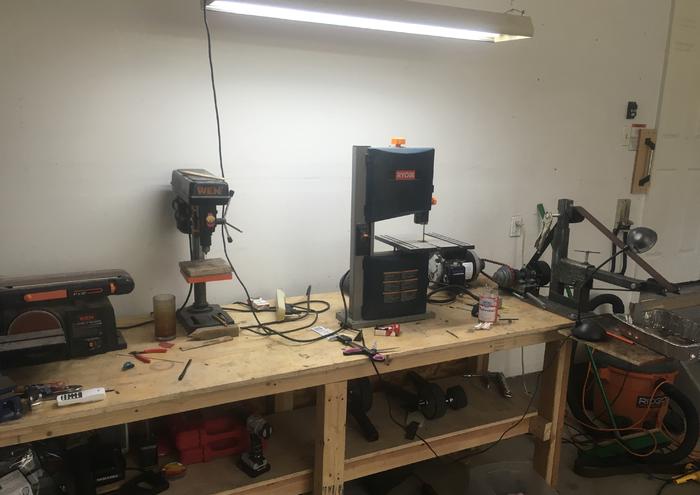
Added some new lights
well thats what I've been up to! Just to think last year everything used to be in a box in my living room lol now this stuff is everywhere! Like I said if u have any questions or comments on anything feel free to shoot!
thanks again SRP,
Fonz
-


 Reply With Quote