-
3 Attachment(s)
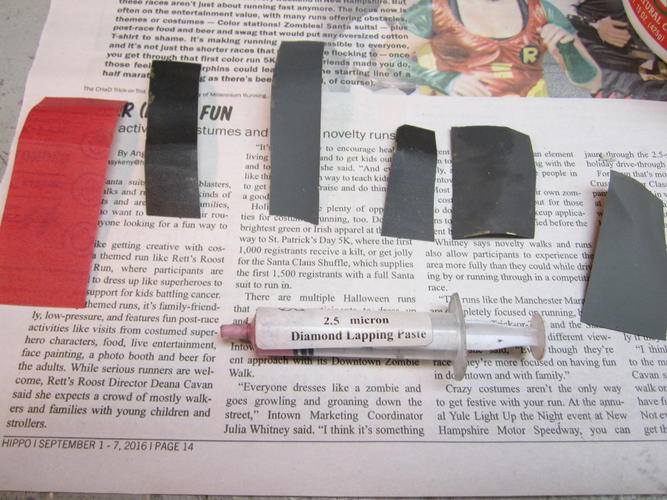
Thanks for the encouragement fellas. I'm in the long part of the restoration where it's just carefully getting to the bottom of the pits. Makes for a bit of a boring thread at this point but things will be more interesting after the pitting on the blade faces is resolved. The steel is very hard and is taking it's sweet old time. 3 more hours today, total 6.5 hours sanding the blade so far, still with 150 grit.
Attachment 245907Attachment 245908Attachment 245909
-
Awesome job, keep up the great work! A daunting task but we'll worth the wait. Look forward to the finished product.
Sent from my SM-G900V using Tapatalk
-
So...Any progress? :popcorn:
-
7 Attachment(s)
I've been making steady (albeit slow) progress. Here the pits are almost out of the blade faces, but it's the last ones that seem to be the hardest little buggers.
Attachment 246207Attachment 246208Attachment 246209
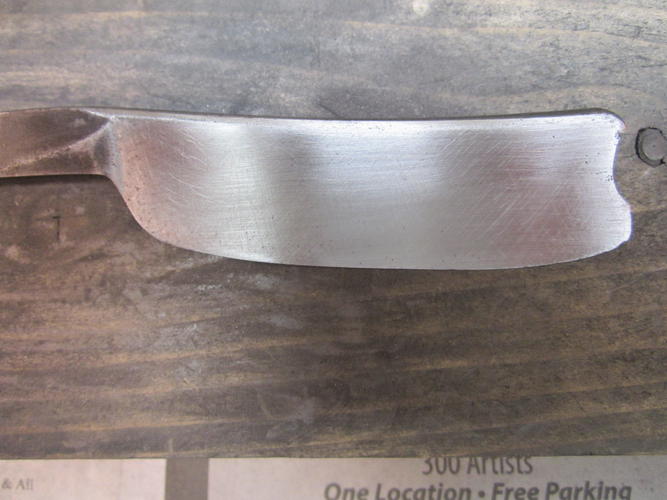
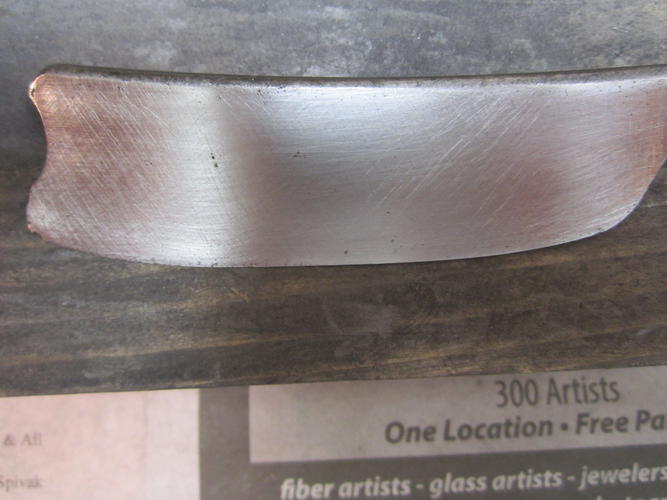
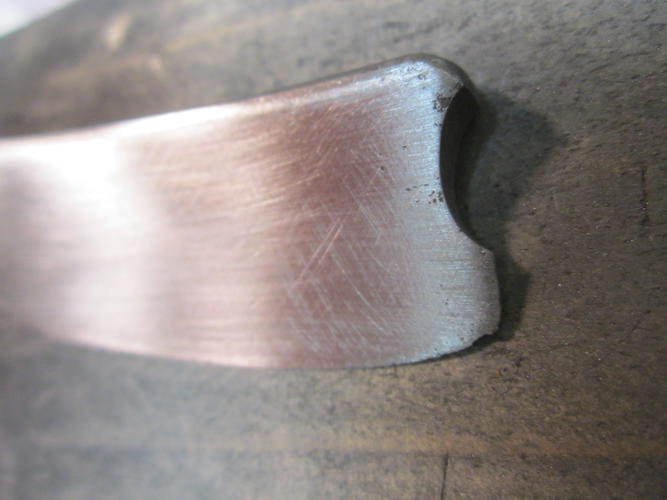
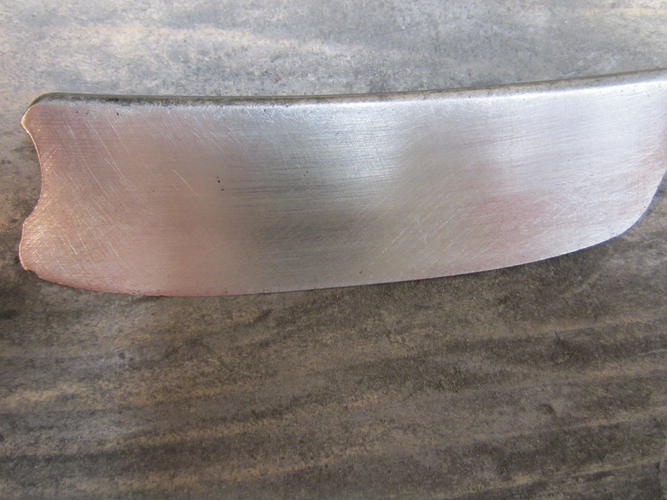
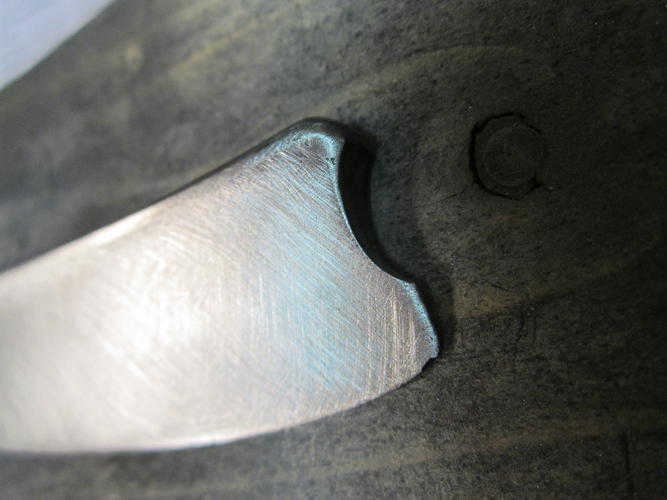
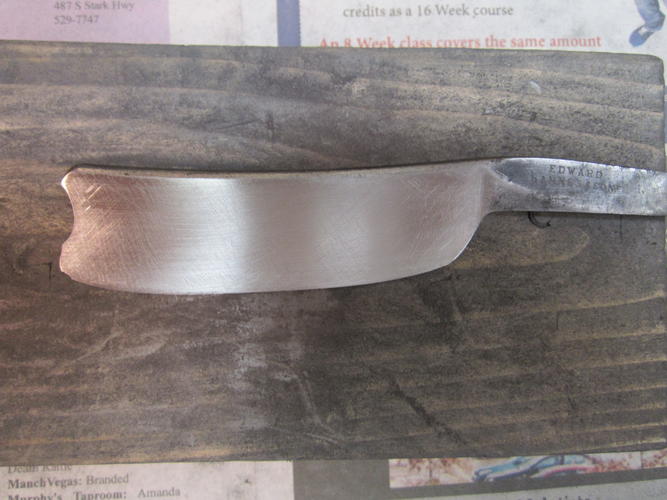
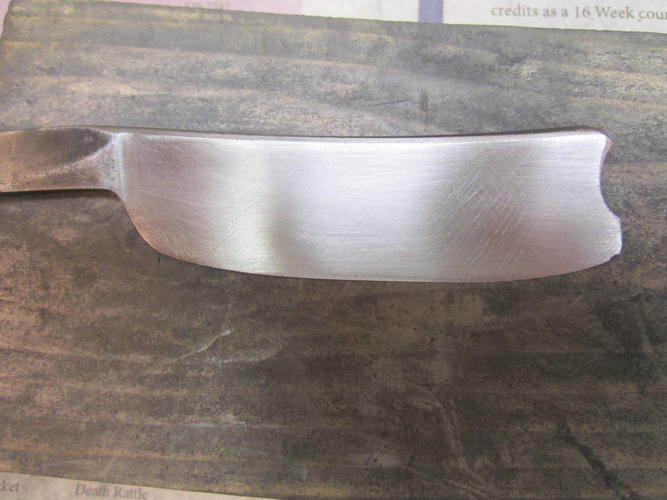
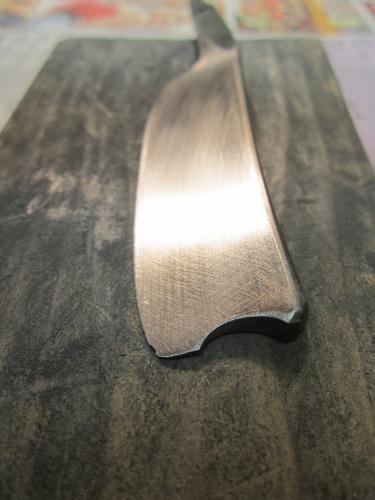
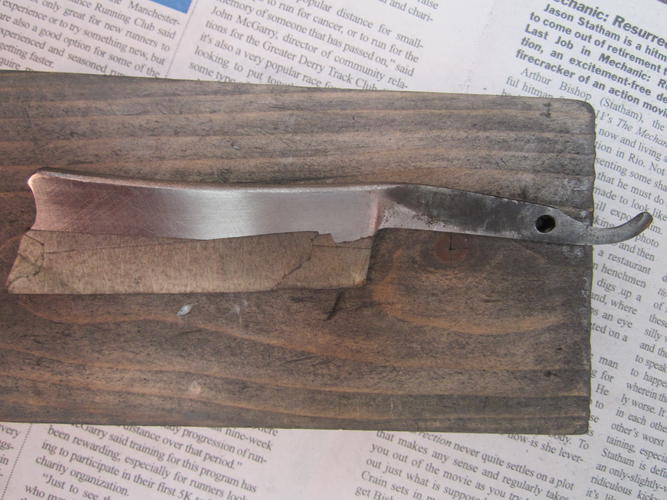
Then finally the pits are out of the blade faces. I managed to maintain a smooth even surface from what I can tell so far. So the blade faces have scratch from 150 grit right now. It took something like 12 hours to this point.
Attachment 246210Attachment 246211Attachment 246212
Next I will focus on the spine, tang, tail and notch getting them all pit free at 150 grit. I do not do anything to the maker's mark - that will be done separately using minimal touches because it is not a very deep mark. I tape the edge for safety. Sometimes I use a small diamond file in these areas as long as it never contacts the blade faces or maker's mark. After pitting is out on these areas I will finally at last be able to start working through the grits 220, 400, 600, and on up. I'm having fun but I realize this thread so far is like watching paint dry :)
Attachment 246216
-
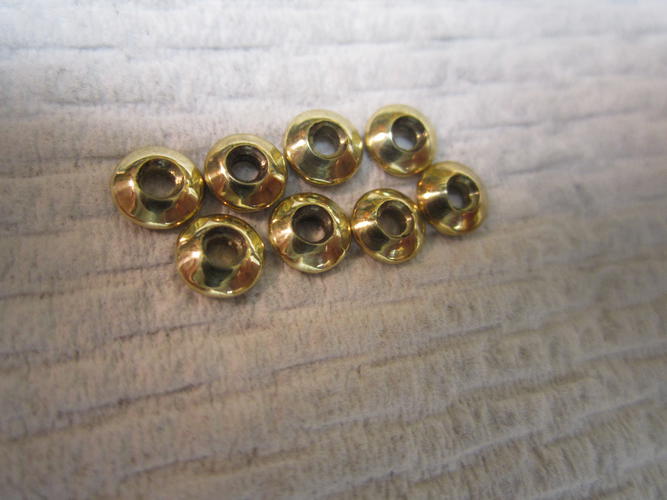
12 Attachment(s)
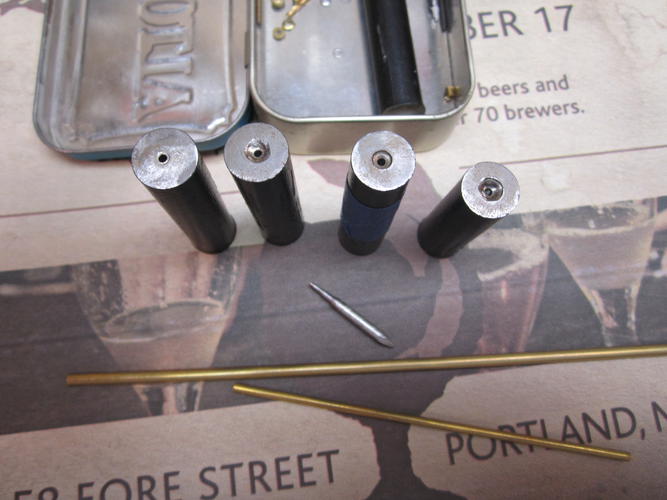
Took a break from the blade work and made solid brass dome collars today. I made a set for me and a set for a friend of mine. I basically use the method described in this thread... http://straightrazorpalace.com/works...-vlad-how.html
I am set up to make two sizes, large and small using these size brass tubes found on Amazon
Attachment 246308
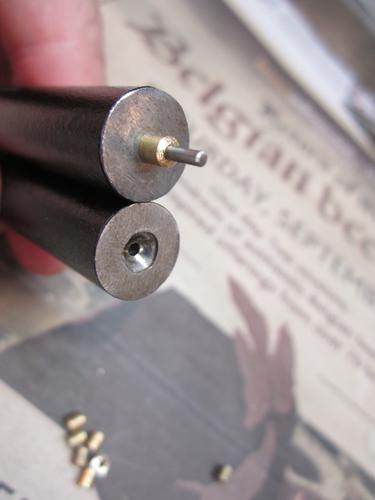
These are my tools for making collars. Steel rod drilled out and cupped for different sizes along with a mandrel made from a roofing nail.
Attachment 246309
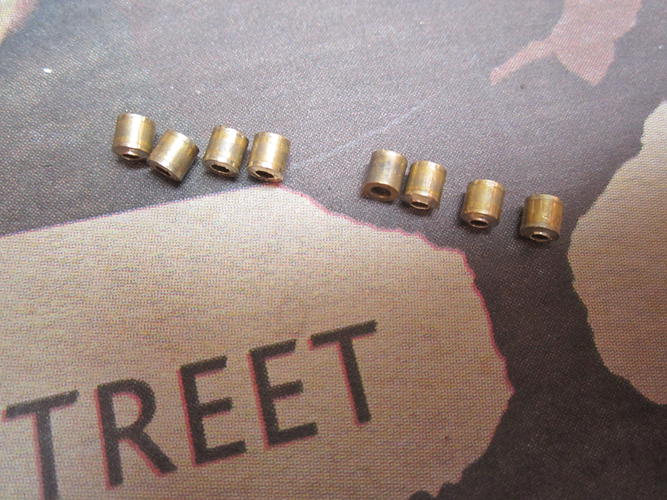
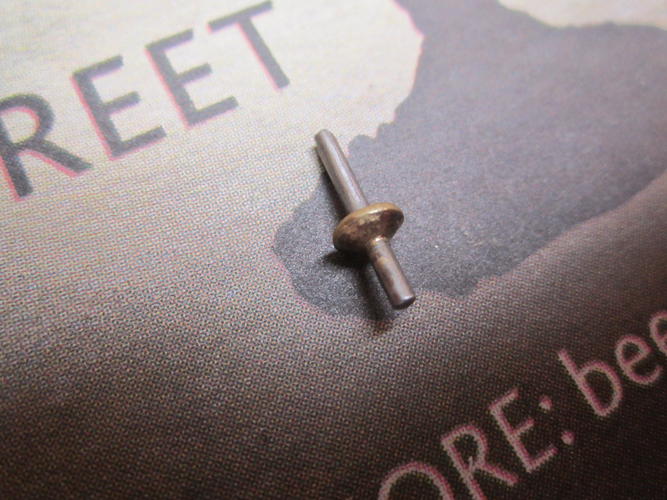
I cut the tubing and put the pieces in the jig using a snapped off piece of 1/16 drill bit as a post.
Attachment 246310Attachment 246311Attachment 246312
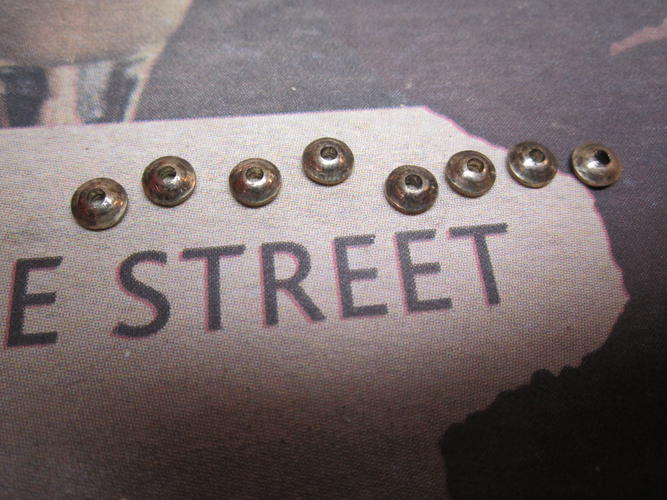
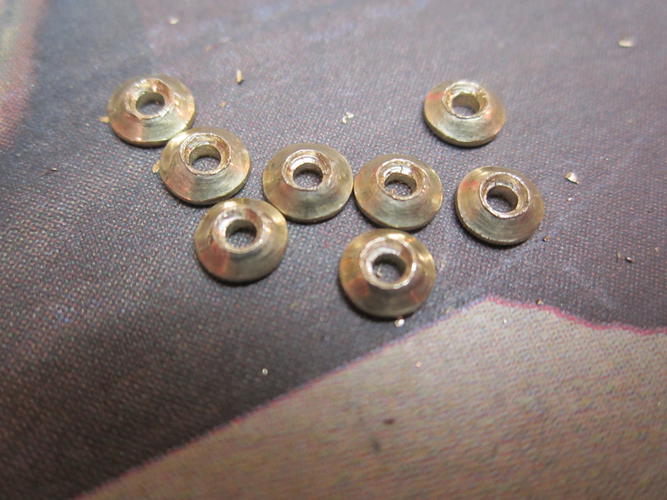
Then I hammer the jig and make the domes.
Attachment 246313Attachment 246314Attachment 246315
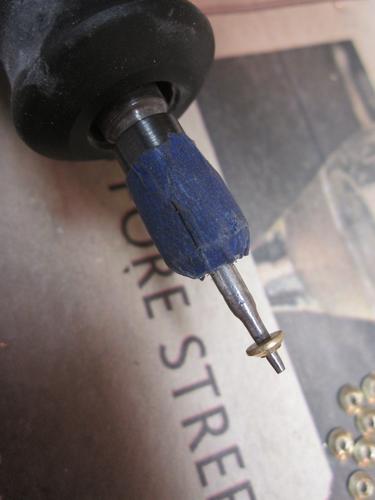
Then I dish out the top to allow for pin to set flush, use the mandrel in a dremel and progress through high grit sandpapers and lapping paste on cloth scrap to polish. Yep, these will do nicely..
Attachment 246317Attachment 246318Attachment 246319Attachment 246320
-
Those come out pretty sweet..!!! Gives me idee'rs.
-
Man, I totally love the doing more with less! :)
Awesome! :tu
-
Yes! Very nice work, guess I know what my next project is
Sent from my SM-G900V using Tapatalk
-
Lookin' fiiiiine. Keep puttin' out that great work tuzi!
-
Wow, your patience and skill with the hand sanding are incredible, not to mention those domed collars! I can't wait to see where this goes!
(Oh, and now that I know your name is Garrison, it will spare me the awkwardness of referring to your as Xiaotuzi-pray tell, where did you get that forum handle? It sounds like the name of some warrior chieftan!).
Aaron