Looking forward to the next installment! Things are coming together!
Printable View
Looking forward to the next installment! Things are coming together!
I keep checking in on this cant wait to see it complete :) gonna be a looker for sure.
Sent from my SM-G930R4 using Tapatalk
Back to work on the blade today. I sanded up to 2000 grit and have a nice even surface ready for applying the satin finish. I'm please with the way it turned out so far, if I had created a wavy surface earlier with the lower grits it would have been evident at this point. So, I'm happy it's nice and smooth. After that I honed what was left of the chips out of the edge and have a pretty good bevel set on my King 1000. It still measures 7/8 at the widest so I'm happy with that also. I will reset the bevel after the satin finish is complete.
Nice work! Progressing nicely, bevel looks small and even.
Ya know...This is absolute proof-positive that there is no shortcut in making an old wedge glow.
True-enough, a thick wedge is an awesome canvas which cannot be attained with more hollow-ground blades.
Still, this is a lot of work.
Done evenly. I take a great deal from that aspect.
That is what makes Tuzi's work stand out.
Thanks for this tute!
What he said^
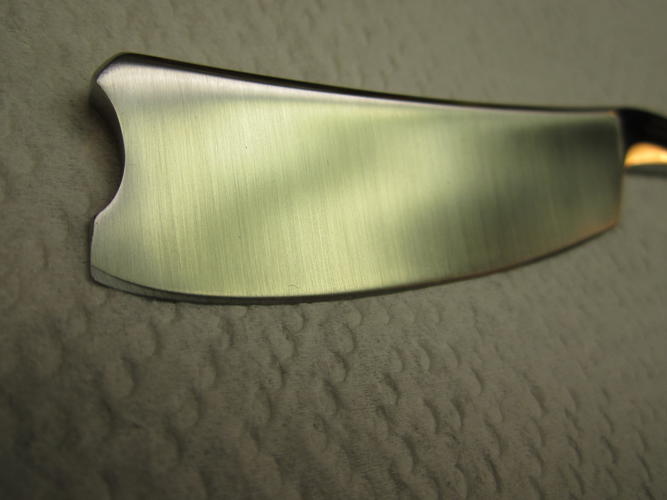
The last step for the blade, and maybe the most fun, is putting the satin finish on the blade faces. I learned a lot from methods described in this post http://straightrazorpalace.com/works...in-finish.html
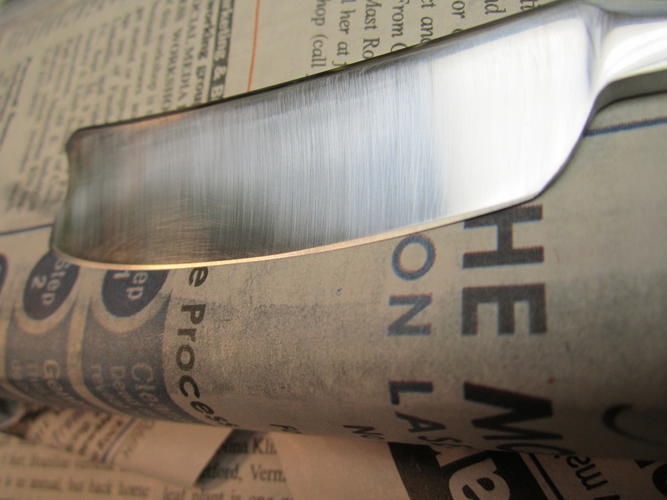
and sort of based what I do on that. First I start working with 1500 grit sandpaper dry, spine to edge in straight lines, or as straight as possible. I sometimes use a small leather backer but usually end up using bare finger backer. Careful not to touch the areas that are to be left mirror
Attachment 246700
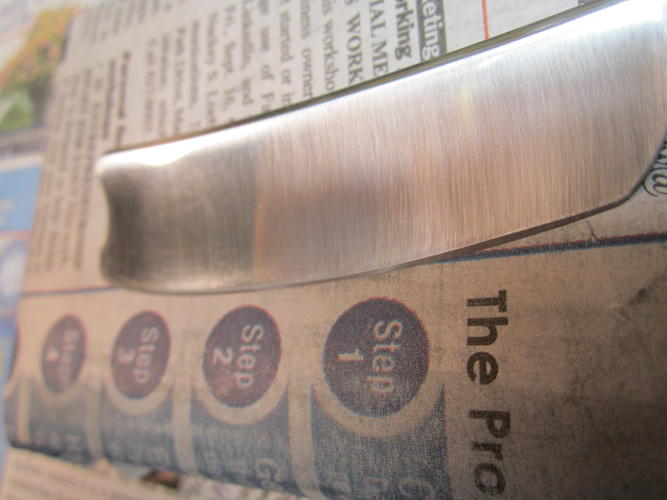
Then 1000 grit dry with the same action
Attachment 246701
800 grit dry
Attachment 246702
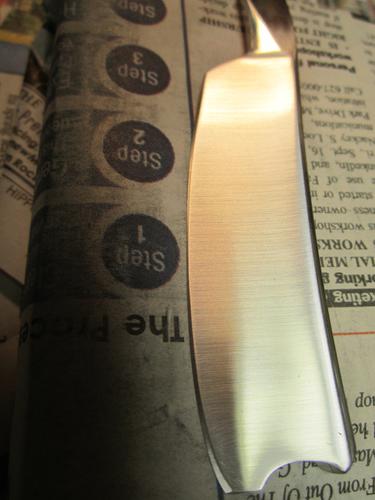
Then 600 grit dry, then 600 lightly coated in oil, this time I used clipper oil
Attachment 246704
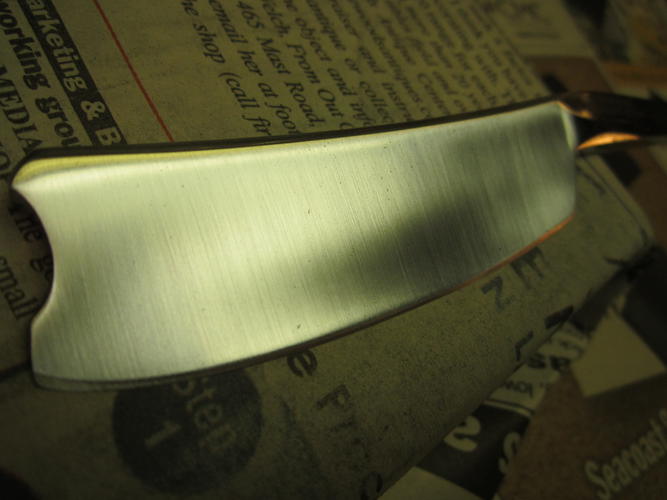
After that I coated some 2000 grit with some diamond paste and again work spine to edge in straight lines until finished. Then polish up the spine, tang, tail and notch.
Attachment 246705Attachment 246706
Next step is just putting it together...
Well done, blade looks superb.
Very nice, well done. [emoji106]
So you go fine to more coarse as getting the finish down. Interesting. You seem to be avoiding the bevel?
How do you not drag the sandpaper across it?
Looks quite nice! :)