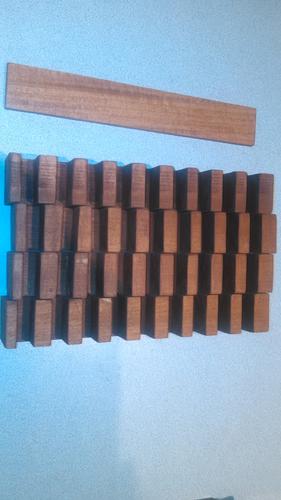
Here are the spacers all stained and held down by bricks while the glue dries. The stain is leftover from a table I refurnished at work. Boss paid for the stain so bonus there.
Attachment 251065Attachment 251066
Printable View
Here are the spacers all stained and held down by bricks while the glue dries. The stain is leftover from a table I refurnished at work. Boss paid for the stain so bonus there.
Attachment 251065Attachment 251066
All done and filled with straights (well I havent redone the outside yet, maybe in the spring)
Attachment 251074Attachment 251075
Ok now for the post-mortem.
Things I did wrong:
I used too much glue attaching the liner to the bottom, Also didn't clean the liner before installing, and well some dirt is now glued in place
I was planning on using 1 big piece to dado the slots in then cut into 4 pieces. Couldn't find an appropriate piece of wood so I used 2X2s, Was hard to keep square to the fence so the slots aren't that straight. Have a few ideas on how to do it better next time.
Liner on the sides is not a great idea, didn't have much choice as the sides were pretty messy but when I do another if I can avoid, I will.
Yes I will need another But I am not sure if I will modify a box or just build my own. If I choose to build my own I will have to wait until late spring, its getting to cold to move everything outside the "garage" to do any wood working
Things I did right:
Cheap liner from dollar store worked very well aside from my glue mess up. I used 1/2 for the slots and spacers seems to be a very good choice.
Nice job on the box! Thanks for taking the time to share the pictures and process.
Nice box, and a great idea. Unfortunately I only have one razor at present, but I have a feeling I'll be needing a box like that before long!