
Results 1 to 10 of 28
 59Likes
Thread: Custom SatinEdge Project
 LinkBack URL
 About LinkBacks
-
03-30-2019, 08:59 PM #1Senior Member


- Join Date
- Nov 2016
- Location
- Somewhere in Mass.
- Posts
- 320
Thanked: 80 Custom SatinEdge Project
Hey dudes, sorry I didn't get to this sooner, been on nights this week. But figured I should start a new thread to document my process of bringing a satinedge from dull and sad to a piece that I will soon love and cherish. Disclaimer I am not Glen, Max, or any of the other great resto-pros, nor do I pretend to be.
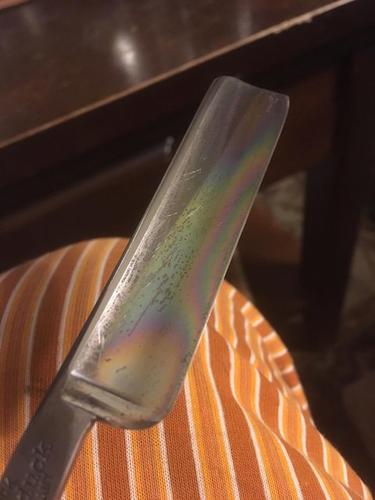
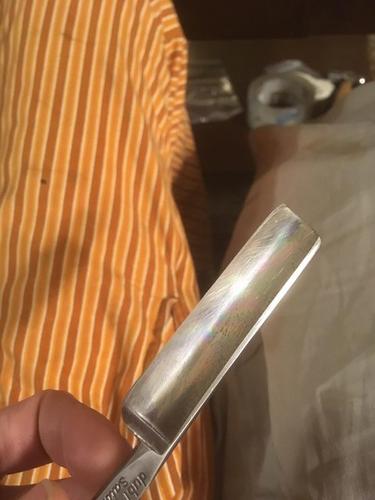
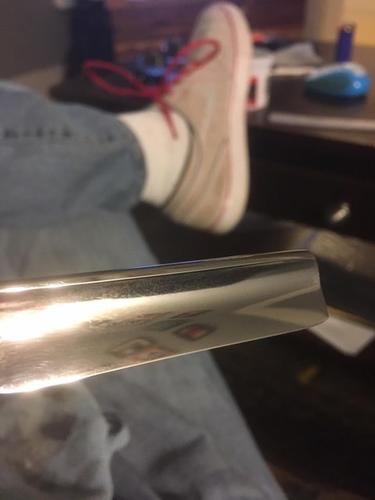
So with that out of the way here are some pictures of the blade when it first arrived. I only paid $35 dollars for it so I thought I got a good deal. However when I first got it, I noticed a rainbow, iridescence effect on the blade. I had read somewhere on this forum a while ago that it could mean the temper is toast. However after posting pictures, members with more experience told me that it was a common effect from off gassing.
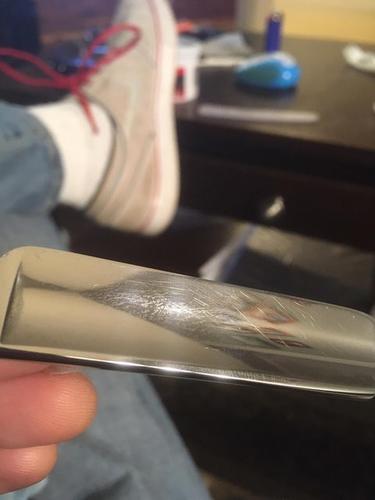
I started right in on the blade wet sanding with 1000 grit and working up to 2500 before going to polishing compounds. The rainbow effect is gone, and all but a few deep scratches and some light pitting remain on the blade. I was impressed by the grind so didn't want to sand to much and risk screwing it up so figured I could live with the the imperfections.
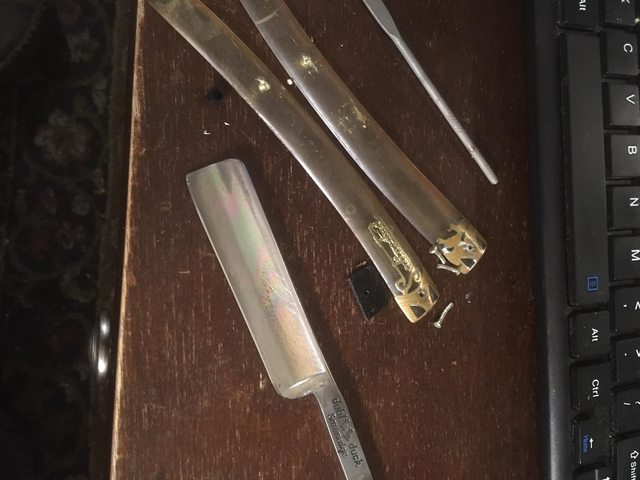
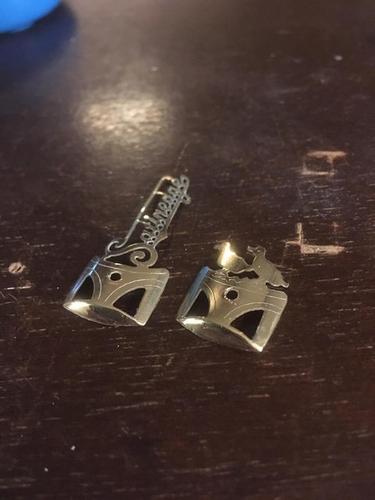
Taking the bolsters off was pretty straight forward, a 20 min bath in acetone softened the scales up enough to carefully remove them. I did the majority of the polishing while they were still on the old scales, and then once removed I ever so carefully cleaned up the insides with a q-tip and some patience.
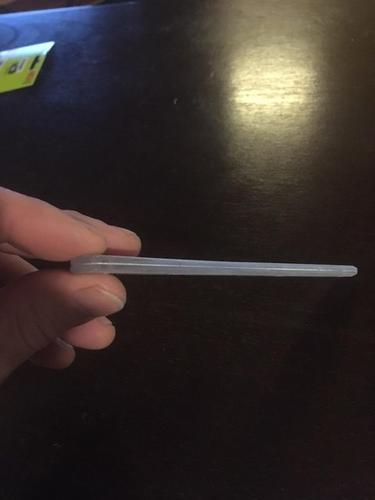
I purchased some PVB plastic to make the scales with and am kinda at the point where I need to start thinking about the end game. I have about a 1/32 or so that needs to come off near the pivot hole at the top, don't know if the picture shows it. Again no where near close to the final product but getting there
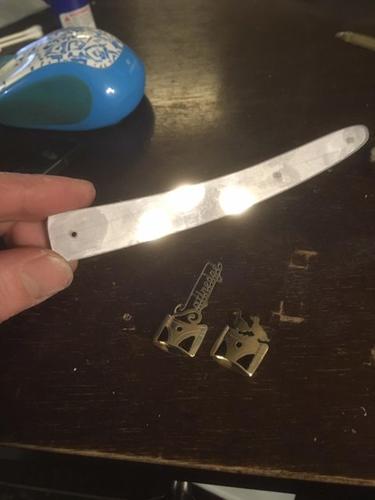
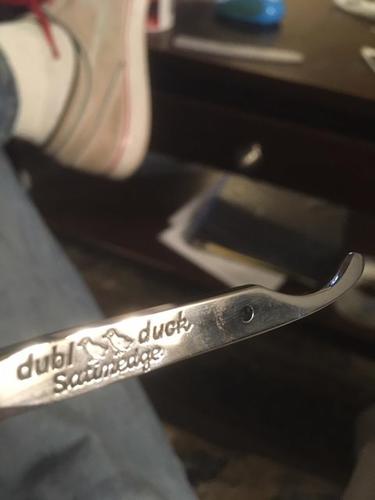
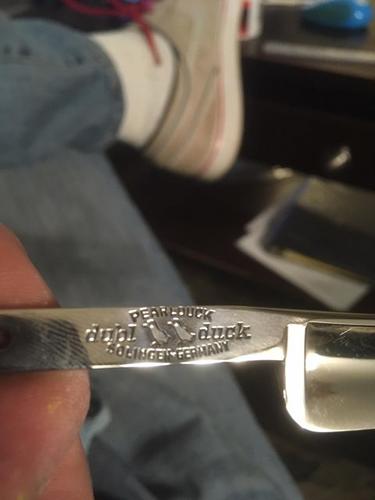
I am going to gold leaf the stamps on the tang, and also going to laminate a very thin sheet of abalone veneer on the insides of the scales. I need to do some experimenting with small fragments of abalone and scrap PVB to make sure that I get the effect I want. Atm I am waiting for the oil based size and abalone sheets to to arrive, so expect many, many more pictures documenting the ups and downs of this project. This idea was purely conceptual so not %100 sure how this is gonna turn out. I am confident the gold leafing is gonna look great, just not sure what it's gonna take to get the abalone veneer to look how I want.
Best Regards,
-Laramie-"If the brakes don't stop it, something will"

-
03-30-2019, 10:43 PM #2Senior Member


- Join Date
- Feb 2015
- Location
- Duluth, GA - Atlanta OTP North
- Posts
- 2,546
- Blog Entries
- 1
Thanked: 315
Alright! Looks like a great project thread.
Good luck and take your time! I've wasted good materials by not spending more time looking at all the approaches and being more cautious.yondermountain91 and Gasman like this.- Joshua
-
The Following User Says Thank You to JP5 For This Useful Post:
yondermountain91 (03-30-2019)
-
03-31-2019, 03:37 PM #3Skeptical Member


- Join Date
- Nov 2016
- Location
- Colorado Springs
- Posts
- 10,554
Thanked: 2195
Nice job. Keep at it and go slow. Lots of fun aint it.
yondermountain91 likes this.It's just Sharpening, right?
Jerry...
-
03-31-2019, 11:28 PM #4Senior Member
- Join Date
- Nov 2016
- Location
- Somewhere in Mass.
- Posts
- 320
Thanked: 80
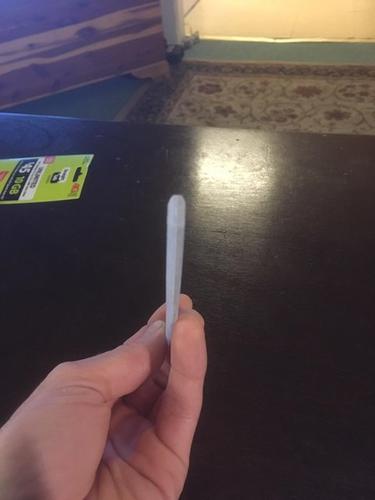
It is fun Jerry, really glad I've been getting back into the hobby side of things. I tried to find some of my old post of my past work but I can't seem to find them. But doesn't matter these are gonna blow them outta the water. I just started shaping last night, and will probably have some more free time after dinner to work on them tonight. There's this voice in the back of my head saying "They're to thin". So that's made me stop and really think about do I want to shape these just to find out that indeed they are to thin. I need room to sand and polish and right now they are like .1mm bigger than the old ones. I am adding the Abalone on the inside, and that will add another .2mm, plus the glue, so I really think I'm good. Just can't help but proceed with caution from past projects.
Best Regards,
-Laramie-outback likes this."If the brakes don't stop it, something will"
-
04-01-2019, 01:03 AM #5Senior Member
- Join Date
- Feb 2015
- Location
- Duluth, GA - Atlanta OTP North
- Posts
- 2,546
- Blog Entries
- 1
Thanked: 315
Any pics of the scales so far?
- Joshua
-
04-01-2019, 02:08 AM #6Senior Member
- Join Date
- Nov 2016
- Location
- Somewhere in Mass.
- Posts
- 320
Thanked: 80
Not as far along as some others would be, haven't really had as much time as I would like to work on it. I got wednesday off this week so hopefully I'll be able to work on it more then. Seems like something always comes up as soon as I sit down.
 RezDog likes this."If the brakes don't stop it, something will"
-
04-07-2019, 01:45 AM #7Senior Member
- Join Date
- Nov 2016
- Location
- Somewhere in Mass.
- Posts
- 320
Thanked: 80
So not really blasting through this project like some could, but got the abalone a lot sooner than I was expecting so that kinda motivated me to put other things off to do this. Also received the right size to gold leaf the stamps with the left over 24k leaf I have.
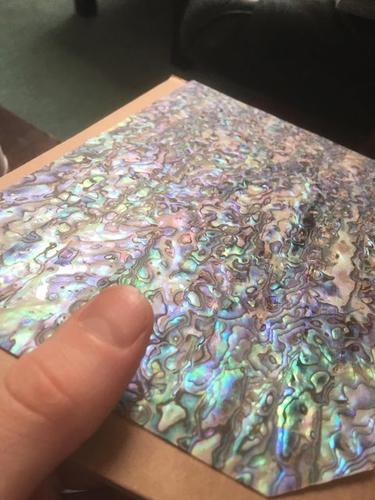
I also cut out a small corner of the sheet to do a little test to make sure it was going to reflect through the plastic like I wanted. I'm not a photographer so it's a little blurry, but you get the idea.

Came out great, I used regular old clear epoxy, same epoxy I use for brush knots actually. It's flexible when fully dry so will flex with the scales, and I think it came out really good. I got pretty sloppy and got a glob of epoxy on the top but you can still get the idea of what it would like shining through the scales. I also sanded with 220 to make sure the epoxy had something to bite into. When I do the scales I'm going to just glue them right to the sheet then cut them out after it dries. Put a piece of wax paper over, then place some weight on it and be done with it. I think this is going to come out really good. If for some reason I don't think the bolsters are going to come out clean I am going to abandoned them and keep these scales looking tight and clean. Still confident that I can do it, just saying lol, doing a little C.Y.A. here.
-Laramie-"If the brakes don't stop it, something will"
-
04-07-2019, 05:26 AM #8Senior Member

- Join Date
- Feb 2013
- Location
- Haida Gwaii, British Columbia, Canada
- Posts
- 14,455
Thanked: 4830
I think it’s Glens line of rush a restore, ruin a razor.
I have tried not to hurry any of my restores. I often juggle several and some are on the todo board for a very long time. If I had to bust my butt to get them done it just would not be a relaxing hobby.It's not what you know, it's who you take fishing!
-
04-07-2019, 11:04 AM #9Senior Member
- Join Date
- Feb 2015
- Location
- Duluth, GA - Atlanta OTP North
- Posts
- 2,546
- Blog Entries
- 1
Thanked: 315
Looks very promising! Too bad you were not happy with the bolsters. Maybe you will find some later on a busted blade you can salvage. They looked pretty good in the picture.
Dont worry about how fast it gets done. I've got the same blades sitting in a box for years. Most probably wont get fixed until I send them off or get a garage/shop to work in. So I certainly can't judge anyone for taking it slow. Most of my mistakes were because I got in a rush and then thought, "I knew better than that, this wouldn't have happened had I taken more time."- Joshua
-
04-07-2019, 01:16 PM #10Senior Member
- Join Date
- Nov 2016
- Location
- Somewhere in Mass.
- Posts
- 320
Thanked: 80
I haven't given up on them at all, I'm just saying if towards the end I don't think they're going to come out super clean I'm going to go a different direction. I don't want to ruin the abalone with a half ass bolster transfer, all's I'm saying. I've read through multiple threads and the technique is definitely within my abilities, on paper at least. So pretty sure I got this, the abalone was just kinda like BAM!!! Made me forget for a second about the end game lol. Originally Posted by JP5
 Gasman likes this."If the brakes don't stop it, something will"


 Reply With Quote