
Results 21 to 21 of 21
 LinkBack URL
 About LinkBacks
Threaded View
-
03-20-2009, 01:24 AM #1Comfortably Numb


- Join Date
- Jan 2009
- Location
- Charlotte, NC
- Posts
- 2,095
Thanked: 668 Split Mandrel dremel sanding tutorial
Hey guys, I posted these pics on another thread and I thought that I might as well explain my process in greater detail so that everyone can see what I do with my slotted mandrel for sanding blades. I don't claim that this is the only way, or even the best way... it does seem to work for me though.
Here we go
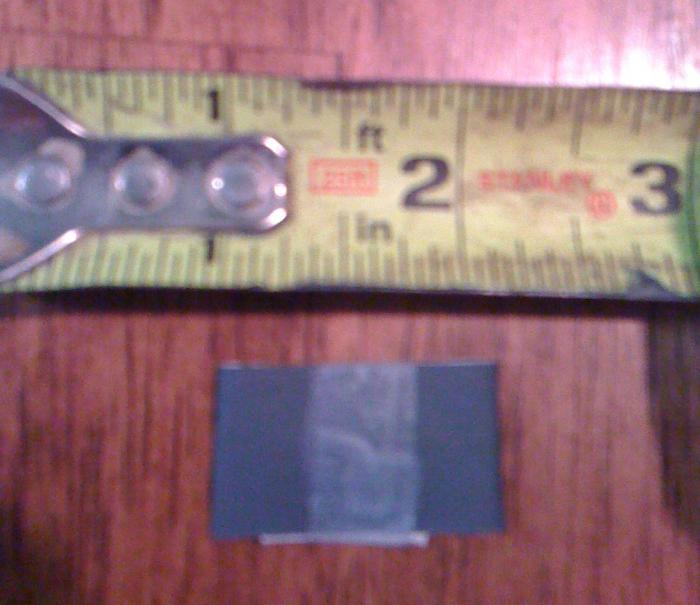
1. The first thing I do is decide on the size of "flap wheel" I want. This depends a lot on the razor. For a big wedge I use a piece of sandpaper just over two inches long (and the width is just under the size of the mandrel slot). For a hollow blade, I use a piece that is about half the size (in all dimensions) of the wedge strip.
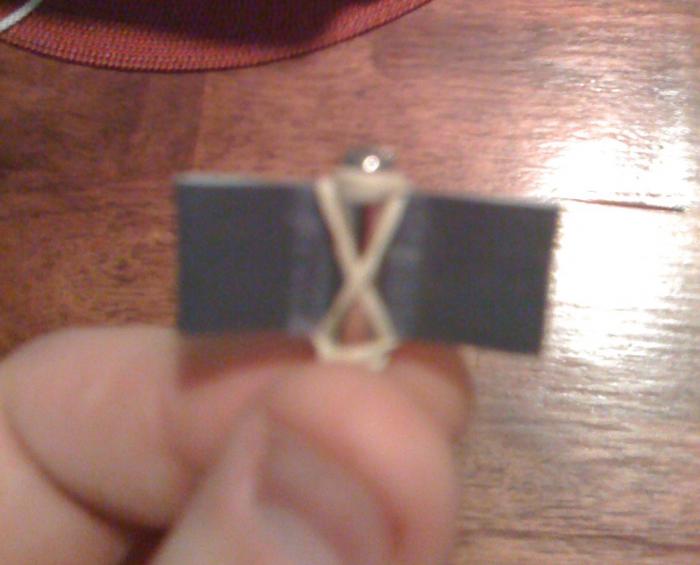
2. Then I fold the paper so that the two ends meet in the middle and tape around where they join with some scotch tape (anything will work as long as it still fits in the slot).
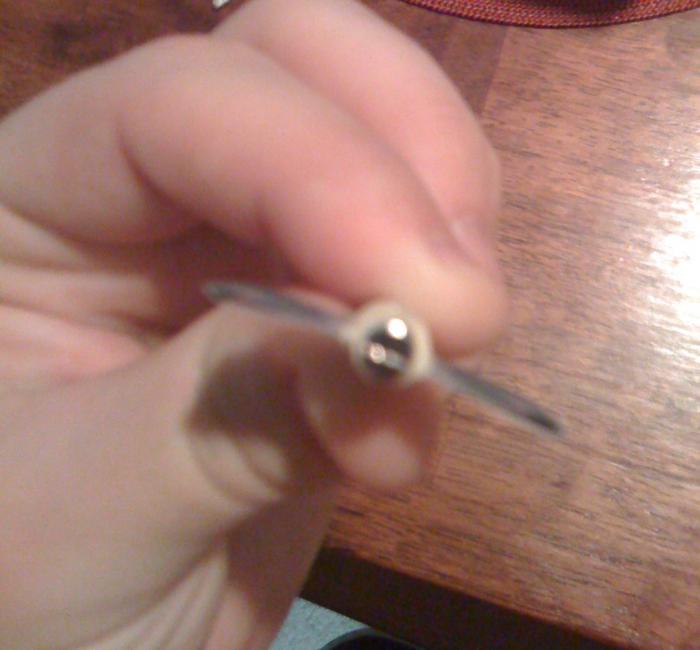
3. I secure the sandpaper with a rubber band. You can see how I wrap it in the picture... a smaller band works better (fewer wraps are required).
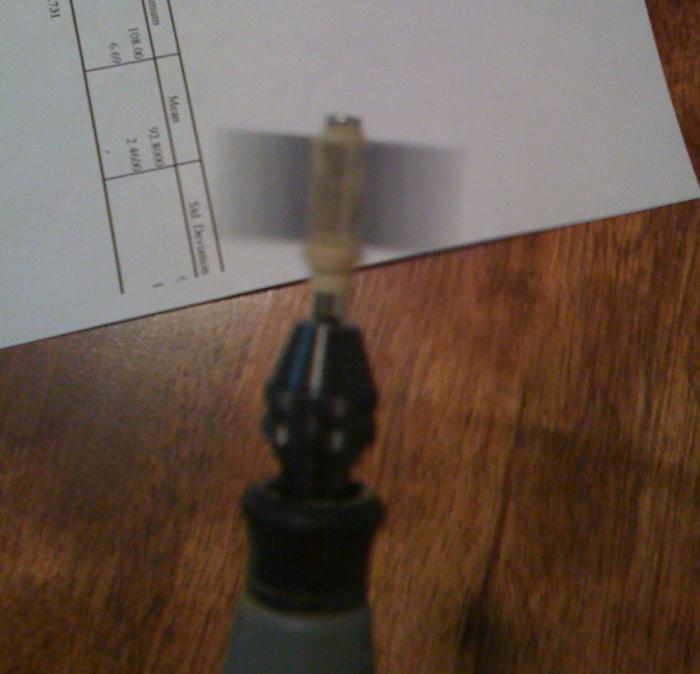
4. I set this up in my dremel with a flex shaft and go to work with a slow speed (my preference) and a very light hand. I figure that if I go slowly and carefully the tool will do the work and I'm less likely to make a mistake. Don't make the mistake of getting impatient and trying to bear down on the workpiece. light and careful... slow and steady.
5. Always make sure that you don't move up to a finer grit until all of the sanding marks from the previous grits are gone.
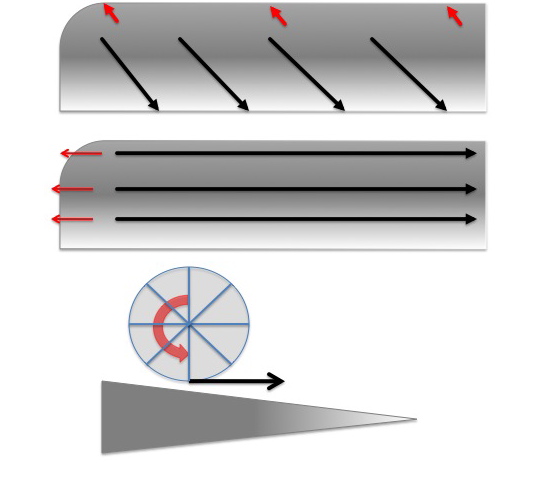
Note: you must know which direction the flap spins in and adjust your sanding passes accordingly. I use a pass where the tool spins parallel to the edge, and at a 45 as in the graphic. In the 45 degree case, the arrows show the direction of the spin of the tool. hold the tool at a 45 and move it from toe to heel or the other way around, depending on spin direction and which edge you are working on.
NEVER sand into and edge.. the flap should sand in a motion that goes from the middle of the blade OUT to whatever edge you are working near. I tried to make this obvious with the arrows always pointing out to the edges. When you get anywhere even close to an edge you will have to change your position to make sure that you are sanding from the middle out. Basically match the direction of the spin, to the arrows on the graphic.
Last edited by Del1r1um; 03-20-2009 at 01:29 AM.
-
The Following 17 Users Say Thank You to Del1r1um For This Useful Post:
0livia (05-21-2009), AirColorado (05-21-2009), baldy (06-13-2009), Blade (03-20-2009), Bronco (03-21-2009), DerekC (05-21-2009), JimR (05-14-2009), Leon (03-20-2009), Montgomery (03-22-2021), Pete_S (03-20-2009), randydance062449 (05-19-2009), Seraphim (06-11-2009), slipangle (05-15-2009), tdgrunt (03-21-2009), tinkersd (10-09-2011), Utopian (03-20-2009), vulcano (05-14-2009)


 Reply With Quote