
Results 1 to 10 of 14
Thread: Creating A Razor....
 LinkBack URL
 About LinkBacks
Hybrid View
-
10-20-2009, 11:31 PM #1Junior Member


- Join Date
- Oct 2007
- Posts
- 20
Thanked: 1 Creating A Razor....
Ok, so I have purchased my fleet of straight razors, been shaving with them for a year or so and now I feel like going one step further. I want to make my own scales. I already have a bit of an idea what I want, but i'm still not entirely sure how to start. Here is what I have for plans so far....
- find a good blade that may be in need of honing and still has alot of life in it but may be requiring new scales as the old ones may be chipped or broken, or just nothing special.
- use some deer antlers that I have aquired in order to make some blanks, then become creative or something and maybe carve a design in them or something. (this step i'm still not so sure about.)
- finish it with some waterproofing material
- hone, strop, and shave
- oh, and maybe make a matching shaving brush, kinda like a set or something.
I'd love any ideas, suggestions , or help. Oh and if you have any ideas of what I might carve into the scales (and possibly the matching brush handle) please message me.
-
10-20-2009, 11:38 PM #2Senior Member

- Join Date
- Jan 2009
- Location
- Woodward, OK
- Posts
- 875
Thanked: 348
Sounds like you got it all in line. I would get some cheap wood and do a test set before you start cutting the horn just so you have a feel for it. Other than that good luck and have fun!!!
-
10-20-2009, 11:41 PM #3Straight Shaver Apprentice

- Join Date
- Sep 2009
- Location
- Boone, NC
- Posts
- 1,093
Thanked: 168
I just started making my own scales. I recommend starting in wood. You should be able to get some walnut cheap, and wood is easier to work than bone. Even if you end up trashing every wooden set you make, you still save on all the bone you would have used practicing. It really isn't as hard as you would think though. I have made 3 sets using just a pocket knife, hammer, sandpaper, wire cutters, and the materials for the scales and pins.
Drew
-
10-20-2009, 11:44 PM #4Straight Shaver Apprentice
- Join Date
- Sep 2009
- Location
- Boone, NC
- Posts
- 1,093
Thanked: 168
Oh, and you are going to need a 1/16" drill bit, 1/16" brass or nickle rod, size 0 washers (got mine from microfasteners), and you are going to want your scales about 1/8" thick when you start. Sanding you will probably remove a solid 1/3 of that, leaving your scales just about right.
-
10-21-2009, 12:09 AM #5Senior Member

- Join Date
- Jan 2009
- Location
- Woodward,OK
- Posts
- 419
Thanked: 458
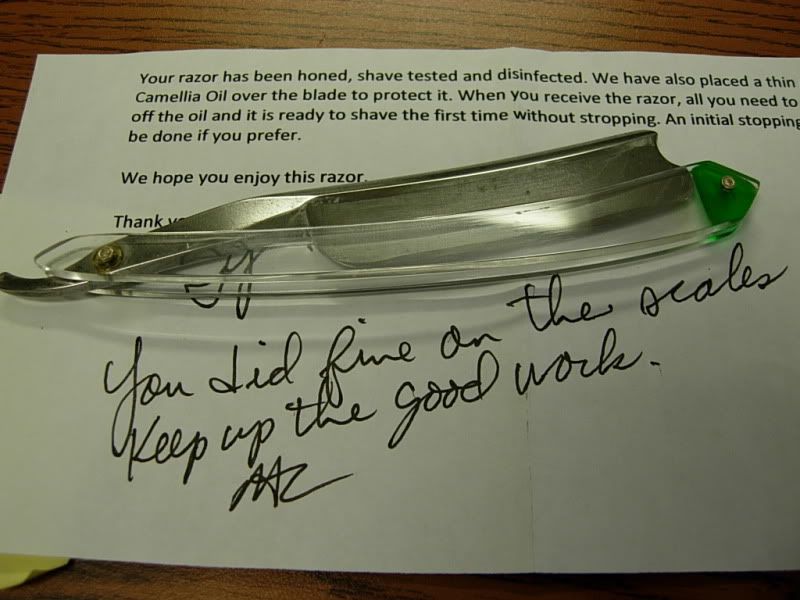
This is only my 3rd set of scales and they just keep getting better, like my brother said(sbrouwers), its not a bad idea to get some cheap wood to practice on.......I just dove into these
 .
.
-
The Following 2 Users Say Thank You to ThePhill For This Useful Post:
benissimo777 (01-27-2010), shutterbug (01-27-2010)
-
10-21-2009, 12:33 AM #6Straight Shaver Apprentice
- Join Date
- Sep 2009
- Location
- Boone, NC
- Posts
- 1,093
Thanked: 168
Very nice. I haven't tried anything in plastic yet (I'm assuming that is G10?). I just love the look of wood scales too much.
-
10-21-2009, 01:44 AM #7Senior Member
- Join Date
- Jan 2009
- Location
- Woodward,OK
- Posts
- 419
Thanked: 458
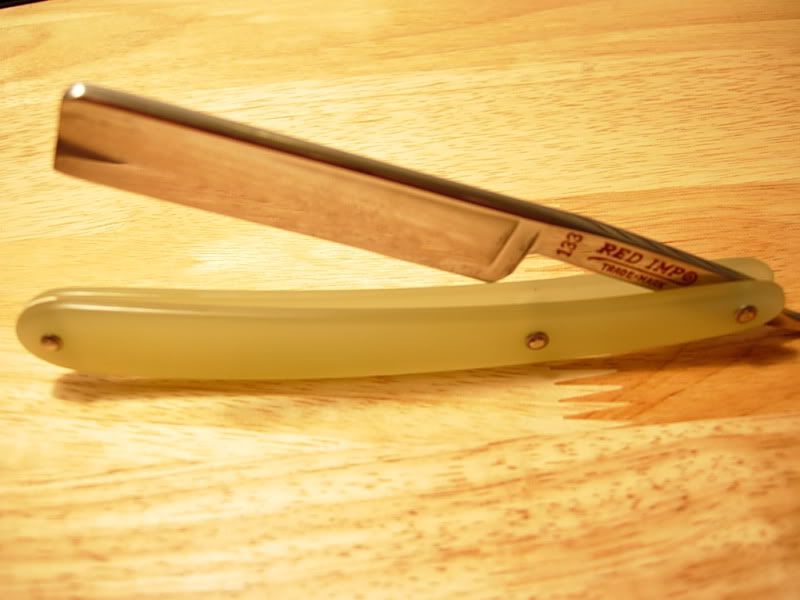
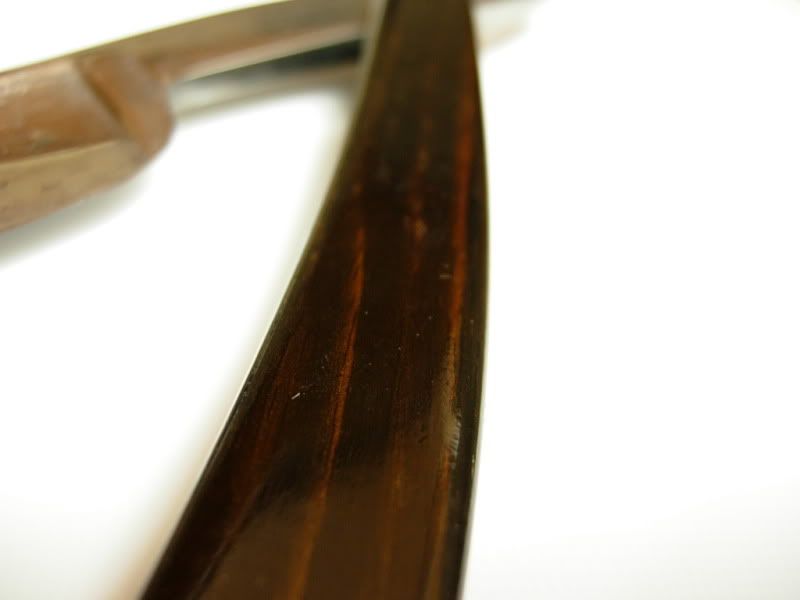
My first 2 sets were clear acrylic and they turned out great, but my favorite set are on my John Wragg 7/8 full hollow done once again by my brother......Black and White Ebony......man I need to wipe the oil of my blades for pics Originally Posted by DPflaumer

 . And yes, thats Jade Ghost G10, thanks for that idea Max!
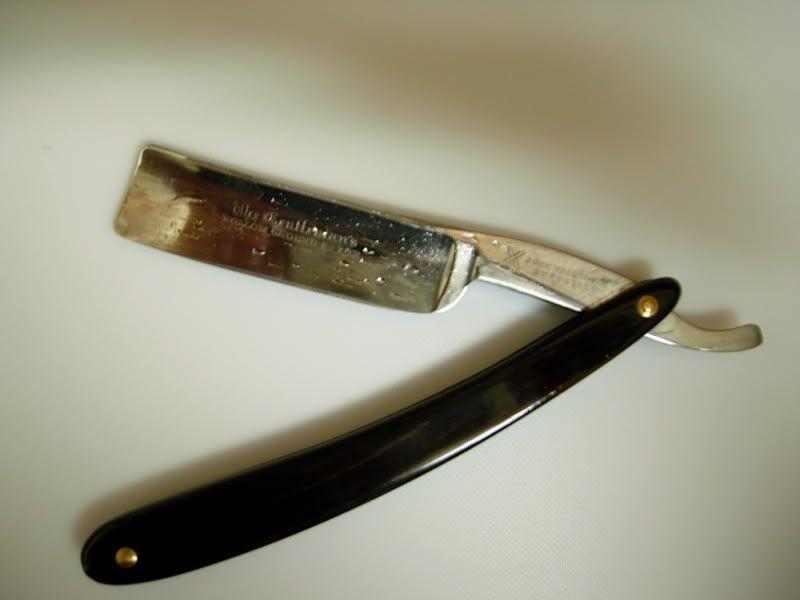
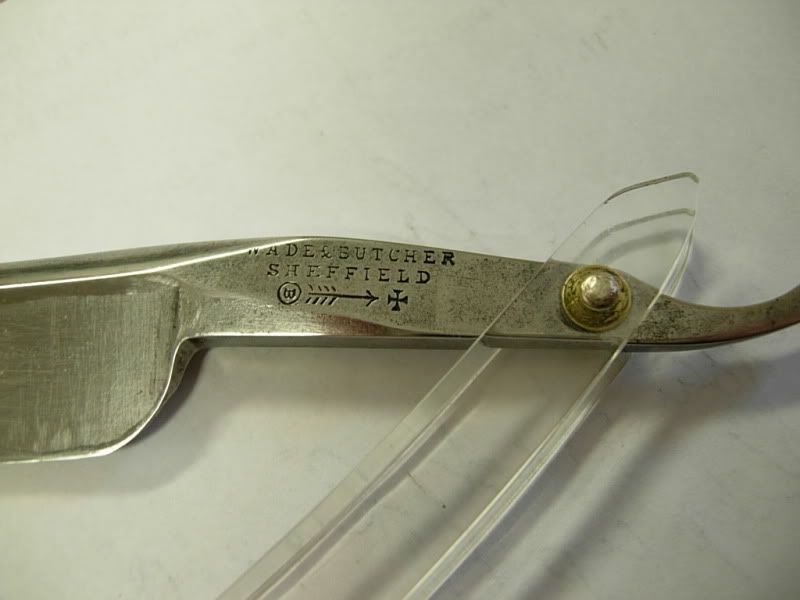
Ahah! Found pics of the first set, sbrouwers old Butcher that now has a new home.
Don't be afraid to try something, I just winged these and you see how they turned out, don't be scared! Nuff said.Last edited by ThePhill; 10-21-2009 at 01:51 AM.
-
01-27-2010, 04:49 AM #8Junior Member
- Join Date
- Oct 2007
- Posts
- 20
Thanked: 1
I found out only too late about the smell... but thanks anyways... lol.
I was wondering if anyone has any design ideas for making a custom brush also?
I was thinking of turning antler on a lathe and then carving from there...
I would love to hear any creative ideas, no matter how "out there" it sounds.
-
01-27-2010, 07:49 AM #9Usagi Yojimbo


- Join Date
- Jan 2007
- Location
- Ramona California
- Posts
- 6,858
Thanked: 792
There are a lot of fine craftsmen here at SRP but something tells me you need to speak with icedog. He is quite the renaissance man and has an eye for the unique, and an artist in his own right. Originally Posted by benissimo777
-
01-27-2010, 04:05 PM #10Senior Member

- Join Date
- Sep 2009
- Location
- Guthrie, Oklahoma
- Posts
- 419
Thanked: 217
I would practice your carving on the tine tips and other smaller areas to give you some practice with working the antler. Also, Using the large base at the bottom of an antler set would make for a cool "top" for a brush handle. Leave the base and cut a few inches up, useing the "upper" portion for the knot. Originally Posted by benissimo777
You might also sand out small sections (ovals ect.) and leave the rest of the texture in place, and do schrimshaw work on the sanded areas.
Bolster the ends of the scales with some silver or nickle to help reinforce the ends and pinning, and maybe a matching band of silver around the cut end of the brush by the knot to help prevent splitting.
just a few thoughts.


 Reply With Quote