
Results 1 to 4 of 4
 20Likes

Thread: Etch & stamp darkening - quick & dirty
 LinkBack URL
 About LinkBacks
Threaded View
-
08-01-2016, 01:41 PM #1Senior Member


- Join Date
- Apr 2012
- Location
- Diamond Bar, CA
- Posts
- 6,553
Thanked: 3215 Etch & stamp darkening - quick & dirty
Etch & Stamp Darkening Quick & Dirty
Here is a simple, quick, fairly long lasting way, to darken a stamp and etch.
Geezer has a great post, for a more permanent darkening using cold gun blue, but this is the 5-minute, down and dirty version.
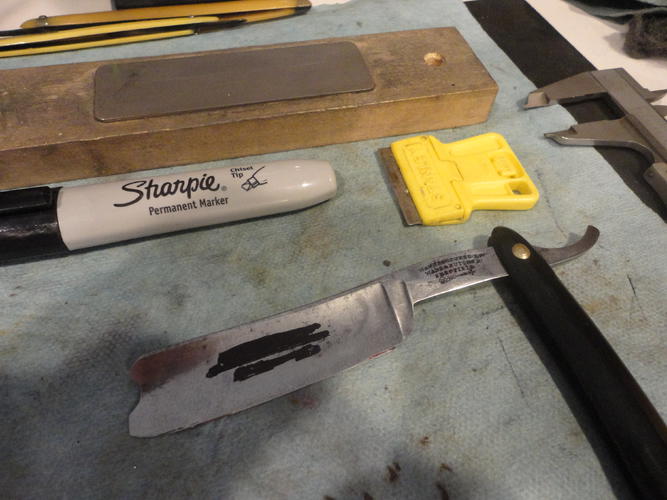
All you need is a permanent Black Sharpie, (I like the wide chisel tip for this), some acetone or brake cleaner and a sharp razor blade.
The razor in this post has not been sanded or buffed, it was cleaned with WD40 and 000 steel wool. I was in the process of photographing the razor for another post on heel and tip correction, I had everything out and on the bench and decided to make a quick photo post. As said, it only takes a few minutes to do this.
This razor will get unpinned the blade sanded and polished, scales sanded, buffed and repined. It is actually easier if the blade and tang are sanded smooth and/or buffed.
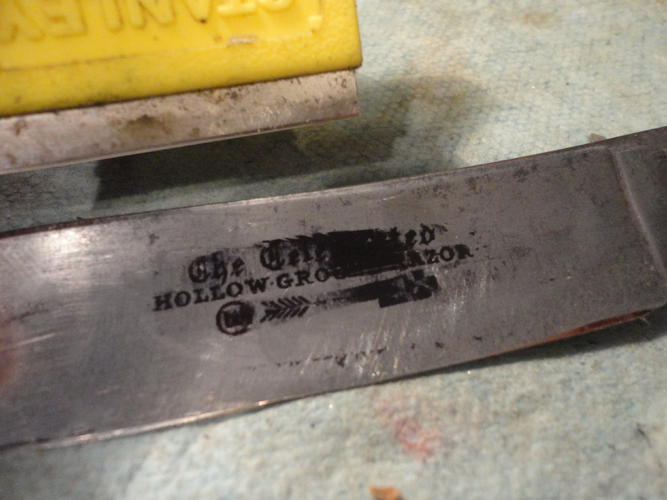
First clean the razor, blade and scales,(WD40 & 000 steel wool) clean the blade with Acetone or Brake Cleaner on a paper towel, over the etch and stamps. Let dry completely.
Photo 4.
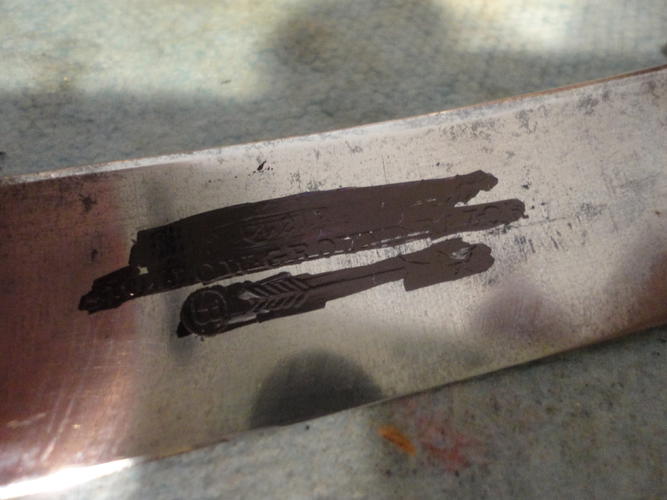
Cover the etch and or stamps with marker, try to fill the stampings. The more excess ink you have on the blade, the more you have to remove.
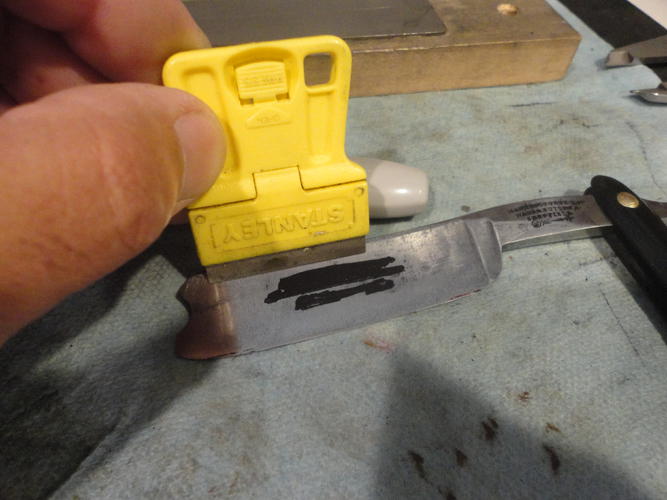
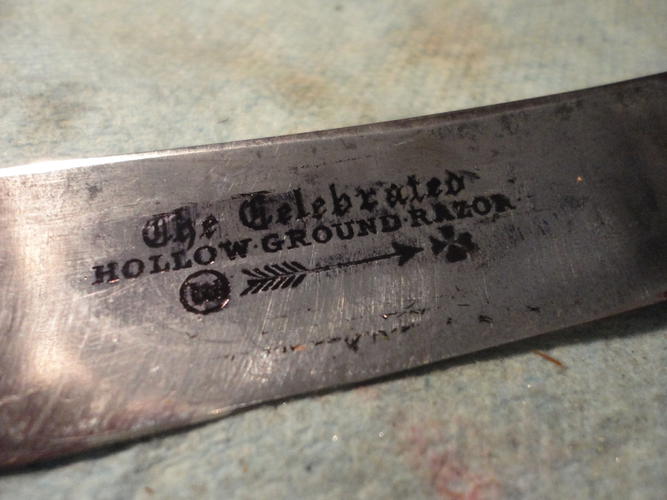
Wait a minute or two, to dry, then coat again. Wait a couple minutes, then take a sharp, single edge razor blade and cut off the ink, on the flat part of the blade and tang. Hold the single edge razor at about 30-45 degrees, cut the ink off, do not scrape, or you will pull the ink out of the stamps.
Photo 5 &6
Remove most of the ink from the flat parts of the razor so that it looks like Photo 6. Now let dry completely for about 5-10 minutes.
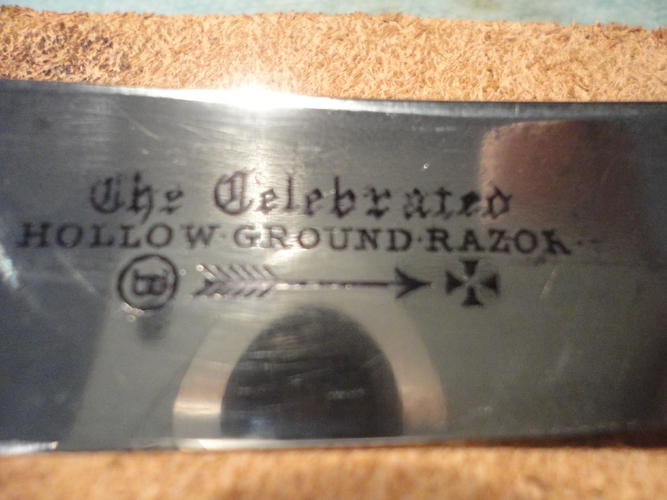
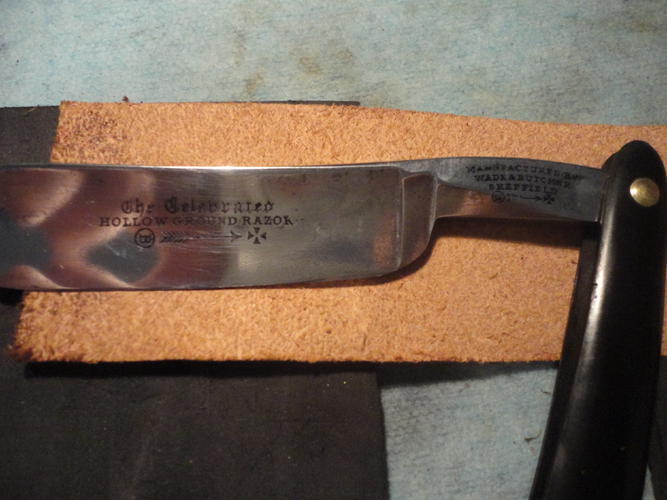
Photo 7.
Wrap your index finger with a paper towel and rub across the length of the blade and tang briskly, try not to press too hard and rub quickly to polish the face of the blade. Remove as much ink as possible, it should look like Photo 7.
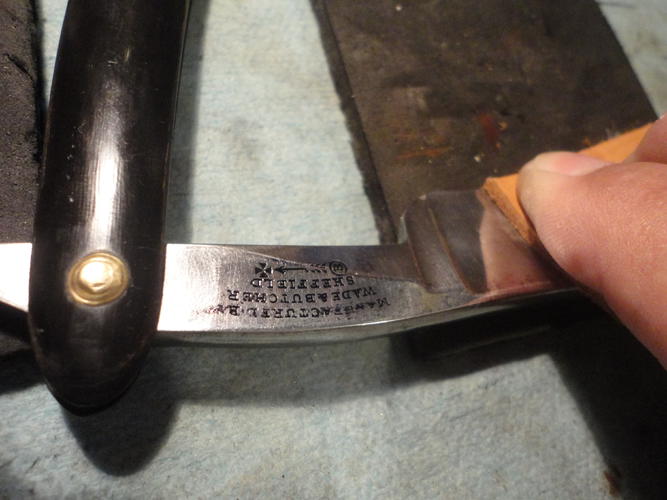
Photo 8
Now take a small piece of leather, wrap around the finger again and with the rough side on the razor buff the razor, removing more ink. Flip the leather and buff again with the smooth side of the leather.
If you have pulled ink from the stamping, you can reapply and cut off the excess, until you get the results you want.
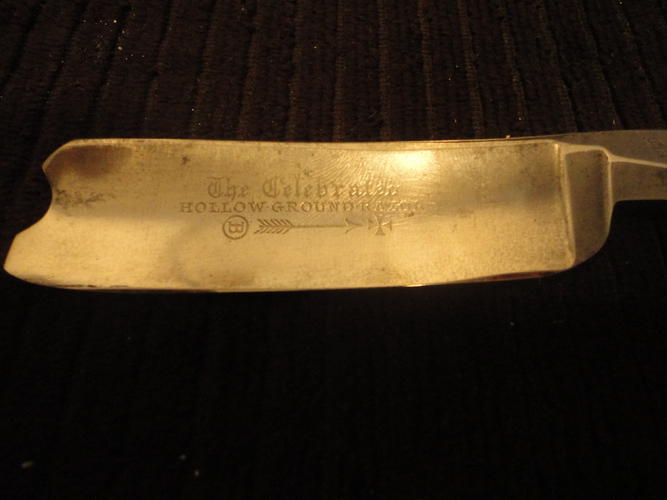
The permanent ink is surprisingly durable and is a quick way to make etching and stamps pop.
Cold bluing is much more permanent, but is a bit more work. The trick to making this work is 1, a clean stamp, 2 wait for the ink to start to dry, so you dont just wipe the ink and 3, cut the dried ink from the flat surface so you dont pull the ink from the stamp.
Worst case if you screw it up, just add more ink.

-
The Following 12 Users Say Thank You to Euclid440 For This Useful Post:


 Reply With Quote