
Results 1 to 5 of 5
 1Likes
 LinkBack URL
 About LinkBacks
-
02-23-2012, 10:04 AM #1Junior Member


- Join Date
- Feb 2012
- Location
- Trollhättan, Sweden, Sweden
- Posts
- 14
Thanked: 1 My first restoration, probably more a touch up though...
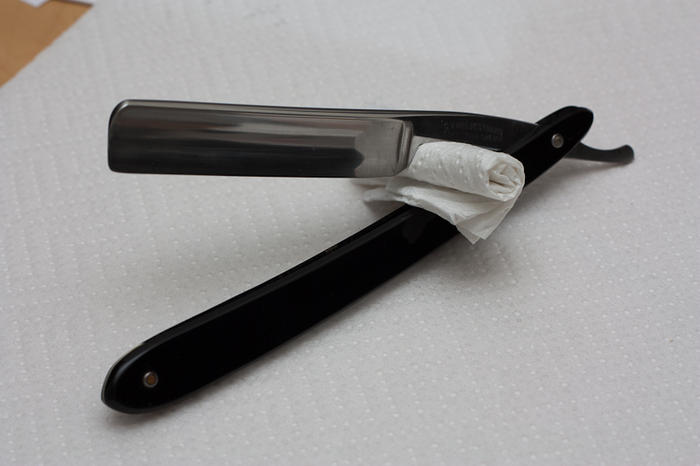
So I bought my first straight razor a couple of days ago. A used one, and I know there have been some warnings about learning to shave at the same time as learning how to hone, which is why I'm sending the razor to Birnando here on the forum so that he can hone it for me. However I do want to make the blade look real nice before I ship it of so that it will be in good condition after it has been honed!
This is what I have to work with
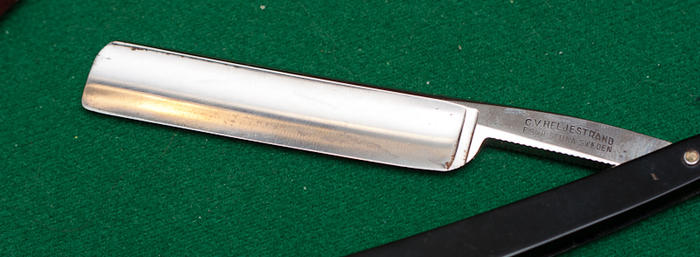
I will start of by rubbing the whole blade with autosol to see what is dirt and what is rust. After that I suspect that I will still have the rust left on the upper hollow ground on the edge of the back, a big rust-spot on the corner between the back and the point and in the grooves of the double stabilizing piece.
It does have two scrathes on one side of the blade aswell quite close to the cutting edge, but these look very shallow and I can only hint them when draging my finger nail over them.
So, to my question, seeing as the rust on the high hollow ground and the double stabilizing piece is not that bad, should I start with a higher sand papper grit, like the 400 or something and work my way up or should I go lower anyways from the start?
On the back I imagine I would have to start out pretty low as the rust is a bit harder on the back to the point (sorry for not having a photo of this).
And as for the scratches, since these are very shallow and the blade itself is very thin because of the hollow'nes, should it be sufficient to start out higher here too do you think?
I will keep this post updated running along with the restoration or touch up or whatever you wanna call it and I hope to be successfull in this!
The razor by the way is a CV Heljestrand No2.
-
02-23-2012, 12:16 PM #2Senior Member

- Join Date
- Jul 2011
- Posts
- 768
Thanked: 99
Here's the deal: You can always go lower if you need to. It's that simple. Start with 400, sand a while. If it doesn't work, go to 220, but know that there is a big difference between 220 and 400 and 220 scratches are deeper and larger and harder to get out than 400. No reason going there unless you have to. Work wet, with water, windex, or wd-40 on the paper. It cuts better. I like water to start, and windex to finish. USE SANDPAPER LIKE IT'S FREE. Let me say that again. USE SANDPAPER LIKE IT'S FREE. As soon as it doesn't cut (which can be a few swipes on the low grits) throw it out! Seriously nits not worth $8 in sandpaper to waste an extra 2 hrs trying to wring every last bit of abrasive out of the paper.
Good luck! If you have questions, post 'em up!
Edited to add: just looked at the pics. Maybe even start with 800 instead of 400. That's a good one to restore based only on how little rust there is. One tip, grab some various sizes of erasers from the store. The big ones can be cut down to make very effective custom sanding blocks. They work really really well. They will help on the stabilizers and the spine, getting in all those little creases and nooks and crannies.Last edited by medicevans; 02-23-2012 at 12:19 PM.
jdto likes this.
-
The Following User Says Thank You to medicevans For This Useful Post:
MotoX (02-23-2012)
-
02-23-2012, 01:26 PM #3Junior Member
- Join Date
- Feb 2012
- Location
- Trollhättan, Sweden, Sweden
- Posts
- 14
Thanked: 1
A very nice tip indeed medicevans! I have picked up some erasers from the stock in the job this afternoon! Will also be using a spunge folded in half as a cushin for the flat surfaces together with the sand papers. Later today I'll order a good range of wet sand papers reaching up to 2000 grit. I'll update the thread more when I have done something! Originally Posted by medicevans

-
02-24-2012, 06:28 PM #4Junior Member
- Join Date
- Feb 2012
- Location
- Trollhättan, Sweden, Sweden
- Posts
- 14
Thanked: 1
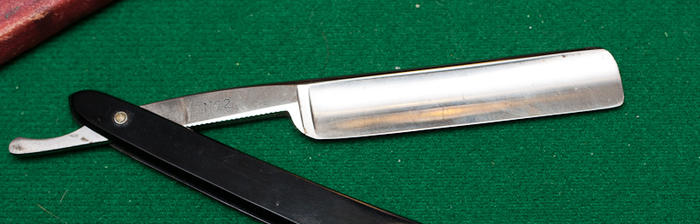
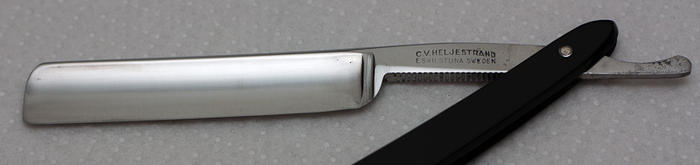
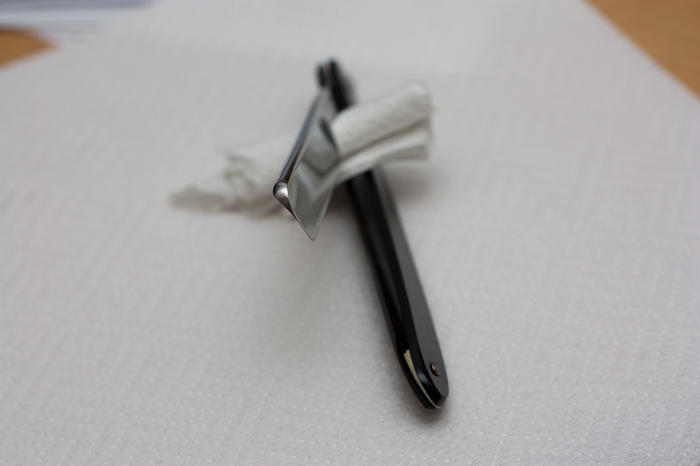
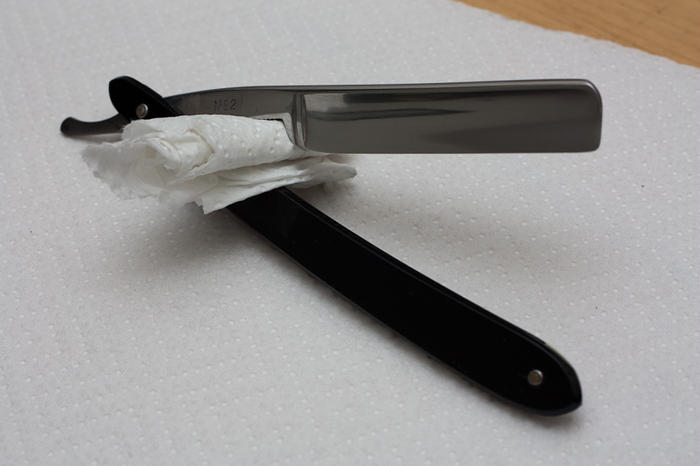
So I have now sanded down the blade a bit. To be honest I havn't done a realy realy good job, I settled for a bit less and also only touched up the blade section and didn't put much work into the tang. I think it would be best to take apart the scales in order to be able to do a real good job on the tang, and since I am not aiming at this for now I'll give that one a pass. I did however get rid of that big rust spot on the corner of the back and the point, sadly I forgot to take a "before picture" on that one... So, pictures!
-
02-25-2012, 10:03 PM #5Senior Member
- Join Date
- Jul 2011
- Posts
- 768
Thanked: 99
Wow. Great job. That really looks nice and clean!


 Reply With Quote