Results 1 to 7 of 7
-
05-29-2012, 07:16 PM #1Junior Member

- Join Date
- May 2012
- Location
- shavey heaven!!
- Posts
- 2
Thanked: 0 hello :) black spot removal from my old straight razor...
good evening all,
Im new to this so bear with me. I am starting my collection of straight razors and have a few nice ones but they all have black spots , so to start with how do these marks happen and how do i prevent them also how can i remove them? will and can try anything to get them off as I have a test razor I bought cheaply from Ebay,oh yes does anyine have any tips on the honing of the edge? i have a fine black natural slate stone and a weathered strop with yellow stop paste..... I thank all comments and info
-
05-29-2012, 07:26 PM #2

You've asked a 2 questions that will probably gain allot of responses.
I'll start with asking for a pic of the blade. We ALWAYS like to see pictures.
There are different types of 'black marks', so it's nice to see them.
First, i'd just try a polishing compound like Mothers Chrome polish or something similar.
-
05-29-2012, 07:29 PM #3

Welcome to SRP. Depends on what you mean by "black spots." If it is what gssixgun calls "devils spit" it won't be easy. If it is just water spots and such a good metal polish might do it, or at least improve it. For more formidable spots you may need to hand sand them out and then buff the blades. Post photos of the blades in question with close ups of the spots for better info. Also go to the toolbar above and check out the SRP library. There may be articles on restoring blades that address the issue.
-
05-30-2012, 01:07 AM #4

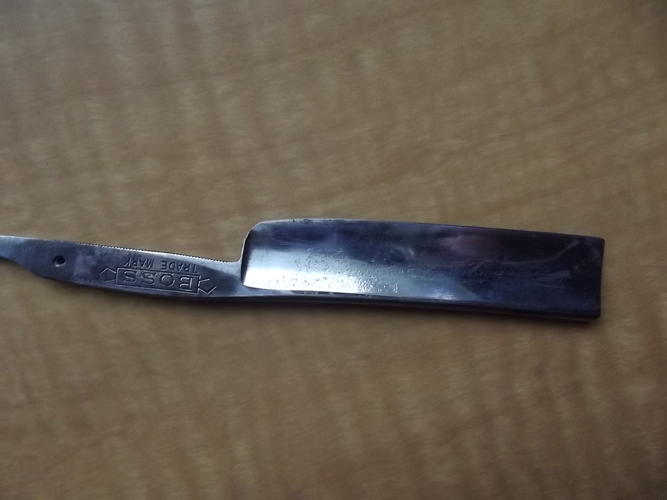
I would try metal polish before sanding the blade and if it is "Devil's Spit" you will have some pitting under it. This razor had some black spots that I hoped was just some tarnish since it was smooth to the touch, but turned out something else. The deep pitting that you can see is what was under the smooth black "Devil's Spit". Wish I would've taken a picture of it before taken off the "Devil's Spit".

Last edited by JSmith1983; 05-30-2012 at 01:09 AM.
-
05-30-2012, 03:58 AM #5

Welcome>
The first step is to fine sand the surface... This is necessary for sanitation as
well as inspection. I start with 2K or 1K 3M-Wet/Dry paper. Use a chopstick
to help get down into the hard to clean bits near the stabilizers.
Remember to oil the steel after sanding....!!!!!
After this inspect and see what is next.
The pits are rust pits some will be deep and some not so deep. The worst will
pass from one side to the other.
As long as the steel near the edge is in good shape you can
rescue the blade.
Next hone the blade.
This should expose any cracks, chips and other problems that
will keep it from being a shaver.
If it is a good shaver the next step is to see if you want
to turn it into a beautiful shaver.
The wiki has a good page on hand sanding to make a blade beautiful.
-
05-30-2012, 07:32 AM #6Junior Member

- Join Date
- May 2012
- Location
- shavey heaven!!
- Posts
- 2
Thanked: 0
Awsome thankyou guys!! I will post some before and after and duering pics as I go. Will be picking up some metal polish today along with a couple of sheets of wet and dry paper and some 3in1 oil to treat the metal. After I've got the blade looking good then il be back for tips on honking and stroping :-) thankyou again for the Help :-)
-
05-30-2012, 06:31 PM #7'tis but a scratch!


- Join Date
- Oct 2010
- Location
- Durango, Colorado
- Posts
- 2,080
- Blog Entries
- 2
Thanked: 443
I'd recommend not using the 3 in 1 oil--it's a blend that includes vegetable oil, which over time will set just like paint. Gun oil is good, or lots of folks use mineral oil. I prefer gun oil.
Best wishes


 2Likes
 LinkBack URL
 About LinkBacks


 Reply With Quote

