
Results 1 to 5 of 5
 15Likes
Thread: Another offset in Ash
 LinkBack URL
 About LinkBacks
-
05-22-2015, 02:05 AM #1Senior Member


- Join Date
- Jun 2014
- Location
- Fairway, Kansas
- Posts
- 100
Thanked: 46 Another offset in Ash
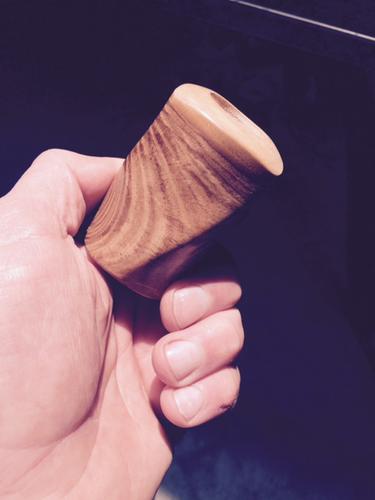
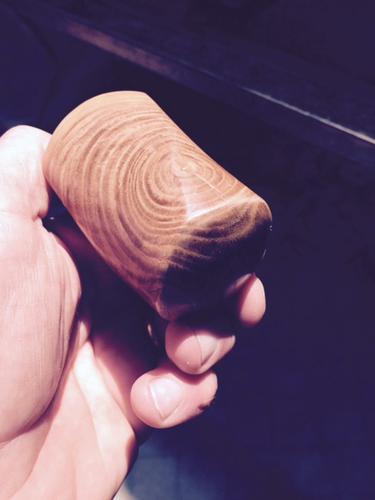
At the risk of coming off as a one trick pony, I made another offset in Ash. Forgive me you're bored with this look but I had to share. The wood was salvaged off the wood pile. Amazing grain.
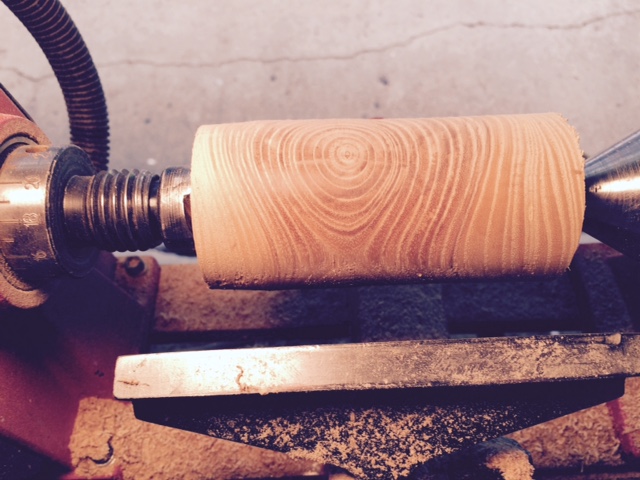
On the lathe
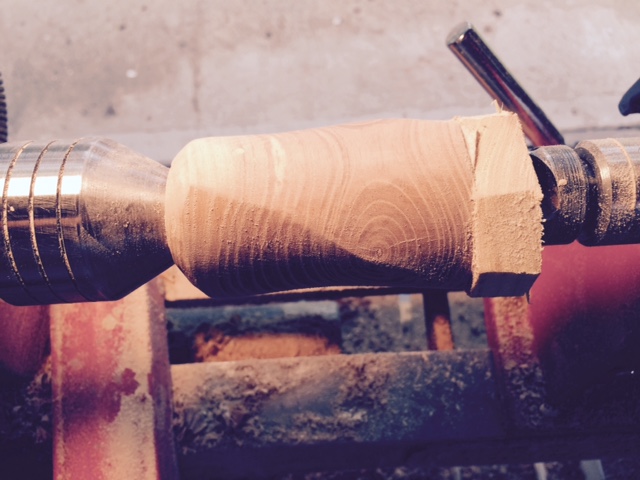
between centers for sanding (by hand)
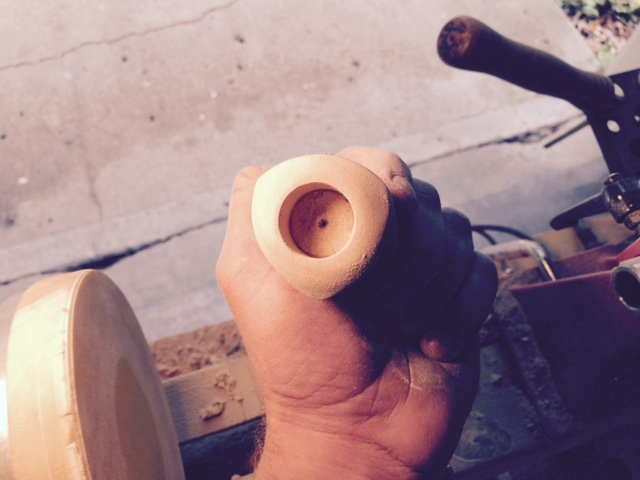
shaping the base for the knot
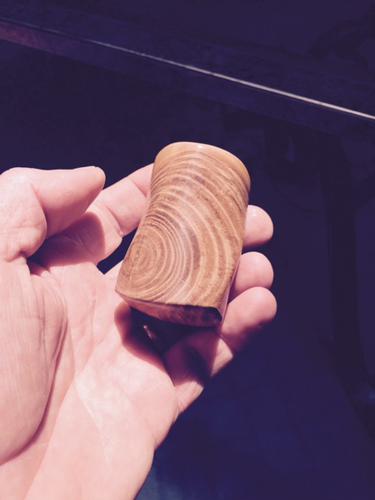

Thanks for viewing.
-
05-22-2015, 02:08 AM #2< Banned User >
- Join Date
- Dec 2013
- Location
- Perth, Western Australia
- Posts
- 318
Thanked: 44
Gorgeous grain pattern, nice work
-
05-22-2015, 02:20 AM #3Senior Member

- Join Date
- Nov 2010
- Location
- Pequea, Pennsylvania
- Posts
- 2,290
Thanked: 375
Now that is cool! turning a cross section just added more interest. I'd be curious to hear/see your process. I've seen tooling for turning offset, but I don't notice anything in your setup that would indicate that's what you're using.
CHRIS
-
05-22-2015, 03:11 AM #4Senior Member
- Join Date
- Jun 2014
- Location
- Fairway, Kansas
- Posts
- 100
Thanked: 46
Thanks. Originally Posted by Trimmy72

I use the indexing function on my lathe. Divide the round stock into 3 sections and number them 1,2,3. Make sure each line has the same corresponding number on each end of the blank. Pre set your pilot holes before mounting up and be sure they are equally distant from center.
I watched this vid as a reference. https://www.youtube.com/watch?featur...&v=mRtAnredMr0
There are others but this one's pretty good.
This is the pattern: 1 to 2, 2 to 3, 3 to 1. Whether you start from the tail stock or head stock is personal preference, but be consistent.
I'll try to remember to take more pics on my next attempt.
-
The Following User Says Thank You to BWP1474 For This Useful Post:
Trimmy72 (05-22-2015)
-
05-22-2015, 04:01 AM #5Senior Member
- Join Date
- Nov 2010
- Location
- Pequea, Pennsylvania
- Posts
- 2,290
Thanked: 375
Very cool, thank you for sharing.
CHRIS


 Reply With Quote