
Results 1 to 8 of 8
 14Likes
Thread: Giving a try at brush restoration
 LinkBack URL
 About LinkBacks
-
07-10-2016, 05:08 PM #1Aspiring Shaver


- Join Date
- Sep 2015
- Location
- Central Missouri
- Posts
- 364
Thanked: 28 Giving a try at brush restoration
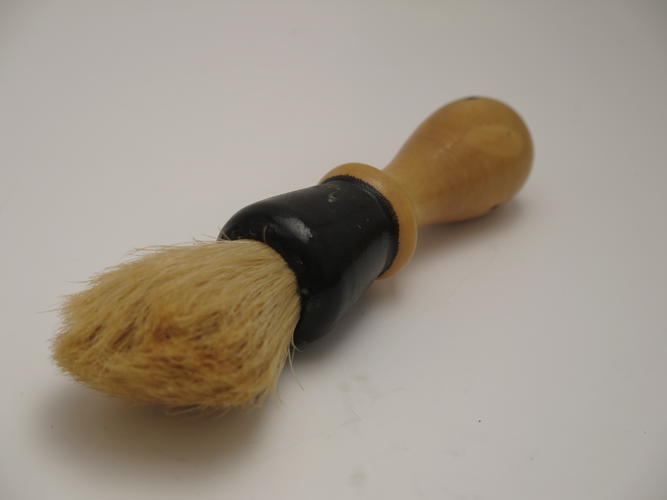
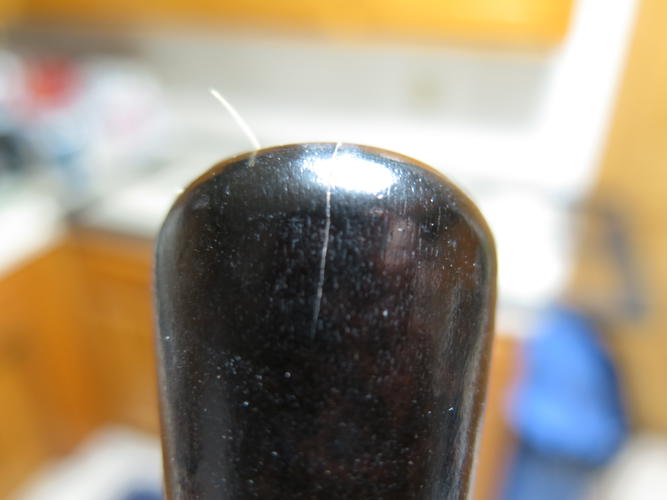
Was doing some research and I am going to try and redo this brush I picked up.
It may be a disaster but seems to be close enough to my skill set.
It may also be a long process but I figured I would track it here until I finish.
The beginning....
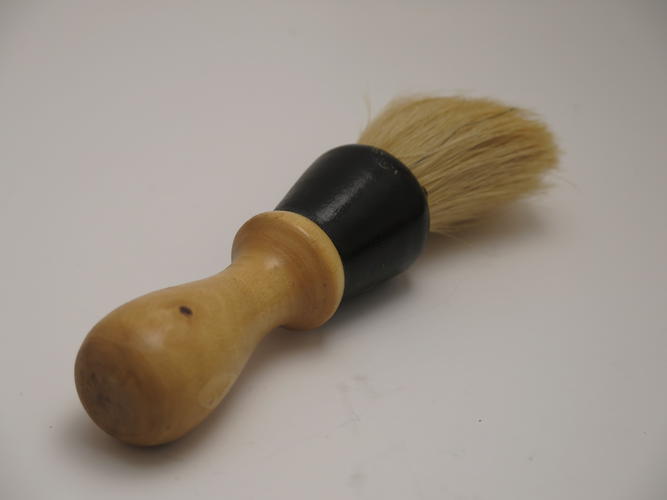
It seems to be one piece of wood. I Tried to bust the knot with my Rock Chucker press and two pieces of wood but the knot kept slipping out. Will try the vise trick tomorrow at work. Don't tell anyone "When defeat comes, accept it as a signal that your plans are not sound,
rebuild those plans, and set sail once more toward your coveted goal."
-
07-10-2016, 05:13 PM #2Senior Member


- Join Date
- Jun 2013
- Location
- archbold ohio
- Posts
- 2,376
Thanked: 546
looks like a nice handle. if the vise doesn't work you might try cutting the bristles off close to the handle and then drilling a hole in the center of the knot which will let you scrape(or cut) out the rest of it.
-
The Following User Says Thank You to tintin For This Useful Post:
gflight (07-10-2016)
-
07-10-2016, 05:23 PM #3Senior Member


- Join Date
- Nov 2012
- Location
- Across the street from Mickey Mouse in Calif.
- Posts
- 5,320
Thanked: 1184
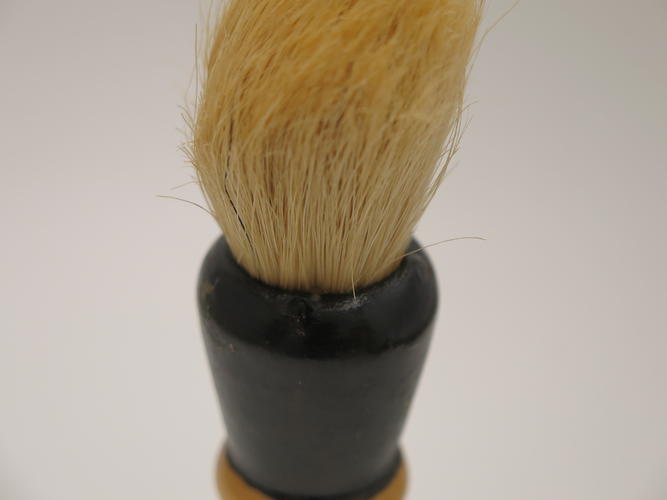
No matter which method you try I would tape the knot up. Keeps the hair from spreading like a bad rumor.
Good judgment comes from experience, and experience....well that comes from poor judgment.
-
The Following User Says Thank You to 10Pups For This Useful Post:
gflight (07-10-2016)
-
07-13-2016, 11:49 AM #4Senior Member

- Join Date
- Jan 2015
- Location
- Greensboro, NC area
- Posts
- 929
Thanked: 79
Seems to be one piece where you can easily see the uneven paint line someone did on the brush. Looks like a barber's styled brush to me which I have started making a few.
I would start with 400 grit to begin with and sand down the brush lightly with light pressure to minimize how much you take off. Go slow and not rush it. If you have a lathe it would be best to put it on that to turn and sand for a even mesh of things. If not, that is okay, for we all start out that way in building and restoration for the most part.
Once you get the surface sanded back using the 400 go to a 800 wet paper to really bring out the grain. I usually then wet sand using a micro mesh in the 3200 grit denomination to put a natural sheen to the brush. And then depending on what you are trying to achieve you can use a multitude of products to finish it off.
But I would suggest on this beauty an all one finish look and maybe use a friction polish to bring a almost mirror shine then seal it off with a reputable clear coat lacquer.
The voila, you will have a new brush. You know tintin is right about possibly cutting the bristles off at the end of the brush handle flush. I use that method a lot then match up the right forstner bit to the diameter to drill out the knot. Be careful however and do a little at a time then keep checking the depth to make sure you do not reset the depth deeper than prior unless you want a deeper depth setting.
You could also do the steam method but I have found it is sometimes a hassle and prefer the trim off bristle method then drill out. You have to be careful however and not hiccup or you could mess up the throat. I really go one size under most often on the forstner and then use a scrape tool to clean out the throat then lightly sand the throat using a 800 grit so as to not take a lot off quick.
Good luck.gflight likes this.German blade snob!
-
The Following User Says Thank You to Michael70 For This Useful Post:
gflight (07-13-2016)
-
07-13-2016, 10:27 PM #5Aspiring Shaver
- Join Date
- Sep 2015
- Location
- Central Missouri
- Posts
- 364
Thanked: 28
I took it to the vice today with tape and gave the hair to a fly tier/fisherman I work with.
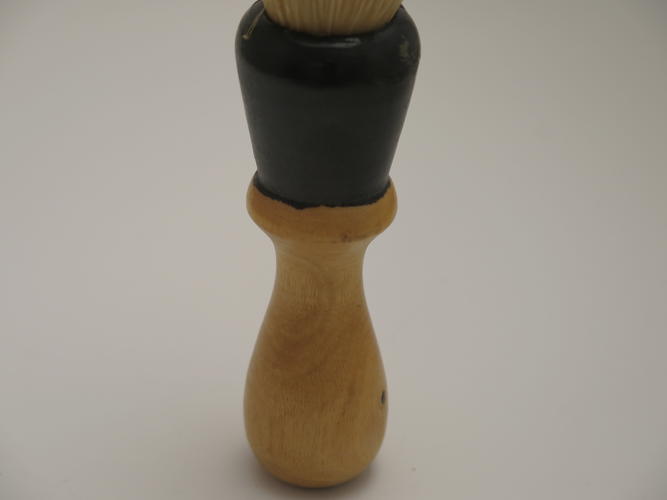
I do however now have a 4/8ths long Crack that does not seem all the way through but is a Crack none the less.
I didn't touch the wood but must have been too rough.
I was going to use my dremel to clean but do have some forster bits.
I am regretting selling my shopsmith a couple years ago to clear some space.
I have a lovely piece block of oak somewhere in the garage.
I think I will clean and sand for the practice, do you guys think it's salvageable?"When defeat comes, accept it as a signal that your plans are not sound,
rebuild those plans, and set sail once more toward your coveted goal."
-
07-14-2016, 01:00 AM #6Senior Member
- Join Date
- Jan 2015
- Location
- Greensboro, NC area
- Posts
- 929
Thanked: 79
You have a picture of the crack you can post. If it is not all the way through maybe a reputable fine grain wood filler then sanded down would be the ticket. Originally Posted by gflight
 German blade snob!
-
07-14-2016, 01:46 AM #7Aspiring Shaver
- Join Date
- Sep 2015
- Location
- Central Missouri
- Posts
- 364
Thanked: 28
Two bottom pics...area in question is a little right of 12 o'clock, trail of glue raised out in a line is maybe what caused it?
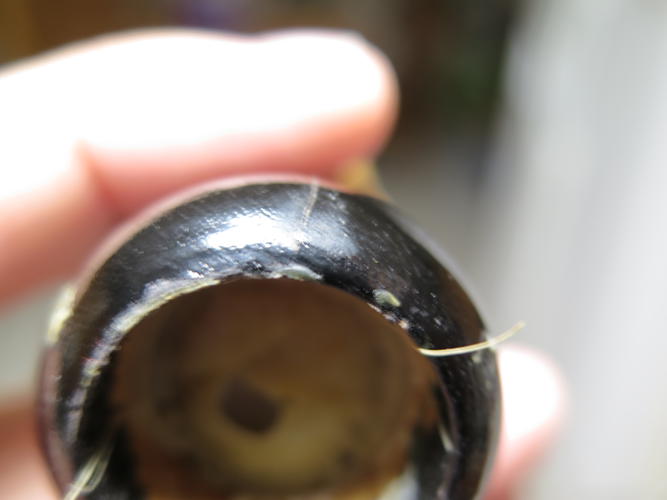

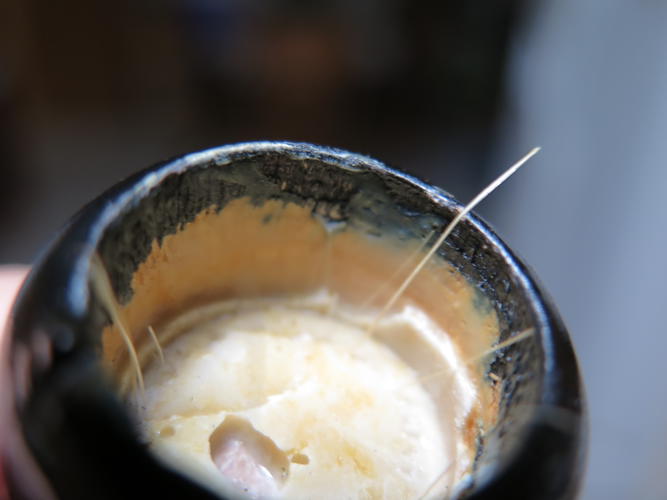 Substance likes this."When defeat comes, accept it as a signal that your plans are not sound,
rebuild those plans, and set sail once more toward your coveted goal."
-
07-14-2016, 06:45 PM #8Senior Member
- Join Date
- Jan 2015
- Location
- Greensboro, NC area
- Posts
- 929
Thanked: 79
Appears to be on the outside from the pictures. If you can feel a definite ridge in it with some depth with your fingernail just simply fill in with a very fine wood filler and let dry the use a high grit in the 800 range sandpaper to work by down lightly. Then when you finish the look you want on the handle finish with a clear coat lacquer in 2 coats for added barrier and protection. Originally Posted by gflight
Should be okay!gflight likes this.German blade snob!


 Reply With Quote