
Results 1 to 10 of 25
 82Likes
Thread: Rubberset restore
 LinkBack URL
 About LinkBacks
Threaded View
-
09-30-2016, 05:13 AM #1Senior Member


- Join Date
- Aug 2016
- Location
- AK
- Posts
- 214
Thanked: 97 Rubberset restore
Hello all,
I have couple Rubberset 400 restorations under way. Ended up winning an auction on a trio of 400s a little while ago and have started cleaning them up.
Over the last month or two I have read a bunch of restoration posts, and seen some tricks that should be useful but welcome any advice here.
I have a full knife making/wood working shop so I am cutting some corners on many steps, NONE of these will be hand sanded for 6hrs hahaa. But my hands already hurt, so there will be a fair bit of hand sanding and polishing.
Engine46 provided this link in my other post, great info! Thank you.
OSSB - Rubberset 400
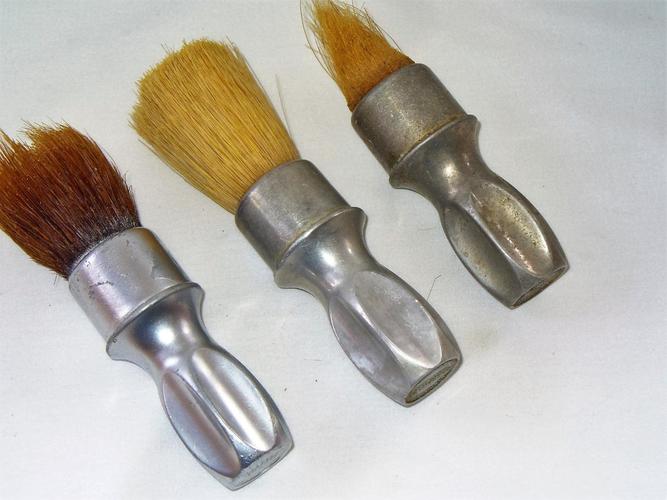
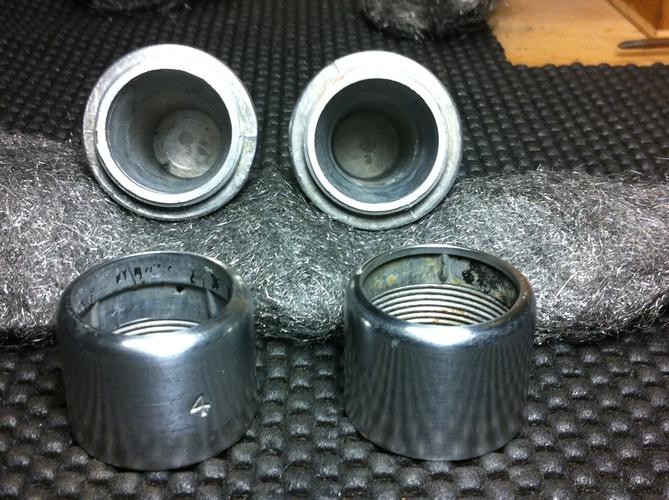
Heres a before pic of the triplets, all in decent shape . one was...umm restored? spray painted anyway, may be bead blasted for prep, was a little rough feeling under the paint.
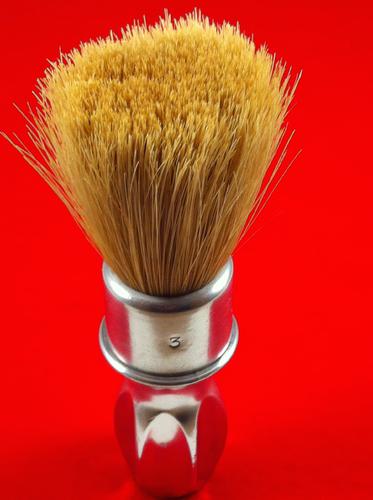
The center #3 looks good, knot is in excellent shape, and the one on the right is ugly for now. Each shows its age the usual for old aluminum, oxidation, some pitting and a few dings here and there on each of them but will clean up nicely.
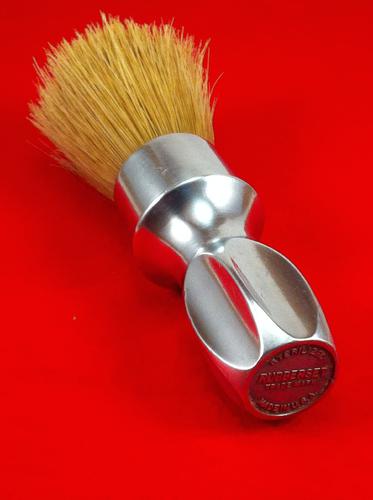
I gave the center one a quick clean up just for kicks, taped up the knot and shined her up a little. Hot soapy water, followed by a quick 000/ 0000 steel wool buffing. Rinsed the knot really well in hot water followed by a blast of compressed air to fluff it up. looks alright. I will properly polish this one up later, once I have a knot for it, for now its on stand by.
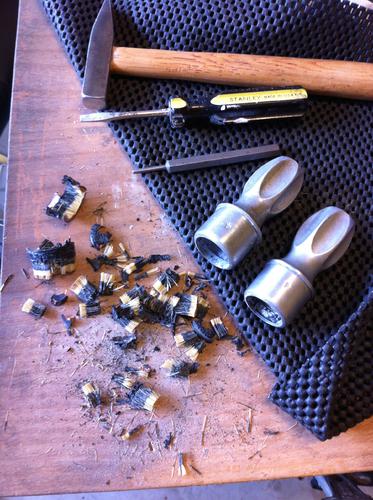
The other two I cut the knots close to the base, then hit quickly on a large disk sander to give me a flat face to drill. Drilled the knots down through the glue 5 or six holes in each and chipped out the glue and old knots. Between the 3 second touch on the 12" disk sander , and the drilling the shop smelled rather funky. The glue chipped out easily with a small hammer and screwdriver. The painted handle was hit with acetone, stripped it clean with a few wipes.
I noticed a few differences between these two #4s once I got them apart.
I both had some decent pitting which I sanded out. Here I cheated a bit with my 2x72 grinder. I used a loose, 220g Jflex belt running very slow to remove the deep corrosion from under the flare just below the rim/cap on both. Then hand sanded with 320g, followed by a quick buff w steel wool. I am just getting the major blemishes out at this point and the quick buff w the steel wool allows me to see where more attention is needed.
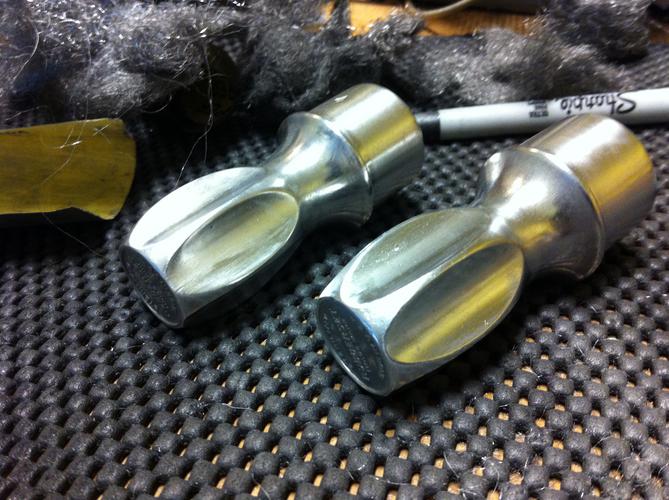
You can see the difference . 320g left, and a quick shine to show me where I need to work more. As with any sanding I want the bulk of the work to be here with the 320, once everything completely sanded and where I want it the finer grits will go quickly.
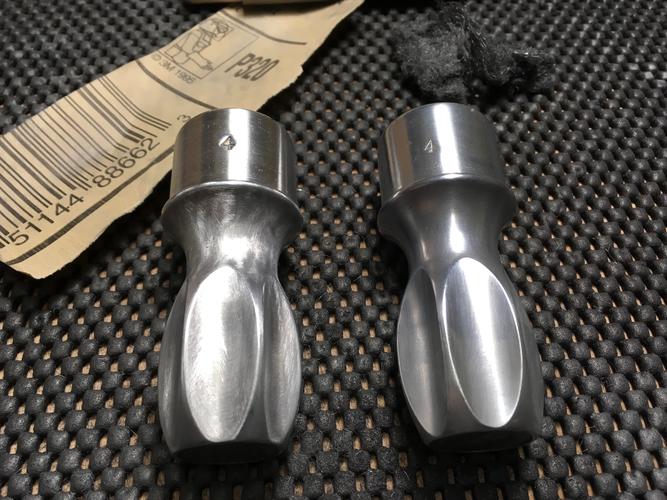
Next I will progress from 400g, 600g, and on up ,Then will see how they look and make a decision on the shine. I have w/d paper up to 2500g so we will see how far I take the finish.
Here are the three as they sit now.The flutes on the two #4s I hit w 600g after the 0000 buff, just messing around. Two tone
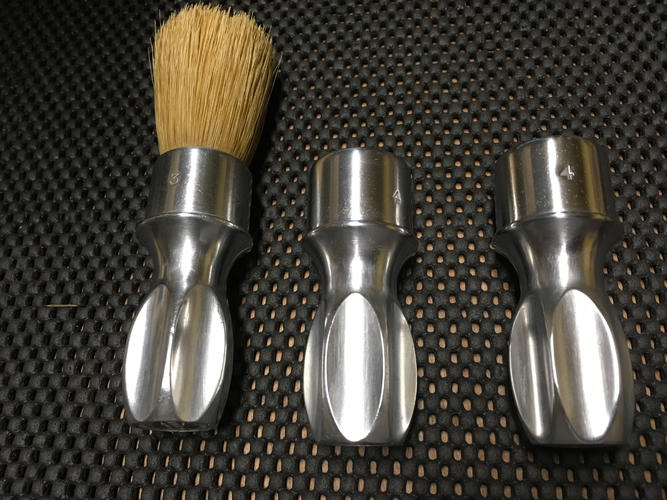
More pics soon, Knots are inbound.
I hope to knock these out quickly.Last edited by AKmik; 09-30-2016 at 05:15 AM.
-
The Following 5 Users Say Thank You to AKmik For This Useful Post:
BobH (09-30-2016), Geezer (10-01-2016), Hirlau (09-30-2016), markbignosekelly (10-01-2016), Thug (09-30-2016)


 Reply With Quote