
Results 1 to 8 of 8
 31Likes
Thread: Old brushes getting new knots
 LinkBack URL
 About LinkBacks
-
10-25-2017, 11:32 PM #1Senior Member


- Join Date
- Jun 2016
- Location
- NH
- Posts
- 1,924
Thanked: 1363 Old brushes getting new knots
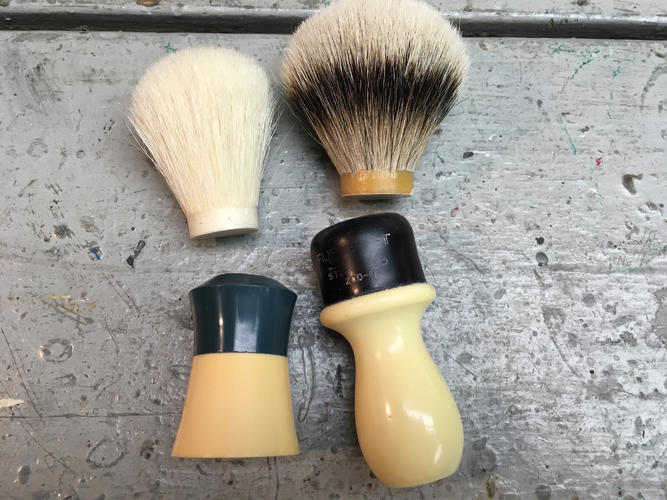
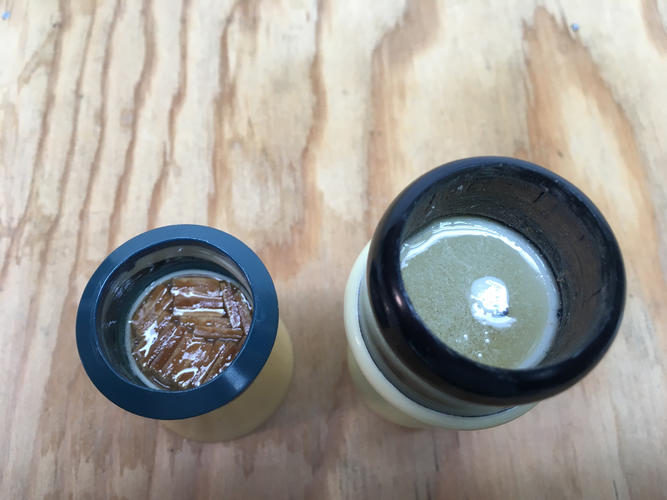
I have a couple brushes I'm replacing the knots and thought I'd share. There's a short blue and cream Ever-Ready and a black and cream Rubberset 200-3. To get the old knots out I cut the bristles real short with a utility knife and then drilled holes down through the knots. After that I was able to break out chunks and finally clean up the holes with a sanding drum on a dremel.
The short Ever-Ready is going to have a 24mm boar knot. The hole in this brush is made to be 20mm but I wanted a bit bigger, I saw there was room to expand the hole a bit so I went with 24mm. The Rubberset has a 26mm opening so I got a 26mm silver tip badger knot for it.
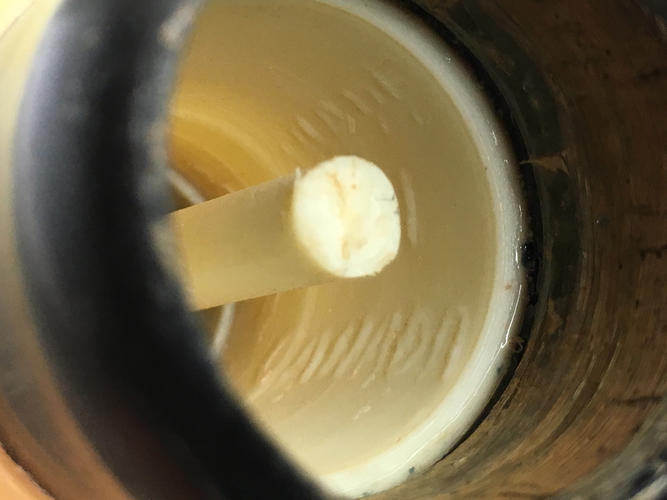
I decided on 49mm loft for the badger and 47mm loft for the boar. The Rubberset already had a stop inside the handle and all I needed to do was take about 1mm off the end to get the new knot to sit where I want it. Looking down inside the handle, I see "Made in Canada" on the inside of the cream colored part. And these say "Made in USA" on the outside of the black part (but my letters there are almost worn clean off).
After enlarging the opening on the Ever-Ready, I cut some Popsicle sticks to fill the bottom and create a stop for the boar knot.
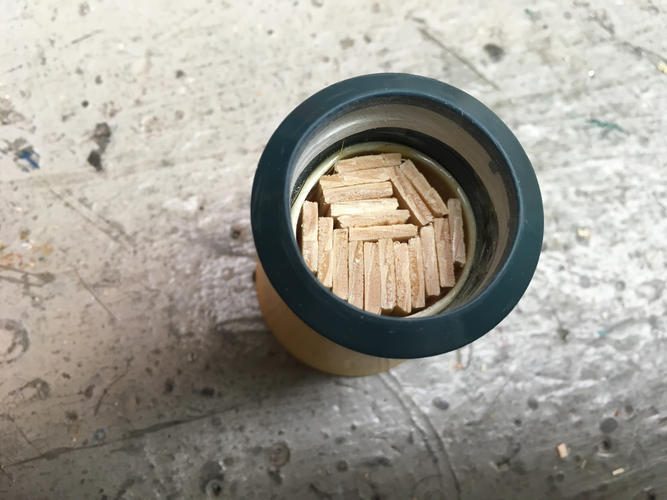
Then a test fit to make sure the lofts are where I like them.
I like the feel of a heavier, solid handle so I filled them with epoxy up to level with my stops.
I'll be able to set the knots in permanently in the next few days as I have time. I'll try to put up some pics of when they are done. These are fun projects to do and seems to be plenty of old handles available. Cheers!Last edited by xiaotuzi; 10-26-2017 at 01:11 AM.
"Go easy"
-
The Following 3 Users Say Thank You to xiaotuzi For This Useful Post:
Dieseld (10-26-2017), dinnermint (10-26-2017), Hirlau (10-26-2017)
-
10-26-2017, 12:42 AM #2Senior Member


- Join Date
- Oct 2015
- Location
- Knoxville,IA
- Posts
- 2,368
Thanked: 762
Nice work Tuzi, I have an old every ready all polished just need to do exactly what your doing to get it done. To many irons in the fire!
Nothing is fool proof, to a sufficiently talented fool...
-
10-26-2017, 12:49 AM #3Senior Member
- Join Date
- Jun 2016
- Location
- NH
- Posts
- 1,924
Thanked: 1363
Yep, plus you have a good start on some wood brushes you've been turning, right? Even more fun! Originally Posted by ejmolitor37
 ejmolitor37 likes this."Go easy"
-
10-26-2017, 05:46 AM #4Senior Member
- Join Date
- Oct 2015
- Location
- Knoxville,IA
- Posts
- 2,368
Thanked: 762
I am about done with 1 that will be sent out to a fella so he can put a knot in it and use them share feed back with me. Just finished waxing it tonight.
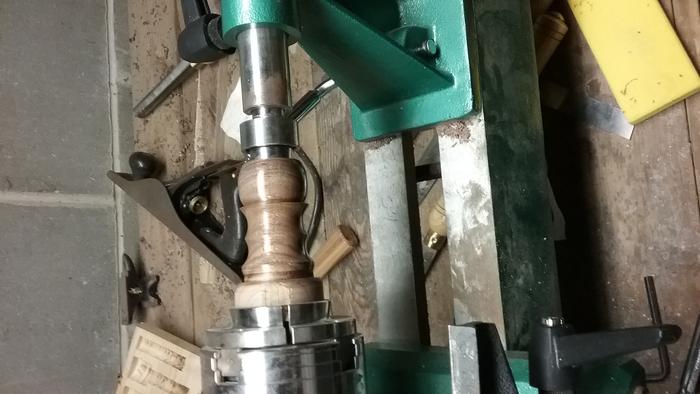
This was round 2 since I thrashed the first one. Get a lathe Tuzi it's fun!Nothing is fool proof, to a sufficiently talented fool...
-
The Following User Says Thank You to ejmolitor37 For This Useful Post:
xiaotuzi (10-26-2017)
-
10-30-2017, 12:26 AM #5Senior Member
- Join Date
- Jun 2016
- Location
- NH
- Posts
- 1,924
Thanked: 1363
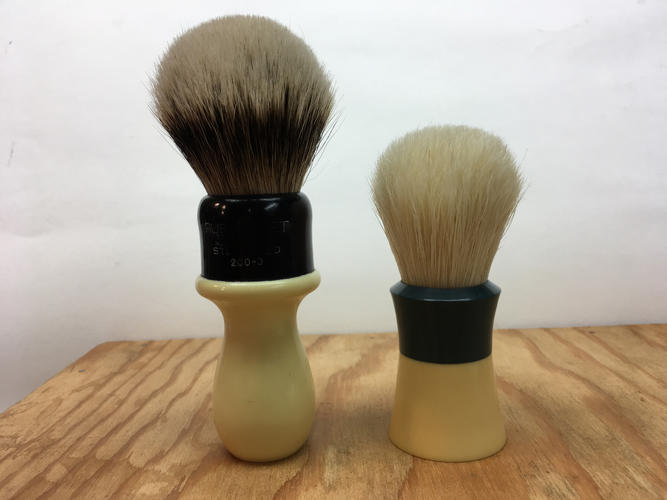
The knots are in and it went pretty much as expected. The lofts are where I planned them, 49mm on the badger and 47mm on the boar. A touch too much epoxy went on the base of the boar and it wicked up into the exposed part of the knot about 1mm, not a big deal there. The badger is set perfectly.
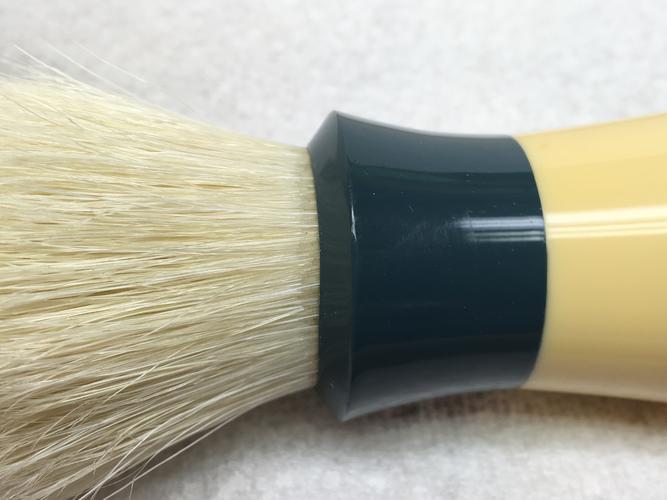
I'll get some more pics up after they bloom a bit."Go easy"
-
-
10-30-2017, 07:01 PM #6Senior Member
- Join Date
- Oct 2015
- Location
- Knoxville,IA
- Posts
- 2,368
Thanked: 762
Very nice Tuzi, the way your pics loaded looks cool too. Looks like you had 3 brushes
 xiaotuzi likes this.Nothing is fool proof, to a sufficiently talented fool...
-
The Following User Says Thank You to ejmolitor37 For This Useful Post:
xiaotuzi (10-30-2017)
-
11-05-2017, 11:51 PM #7Senior Member
- Join Date
- Jun 2016
- Location
- NH
- Posts
- 1,924
Thanked: 1363
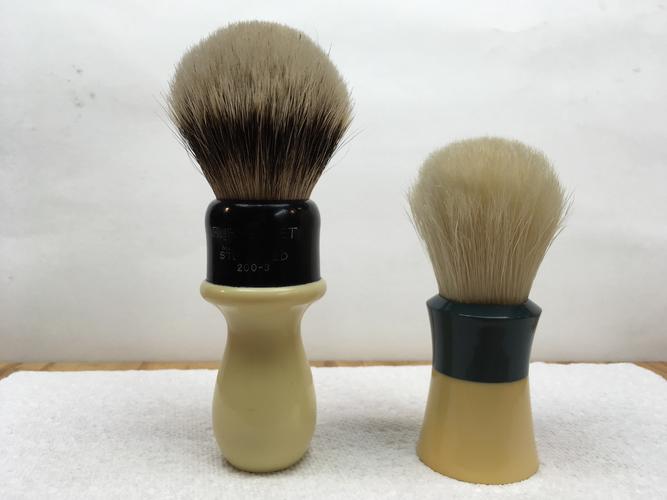
Here they are after having had a chance to bloom a little. They both work really well...

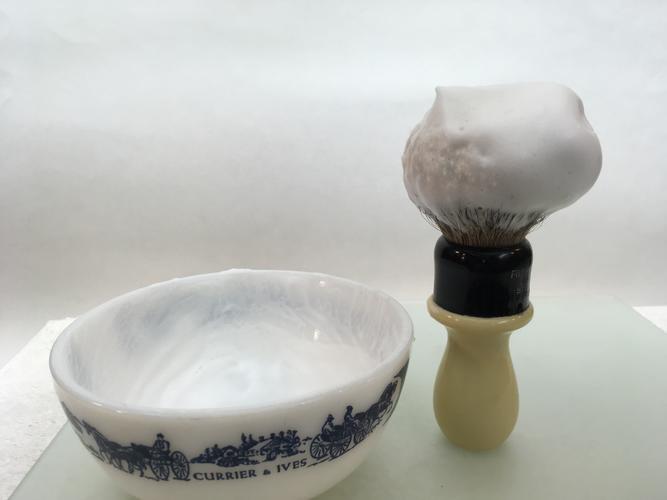
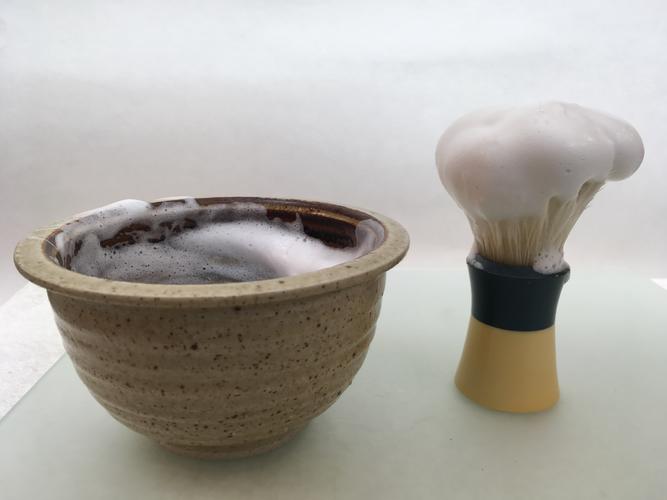 "Go easy"
-
-
11-06-2017, 12:07 AM #8Senior Member

- Join Date
- Mar 2016
- Location
- Denver, CO
- Posts
- 1,031
Thanked: 105
Nice work. I really enjoyed restoring the Ever-Ready that I did earlier this year. I use it regularly. Enjoy your brushes! Originally Posted by xiaotuzi
 xiaotuzi likes this.-Doug
-
The Following User Says Thank You to Demetrius For This Useful Post:
xiaotuzi (11-06-2017)


 Reply With Quote