I plan to use carpet tape.Quote:
Originally Posted by UKRob
Printable View
I plan to use carpet tape.Quote:
Originally Posted by UKRob
Quote:
Originally Posted by UKRob
Rubber Cement also works very well.
Rob is right, drill the holes while the scales are together.
I did tape them, but clamps just ensure them staying together. I will drill when close to getting thickness right. Thanks for suggestions.Quote:
Originally Posted by UKRob
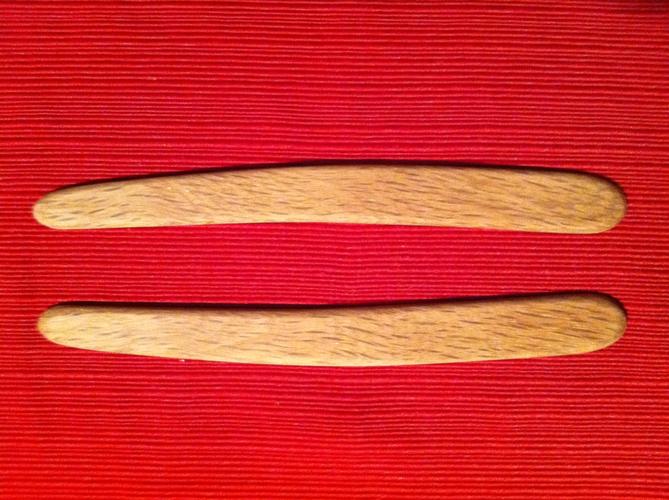
Closer to having scales completed.
Attachment 159401Attachment 159402Attachment 159403
Photo 1, both scales, photo 2 both scales next to each other, and photo 3 both scales next to original one scale.
I usually drill my pivot hole and then mock up the blade with screws and then set the wedge with double sided tape to get the blade centered, remove the blade and drill the wedge hole, finish all my sanding etc and then glue the wedge and pin it together.
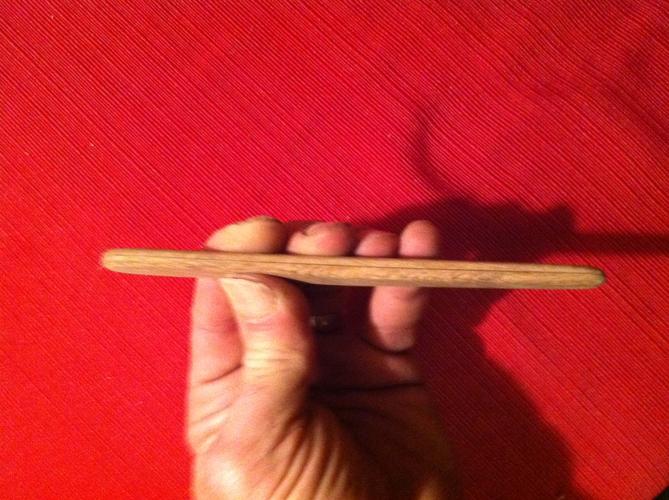
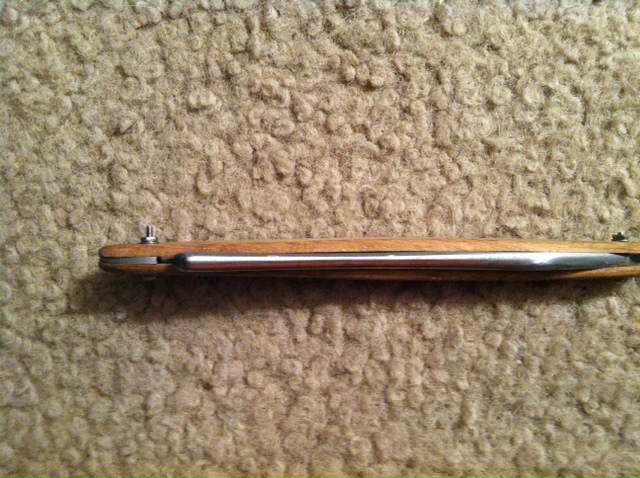
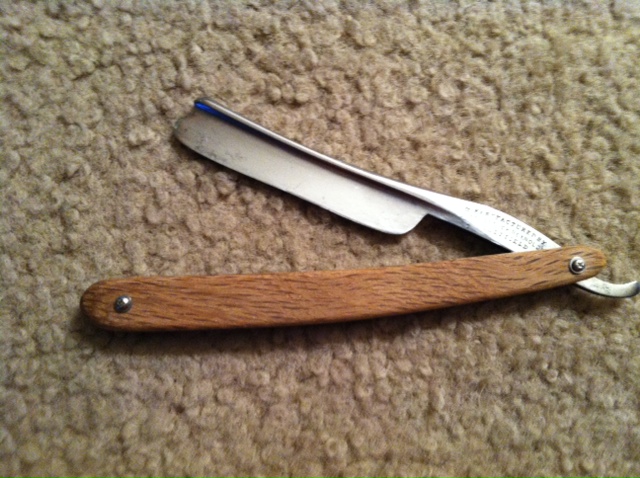
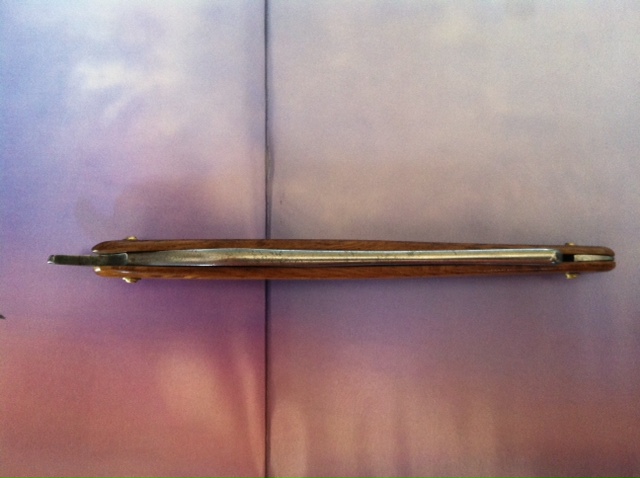
Testing scale fit to razor. Need to do some final sanding then finish them. I have size #0 washers coming tomorrow. I have brass stock. Getting excited. End is not to far out.Attachment 159942Attachment 159943Attachment 159944Attachment 159945Attachment 159946
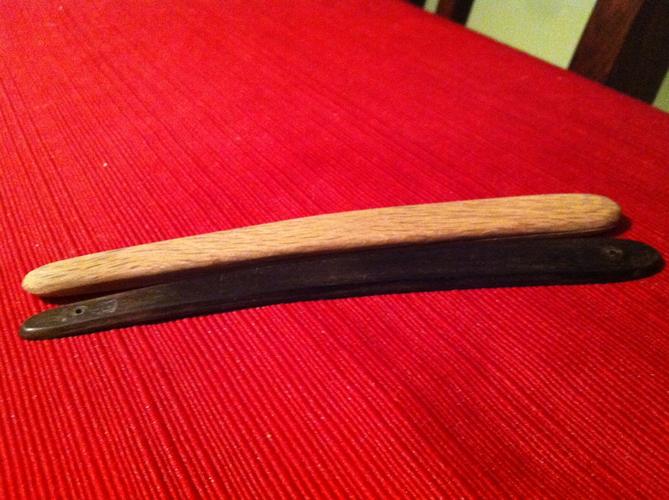
Looking good! Is that the original lead wedge. It looks like you have gotten them thin enough to get the wedge to do its job and the the scales bowing nicely. You may want to do with a double stack washer to help keep the washer from biting into the wood because the bottom washers will be wider giving more surface area against the wood. You are getting very close to woo hoo its done and looking good.
Yes that is the original lead wedge. I actually was thinking about the dual washer approach I have three different ones coming tomorrow. I am getting excited. Should not be much longer. Not sure how I will pin quite yet, but will watch some youtube videos and such and give it my best. Thanks for the support RezDog.Quote:
Originally Posted by RezDog
It took me quite a few attempts to get my pinning so that I was happy with it. One of my issues was starting to peen when the pins were just a tiny bit too long, and then bending the pin as a result. If your pin isn't peening enough to tighten down stop and file a tiny bit off. 1/32 of an inch can make a big difference. You can pin with very few tools, two hammers, wire cutters, file and a pair of vice grips and you should be golden. PM me if you have any questions after you watch the videos
Attachment 160668Attachment 160669Attachment 160670Attachment 160671Attachment 160672
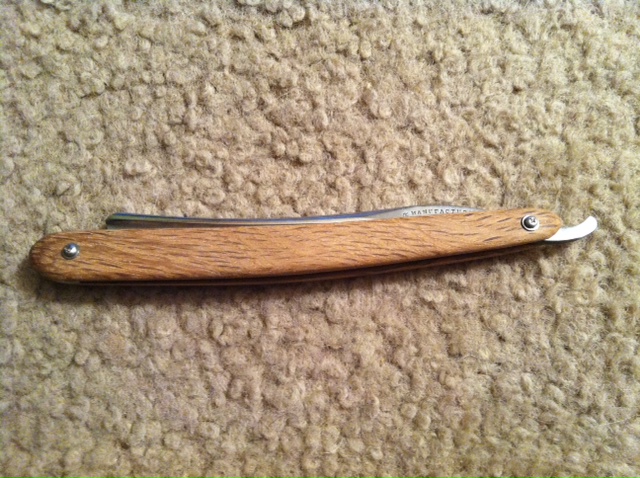
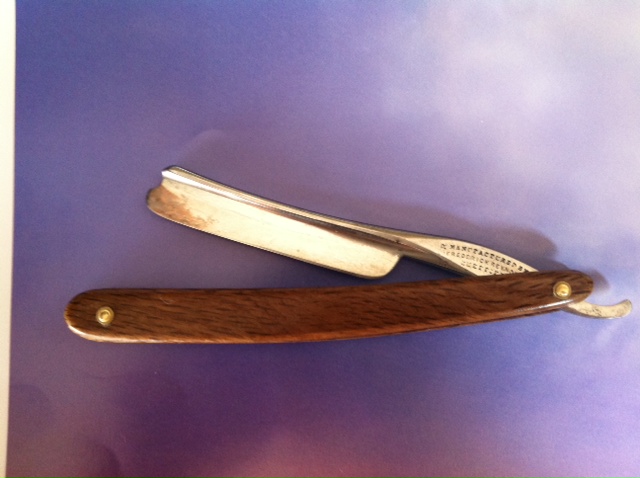
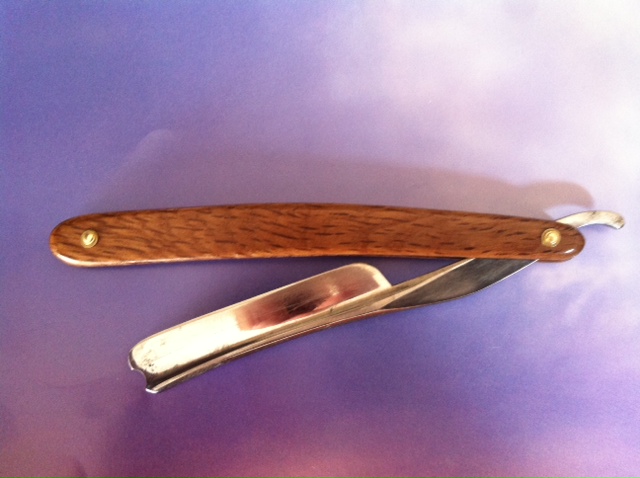
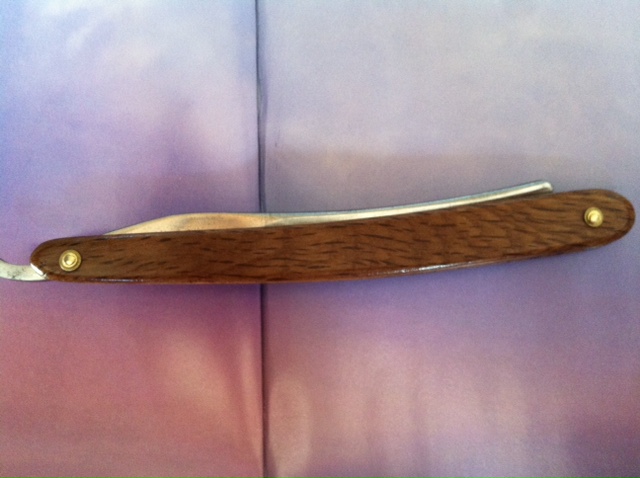
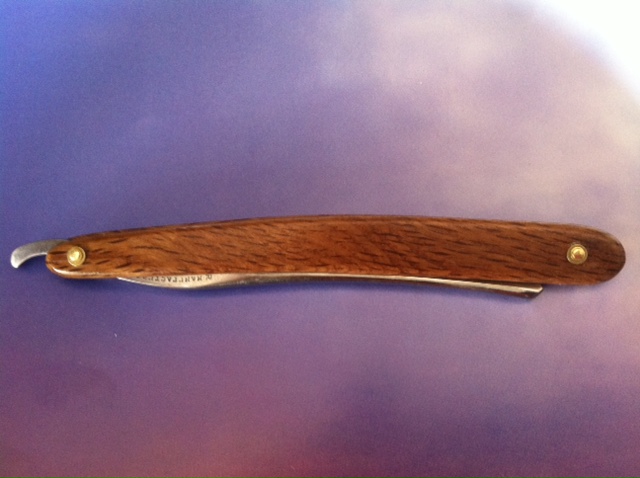
Here is the finished product. Learned a lot while working with this restore.