
Results 1 to 10 of 10
 15Likes
Thread: Hammesfahr Restore [Pic Heavy]
 LinkBack URL
 About LinkBacks
Threaded View
-
03-28-2014, 08:12 PM #1Junior Member


- Join Date
- Dec 2010
- Location
- The Netherlands
- Posts
- 10
Thanked: 2 Hammesfahr Restore [Pic Heavy]
Heya,
Some time ago I found this old Hammesfahr on the bay. To be honest I dont know a great deal about old straight razor companies and this wasnt an exception. The only reason why I picked it up was the price. It was on auction with a reserve of 10. With 1 day to go it still had zero bids, so I decided to post the reserve. A day later I mostly forgot about it, being sure someone would have outbid me, but what do you know, I won it.
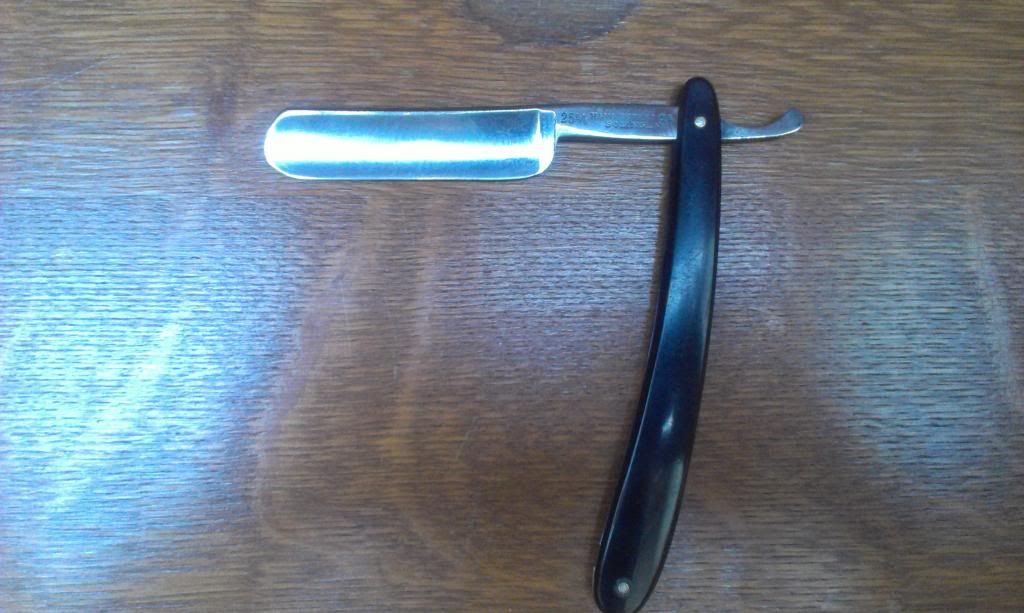
When I received it and examined it, I found a lot of rust and some minor pitting, but I had seen razors in worse condition at flea markets and the like. So I decided this would be a good blade for a first restore. When I say restore, thats kinda pushing it. I dont have any power tools (yet), no workshop (yet) and no real in depth knowledge about restoring razors (yet).
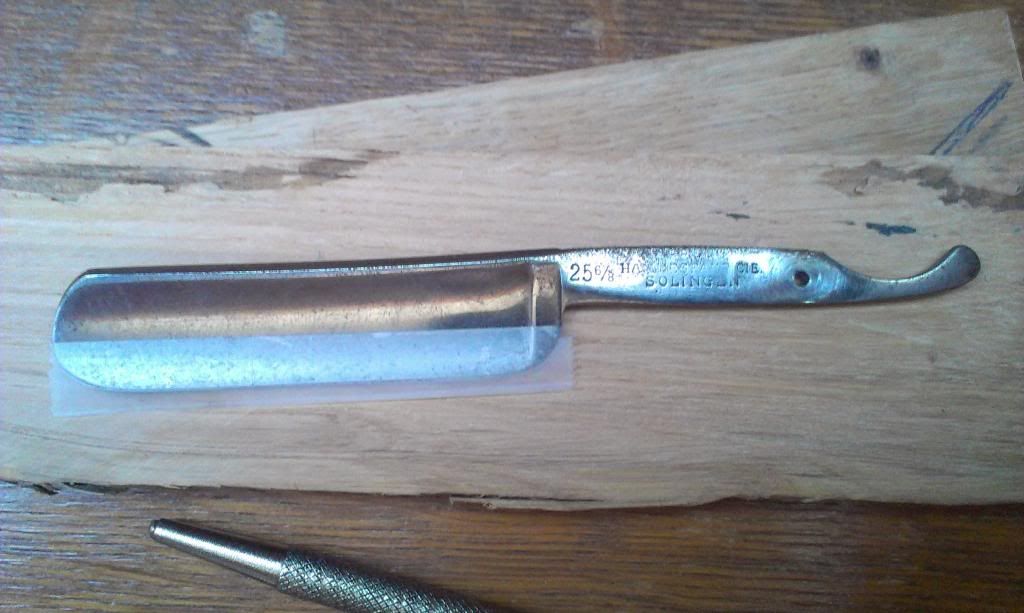
I started off, taking the handles of the blade. There was a lot of rust on the spine and I found a bit more rust around the pivot area. Using steel wool I removed the surface rust, after which I went to town with my newly acquired micro mesh, trying to shine up the blade. It worked out better than I would have though. You can still see some of the pitting, but the blade shines nicely and I dont really mind that you can see it is in old blade.
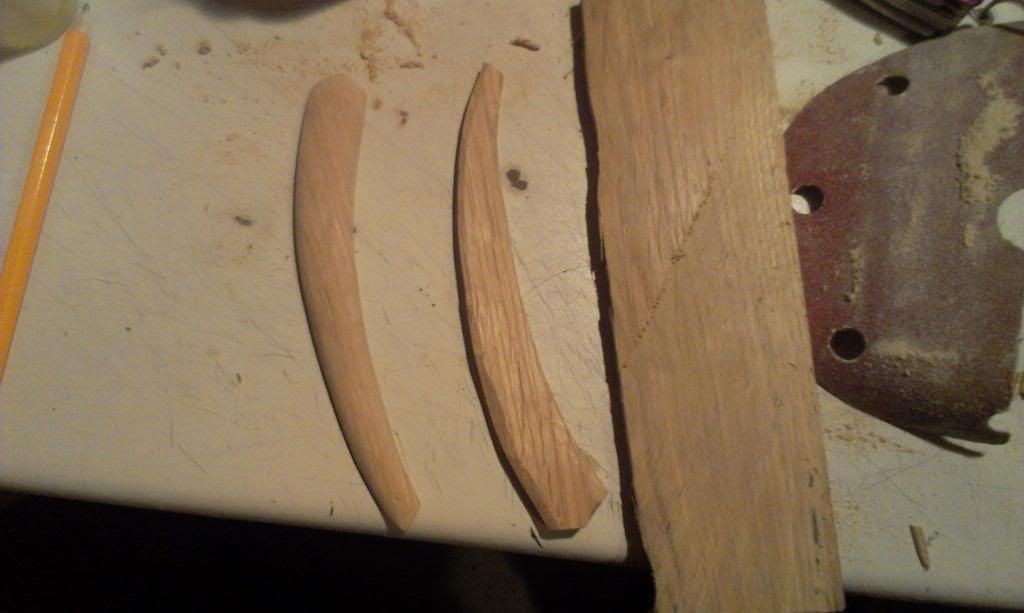
For the scales, I managed to save a piece of oak that my brother was ready to throw into the bonfire he was having with a few mates. It was a plank, about 2.5 cm (1) thick, which is kinda on the thick side for a few scales so I used a normal hand saw and cut myself some thinner pieces. After that I followed the instructions in the SRP library for making the scales. Tracing them on paper first, cutting them out with a fretsaw and then using a belt sander to refine them oh, wait, I dont have a belt sander, so I substituted that for a woodcarving knife and some sandpaper. After a lot of work, I ended up with some pretty decent looking scales.
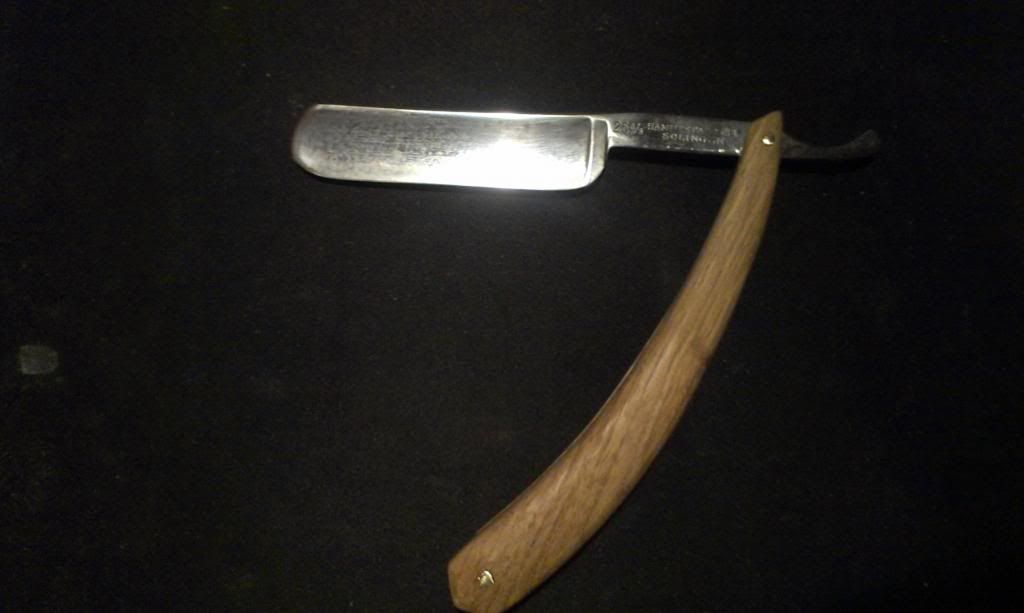
Now it was time to pin everything together again. So off to the hardware store, where I could find a brass rod, however no small washer to fit it. So I decided to just pin it together without the washers and see how that would go. Well. Thats the part Im least pleased about. The brass started to crack after mushrooming. I think because I thinned it out too much and since there were no washers underneath, it had to stretch too far. But well, its pinned, and it functions.
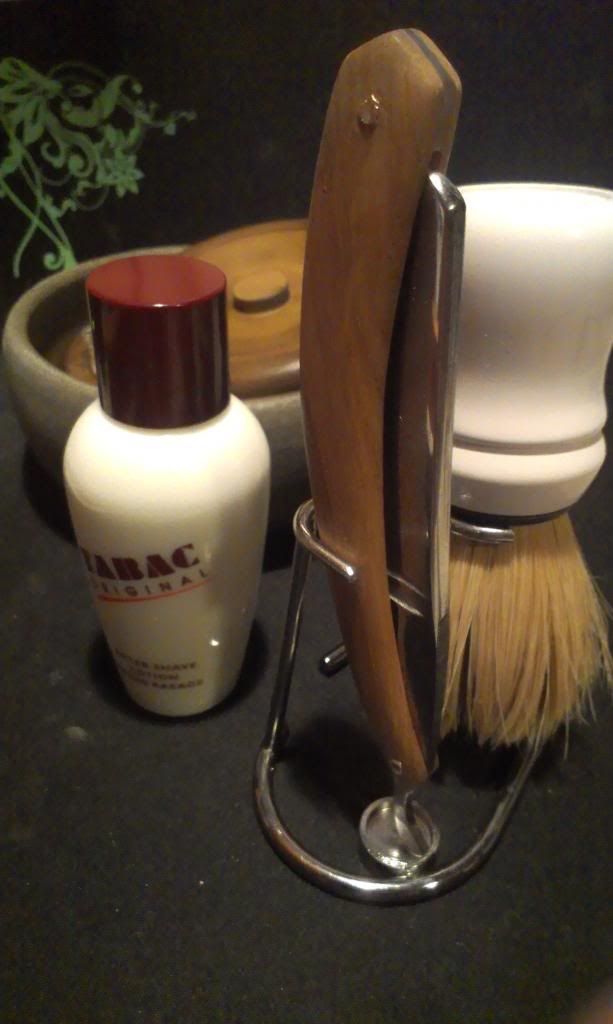
Lastly I honed up the blade. Setting the bevel, then moving on to the Coticule and finishing on my Chinese. On to my pasted strop, first on the green, then the red pasted strop and finally a regular strop. So now its waiting for my whiskers to grow for a first test run.
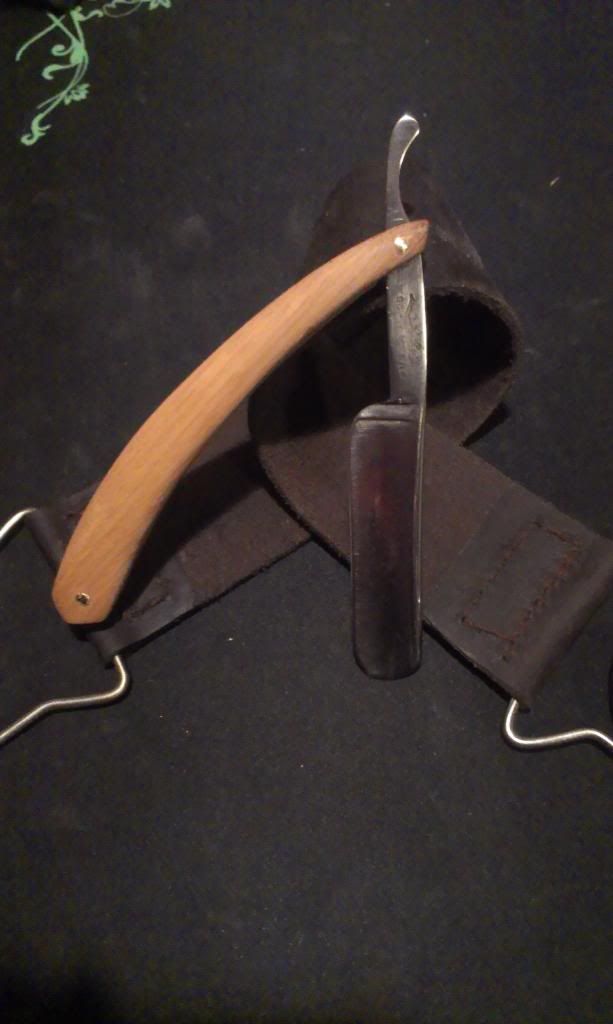
In the end I thinks it went pretty well for a first restore. At least I learned a lot and I think Im just gonna keep it like this as a reminder that you have to start somewhere. Maybe, in a few years, I have my own little workshop and Ill be able to make much better looking blades, but this was the first.
-
The Following User Says Thank You to Jos For This Useful Post:
Dzanda (03-28-2014)


 Reply With Quote