Results 21 to 30 of 59
 86Likes
Thread: Latest custom builds
 LinkBack URL
 About LinkBacks
Hybrid View
-
07-10-2014, 03:56 PM #1Razor Vulture


- Join Date
- Oct 2010
- Location
- Lone Star State
- Posts
- 26,168
Thanked: 8617
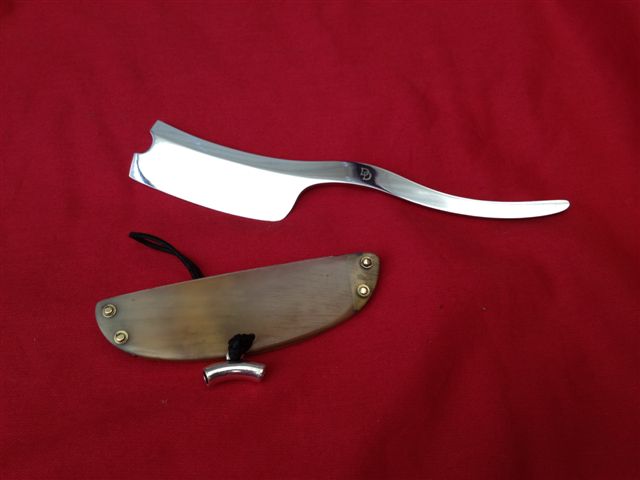
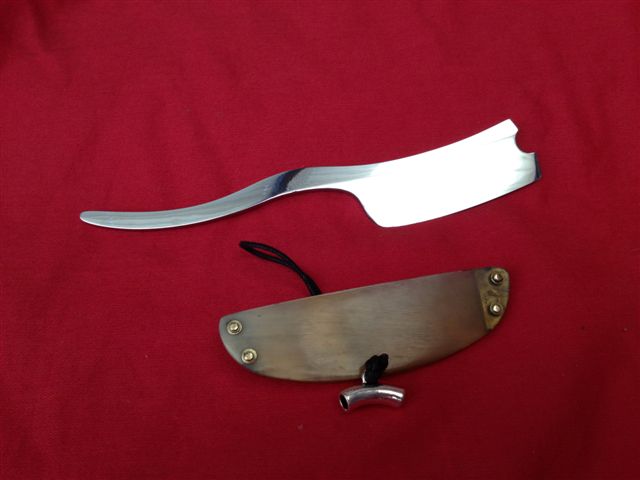
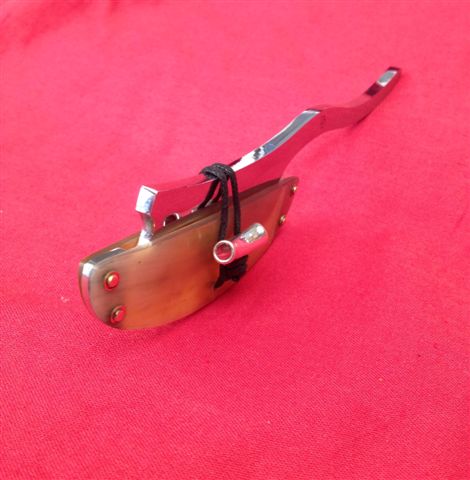
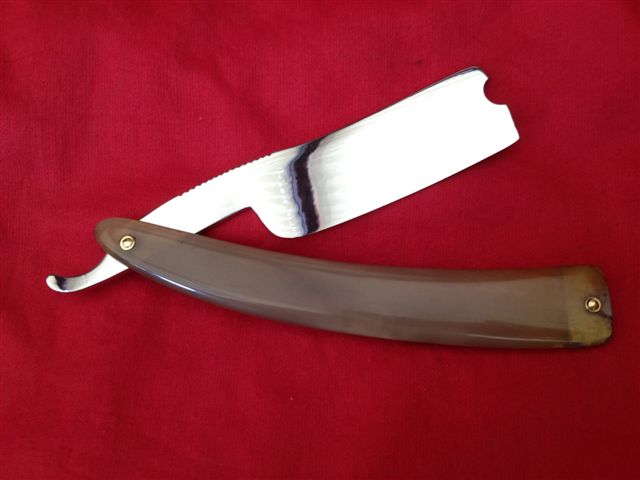
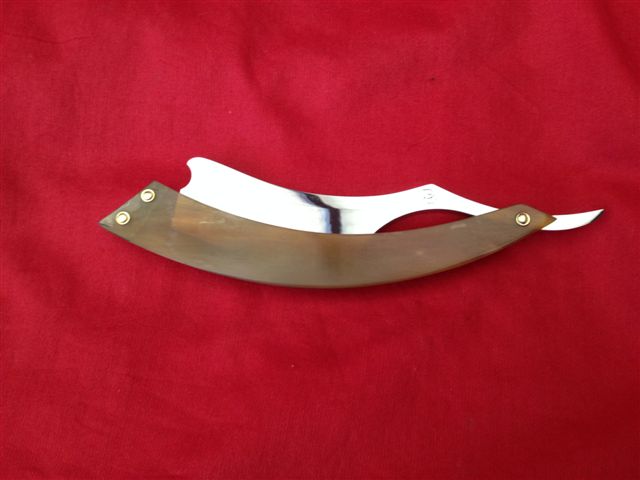
OK proper pics this time! Leveled the workbench surface. Frameback to edge sez 30 degrees. Would we not divide this by 2??

 silverloaf likes this."Don't be stubborn. You are missing out."
I rest my case.
-
07-10-2014, 04:02 PM #2Senior Member

- Join Date
- Oct 2013
- Location
- vermont
- Posts
- 778
Thanked: 207
no, you nailed it right there tom! no dividing, that shows the effective cutting/honing angle the way you did it. i apologize for speaking ill of the little bubble, it didn't lie afterall! Originally Posted by sharptonn

 sharptonn likes this.Silverloaf
-
The Following User Says Thank You to silverloaf For This Useful Post:
sharptonn (07-10-2014)
-
07-10-2014, 04:16 PM #3Senior Member
- Join Date
- Oct 2013
- Location
- vermont
- Posts
- 778
Thanked: 207
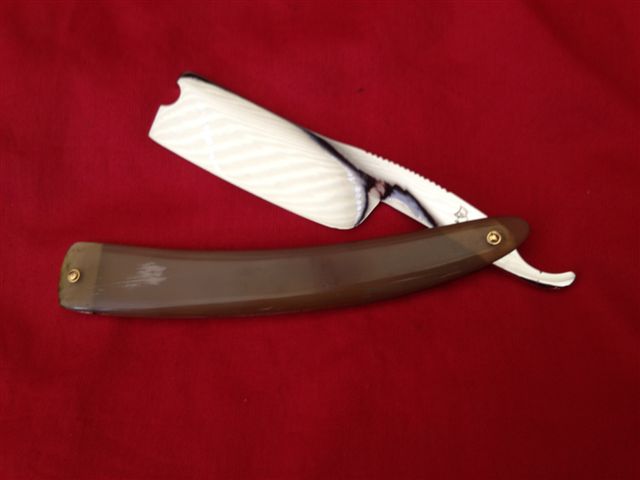
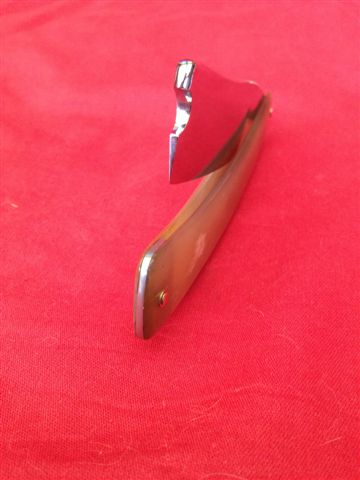
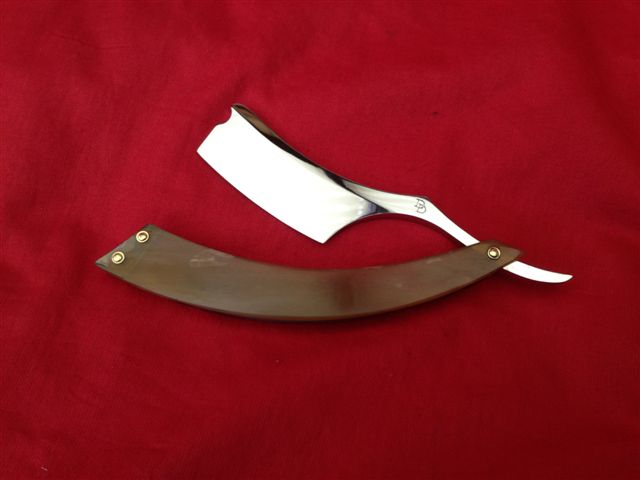
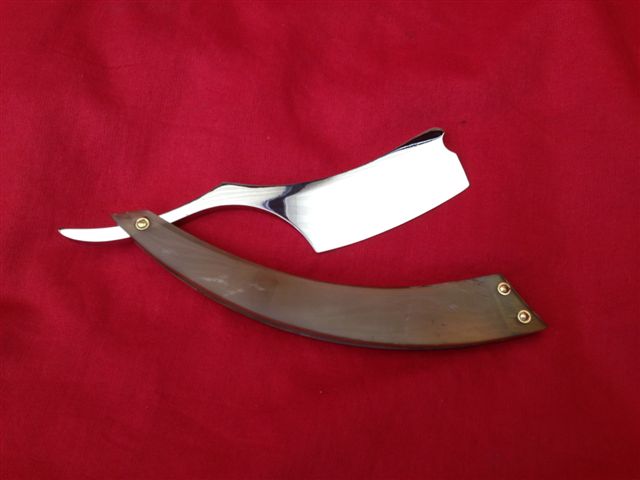
i really do like the design of your fixed blade and very clever idea for the sheath/cover! i have several fixed blades designs that ive not settled on storage ideas for. my thoughts leaned towards stands for them or fitted boxes but i really like your idea. it reminds me of an axe with a sheath, very neat. keep on making and showing, you have a good eye for attractive design. the geometry part is the most important aspect outside of heat treat when it comes to having a serviceable and reliable blade for generations to use. i started off by mimicking vintage blades and though my designs can be far from vintage looking my geometry still follows suit with the old guys. they worked it out and knew what they were doing didn't they? one of the aspects of their geometry is that the spine and cutting edge should wear away at the same rate and maintain the same cutting angle through the razors entire life. a slight hollow helps wedges in this regard, not accumulating too much wear and making honing a bear! it also highlights the fact that needing many layers of tape will prove difficult for future users to maintain the proper angle and ease of sharpening. as it wears away the cutting edge you will shorten the height of the blade and need fewer layers as time progresses. it will undoubtedly be a chore for the user to maintain proper angle as time goes by and the need to remove a layer now and then. Originally Posted by 3Drew101
sharptonn likes this.Silverloaf


 Reply With Quote