
Results 21 to 30 of 68
 132Likes
Thread: My homemade smilers
 LinkBack URL
 About LinkBacks
-
08-09-2014, 08:19 PM #21Tumbling down the rabbit hole...


- Join Date
- May 2011
- Location
- Calgary, AB
- Posts
- 445
Thanked: 27
Very good work, sir. Love the style.
-
The Following User Says Thank You to Atchbo For This Useful Post:
bluesman7 (08-11-2014)
-
08-11-2014, 06:26 PM #22Senior Member

- Join Date
- Jul 2013
- Location
- Ischia, Naples, Italy
- Posts
- 1,960
Thanked: 132
Lovely smiles!!
 Where there is a great desire there can be no great difficulty - Niccolò Machiavelli & Me
Greeting from Ischia. Pierpaolo @ ischiapp.blogspot.com
-
08-28-2014, 08:22 PM #23Tumbling down the rabbit hole...
- Join Date
- May 2011
- Location
- Calgary, AB
- Posts
- 445
Thanked: 27
Hey, how did you grind those shoulderless transitions? Is there a thread or video on this?
-
08-29-2014, 12:46 AM #24Thread derailment specialist.


- Join Date
- Dec 2011
- Location
- Republica de Tejas
- Posts
- 2,792
Thanked: 884
Don't know about a thread or video, but I imagine he just followed his grind on off the heel of the blade rather than stopping and creating a shoulder or stabilizer.
He's got a good eye and his execution is magnificent. I've ground a tub full of knife blades in years past, never tried a razor.
My big 2x72 belt grinder is loaned out at the moment, maybe when it comes home, I'll burn some steel and see what happens.Geezer likes this.Member Tonkin Gulf Yacht Club, participant SE Asia War Games 1972-1973. The oath I swore has no statute of limitation.
-
08-29-2014, 04:18 AM #25Senior Member


- Join Date
- Jul 2014
- Location
- Denver CO
- Posts
- 4,635
Thanked: 811
Wullie has pretty much got it. Thanks Wullie for the nice compliment. Originally Posted by Atchbo
 Geezer likes this.
-
09-16-2014, 08:03 PM #26Senior Member
- Join Date
- Jul 2014
- Location
- Denver CO
- Posts
- 4,635
Thanked: 811
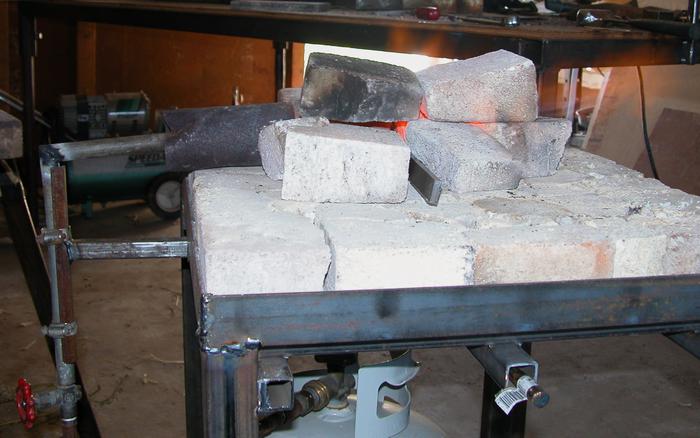
I started another razor today! Goals. 1. Slightly less smile. 2. A slightly wider tang.
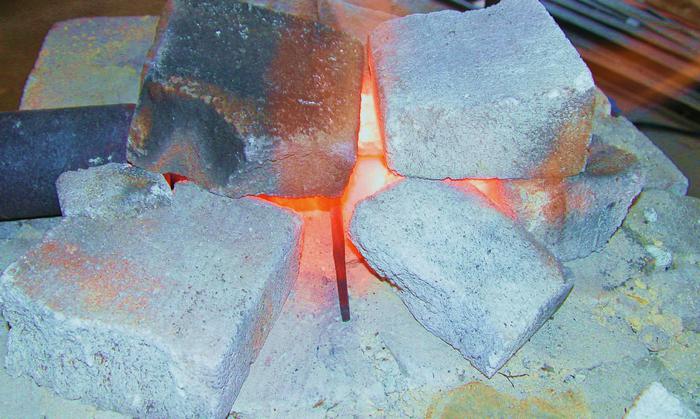
Here is my forge.
-
09-16-2014, 08:07 PM #27Senior Member
- Join Date
- Jul 2014
- Location
- Denver CO
- Posts
- 4,635
Thanked: 811
Tang rough forged.
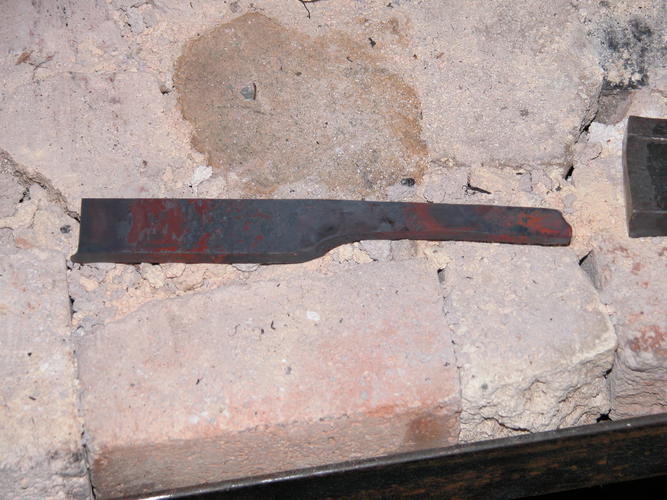
Finished forging prior to annealing. With enough stock left over for another razor.
-
09-18-2014, 05:55 AM #28
Nice. Looking good.
After forging the blade, you can use the flat of your hammer to flatten out the divots from when you hit with the thin end. This way you'll hit the high points and the metal will move to fill the holes again from within the blade. This will lessen the amount of grinding you need to do to erase those irregularities. Especially near the heel where you don't have as much metal to work with, this can be usefulGeezer likes this.Til shade is gone, til water is gone, Into the shadow with teeth bared, screaming defiance with the last breath.
To spit in Sightblinders eye on the Last Day
-
09-18-2014, 01:03 PM #29Senior Member
- Join Date
- Jul 2014
- Location
- Denver CO
- Posts
- 4,635
Thanked: 811
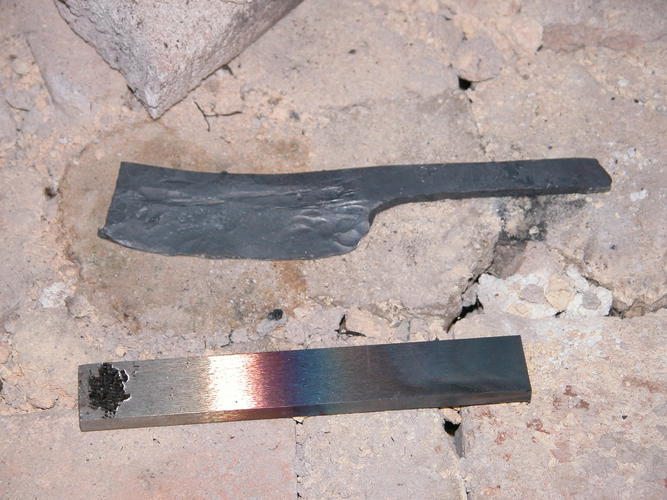
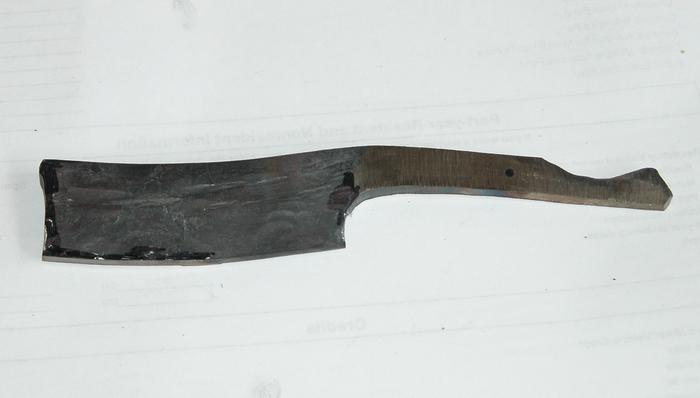
Thanks Bruno, Originally Posted by Bruno
Actually the blade is drawn concave at this point, and plenty wide so there is a lot of extra material anyway. Here it is roughed out. I haven't decided exactly what I'm doing with the tail yet, but the shape I have is growing on me.
-
09-18-2014, 04:06 PM #30
Whenever I am unsure about how to shape something, I kind of just let it happen as I go along. Some of my best designs have come out as the result of letting things happen.
Til shade is gone, til water is gone, Into the shadow with teeth bared, screaming defiance with the last breath.
To spit in Sightblinders eye on the Last Day
-
The Following User Says Thank You to Bruno For This Useful Post:
bluesman7 (09-18-2014)


 Reply With Quote
