
Results 1 to 10 of 19
 38Likes
Thread: The Mokume Gane Straight
 LinkBack URL
 About LinkBacks
Threaded View
-
01-15-2017, 09:12 PM #1Member


- Join Date
- Oct 2014
- Location
- Sacramento, CA
- Posts
- 71
Thanked: 42 The Mokume Gane Straight
Good Day All!
Thought it would be fun to show you a little something that I am proud of. (Note: this razor is sold, and this post is not intended as a advertisement for such. It's just me, doing a little showing off, and giving some info on how I created this piece.)
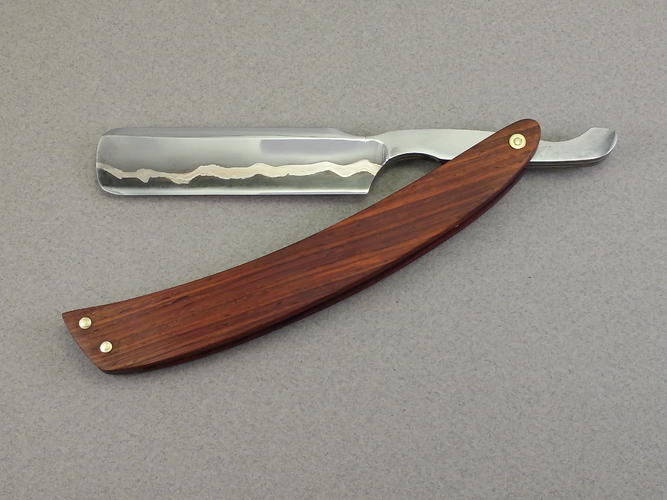
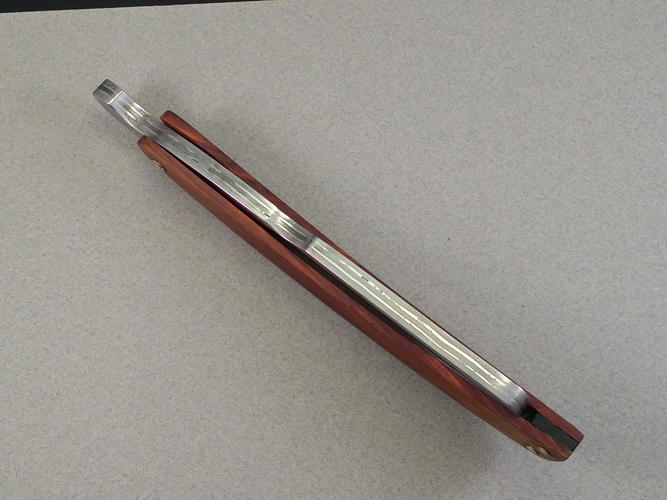
This razor was crafted using a process called Mokume Gane for welding different metals together. What you see here is a high carbon core, that is the edge of the blade, with a jacket of nickel, copper and mild steel. It makes for a unique and beautiful razor, me thinks. I was shooting for what would seem like a river flowing through the hollow of the blade. A homage to my home town, sometimes called The River City.
First, the gratuitous completed piece shots!

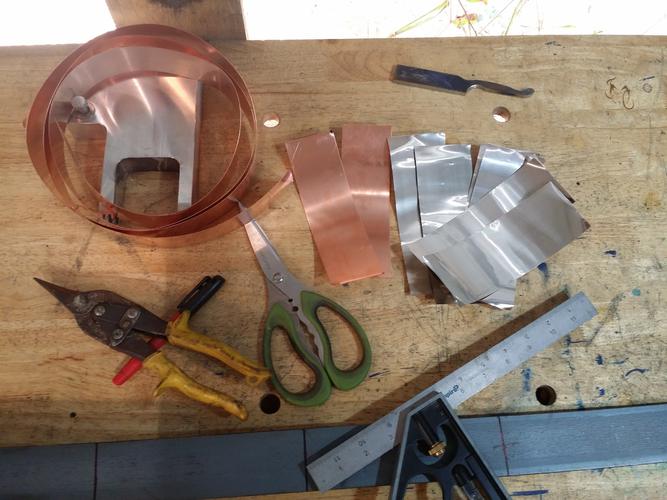
But, how does one make such a thing? Let's check out that process!
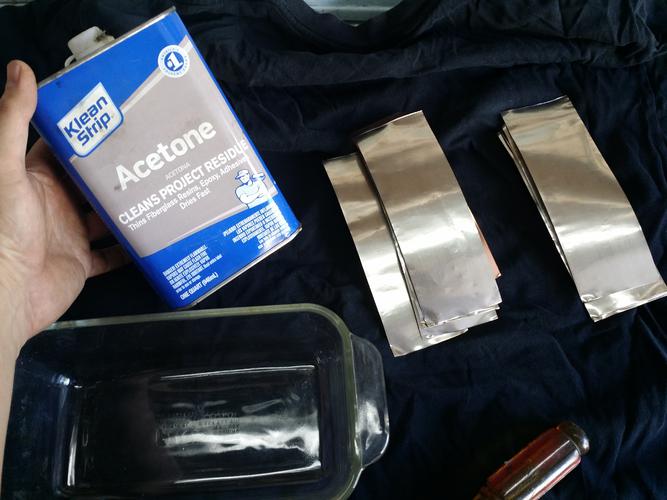
First, we gather all the raw ingredients. Copper, Nickel, Mild Steel, and High Carbon Steel
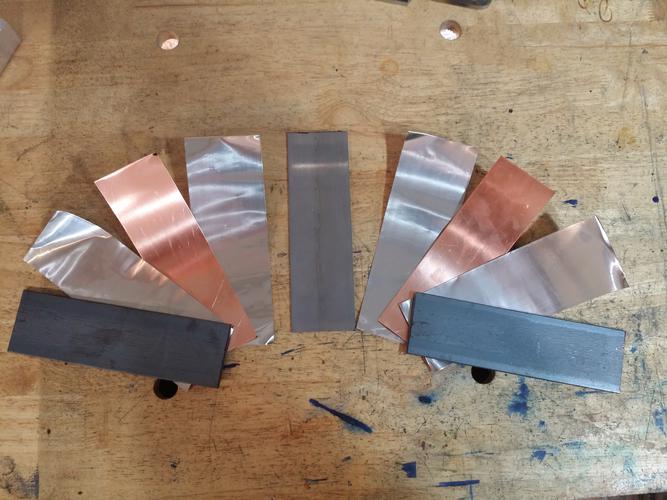
Then, we see how the layers will be stacked. This way, the high carbon layer will become the cutting edge of the razor, and not any of the other types of metals. (Making for a crap razor!)
For this type of forging there is no flux used. In order to get the metals to fuse together they must be clean-clean-clean! No oxide, mill scale or even oils from my fingers can be present. I grind off all scale adn give each piece of the layers a bath an acetone.
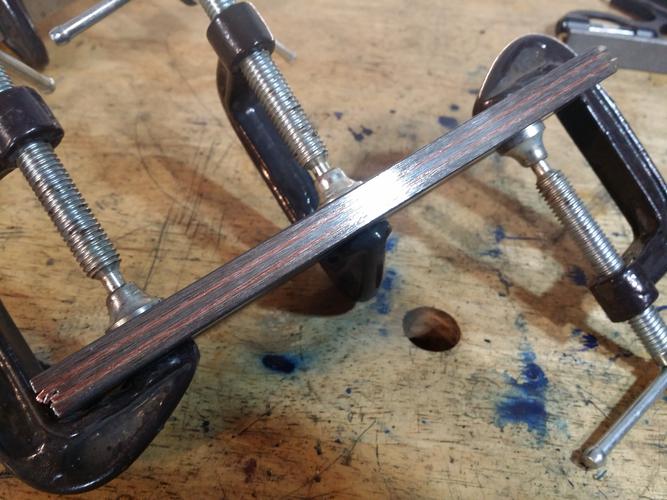
Now, I stack them together, clamp them as tightly as possible without deforming any layer, and put a quick tac weld to make a billet. Next stop, the forge!
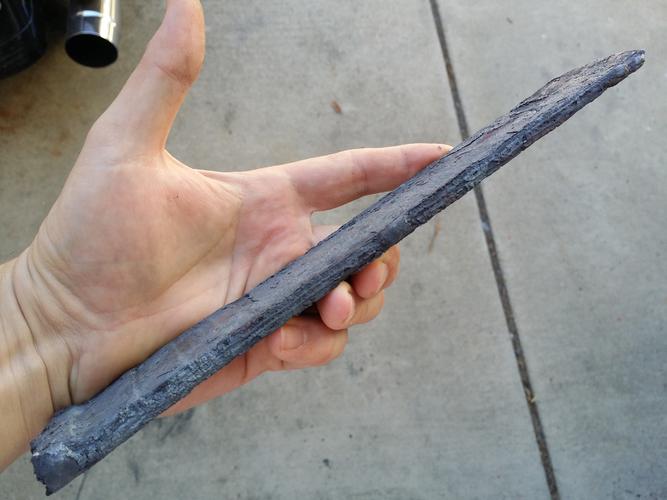
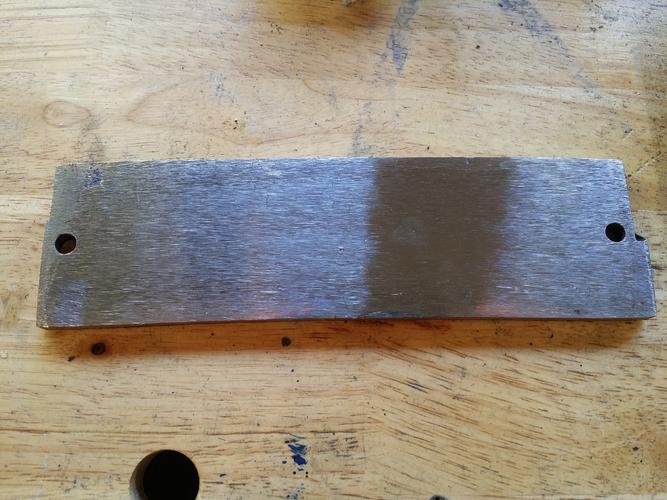
After forging, this is the end result. A single bar of fused metals.
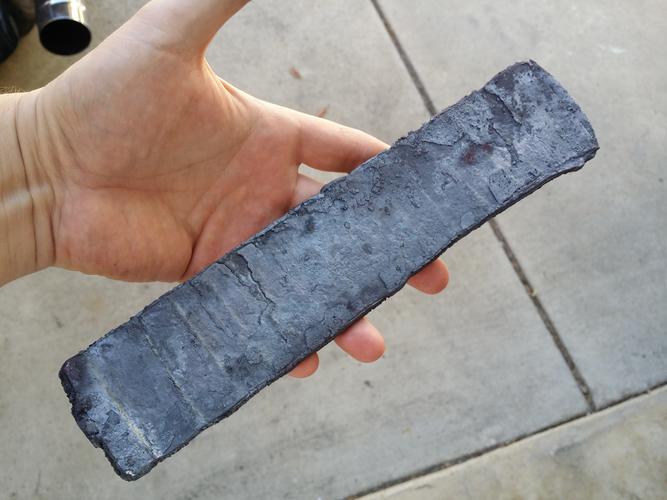
Next, grinding off all to forge scale and flatten the billet.
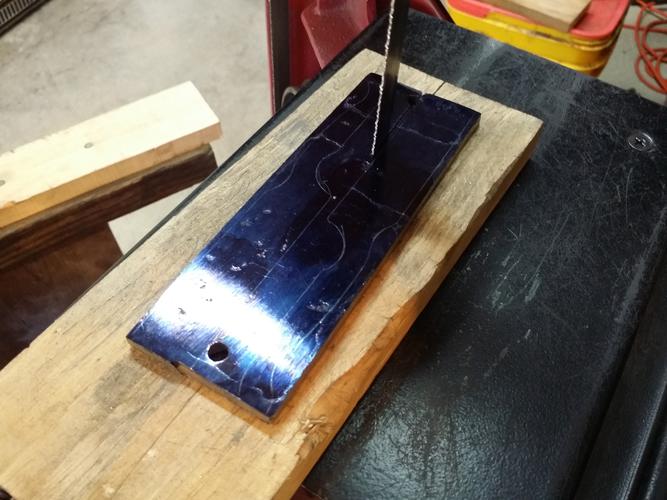
Next step is the band saw for cutting the blanks. I was able to get two blanks from this billet.
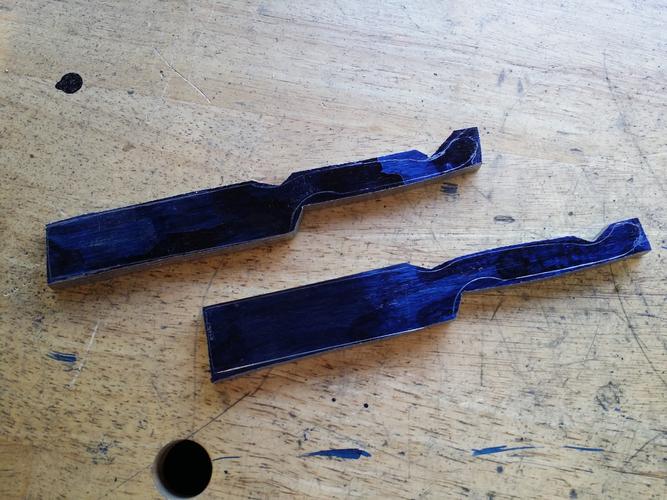
Here, during the rough grind stage you can already begin to see how the layering is taking to the razor.
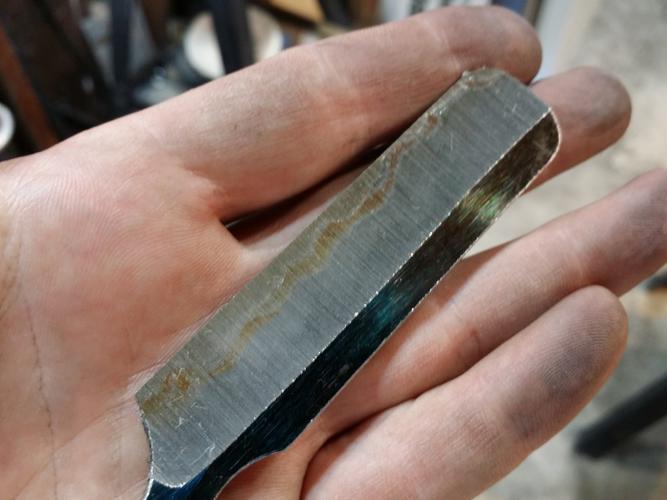
Alright, the grinding is done! Now I want to draw out some contrast in the different metals. So, a quick dip on some ferric acid does the trick.
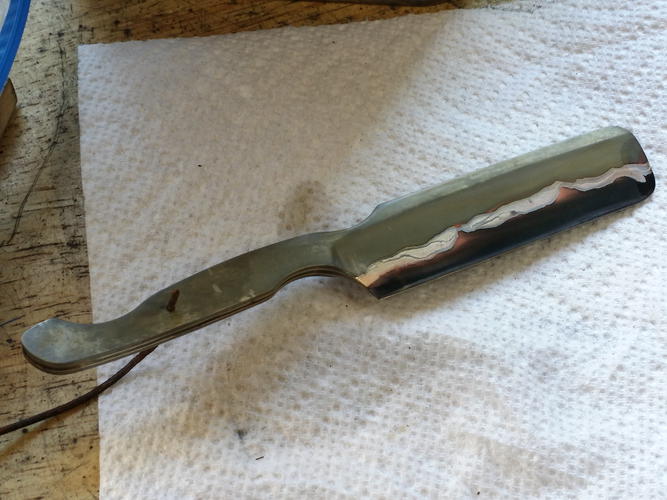
I wanted it a bit darker, so I passed it through the acid quickly a couple more times and finally got the coloring I wanted. Here, compared to other mirror polished pieces.
(Oops! Looks like I can only load 15 images per post. I'll follow up the last images on a reply in this thread.)
-
The Following 5 Users Say Thank You to JohnGlueck For This Useful Post:
Dieseld (01-15-2017), lz6 (01-15-2017), markbignosekelly (01-16-2017), MikeB52 (01-15-2017), Phrank (01-15-2017)


 Reply With Quote