
Results 1 to 4 of 4
 4Likes
Thread: Helma and M. Jung
 LinkBack URL
 About LinkBacks
-
08-16-2017, 11:57 PM #1Junior Member

- Join Date
- Aug 2017
- Location
- Idaho
- Posts
- 25
Thanked: 11 Helma and M. Jung
Here are a couple razors I just finished. I'm still new to this, so go easy on me!
I'm making my way towards proper pin jobs but I still have to get some use out of the few fasteners I have left. I figured the nut is the ugliest part of my usual microfastener set up so I got to thinking...
My original plan was to clip some excess off of my bolts and peen them over a washer, keeping the bolt's head on the other side. As you can probably guess, there was too much brass to practically peen, and it probably needs to be annealed.
Plan B: Clip and sand the bolts flush to the scales. Then, take advantage of the extra binding strength that comes with having threaded pins and scales-- introduce some crazy glue.
I can see why this might be sacrilegious, but at that point in time I was running out of options. I think this tactic accomplishes everything a pinning job would, though.
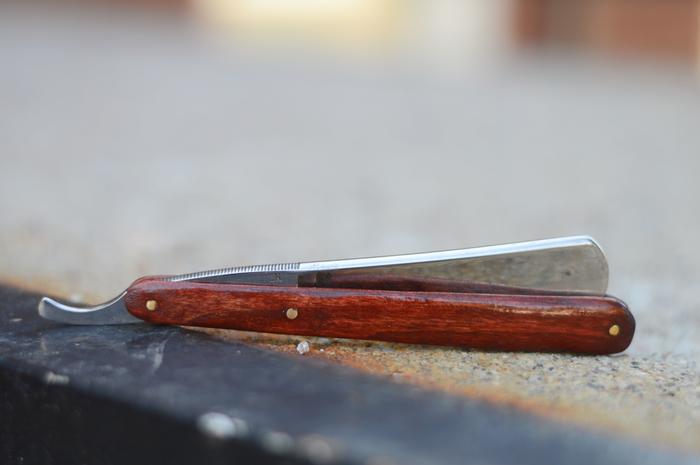
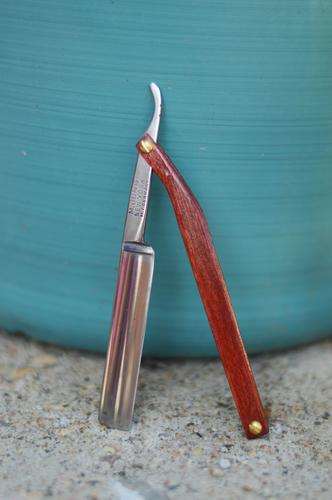
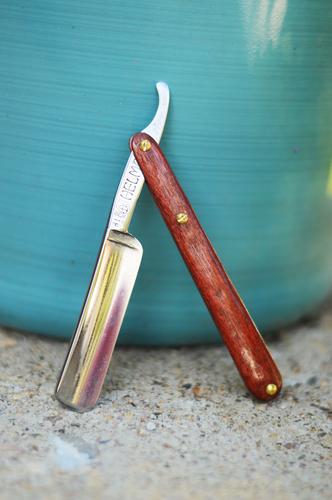
Anyways, the first razor is a Helma.
My philosophy concerning scales is that they should hold the blade, protect the edge, and compliment the style of the razor. I like a little presentation when the razor is closed. You'll notice that I've accomplished this by limiting how far the razor can close with that middle bolt-- it comes in contact with the tang. The edge is completely concealed. I am still deciding If I like the look.
The second razor is a tiny Jung. I did the same thing with the bolts, this time exposing the blade by having the tang come in contact with the top of the scales itself. I like how classy this one is. Also, does anyone know if all of these razors have those two cut-outs on the tail? They look intentional.
Thanks for looking!
 Attachment 271210
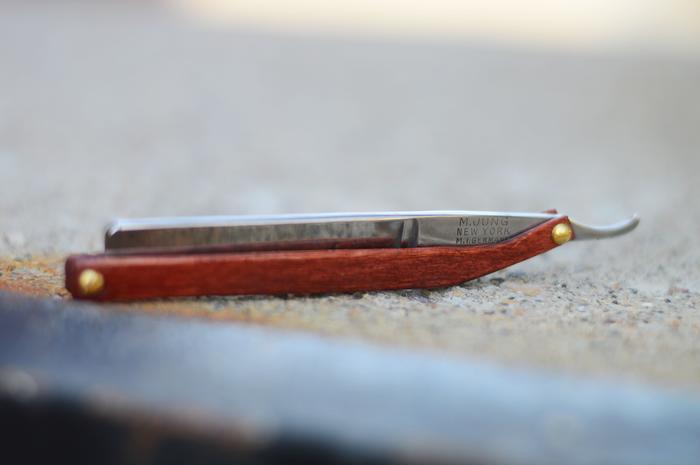
 nicknbleeding and Hirlau like this.
-
The Following User Says Thank You to GeoID For This Useful Post:
nicknbleeding (08-17-2017)
-
08-17-2017, 03:46 AM #2Senior Member
- Join Date
- Feb 2016
- Location
- pennsylvania
- Posts
- 302
Thanked: 66
congrats on taking the plunge into creating your owm scales geo. not a simple feat. well done. what material are those scales? and what wedge did you use? cant see from the photos.
GeoID likes this.
-
08-17-2017, 03:57 AM #3Junior Member
- Join Date
- Aug 2017
- Location
- Idaho
- Posts
- 25
Thanked: 11
Thanks! I'm a student, so don't have the money/garage space for bench sanders, Special saws, etc--so all of my scales are hand-carved poplar. I scaled a razor with oak once, won't ever do that by hand again. Originally Posted by sloanwinters

I thin out the interior of the scales, while leaving the ends thicker. No wedge necessary. This one isn't super clean, but the contact can be made about perfect with sandpaper.

Sent from my iPhone using Tapatalksloanwinters likes this.
-
08-18-2017, 02:49 AM #4Senior Member
- Join Date
- Feb 2016
- Location
- pennsylvania
- Posts
- 302
Thanked: 66
thats pretty old school right there. nice use of the tools/materials at hand.


 Reply With Quote