
Results 21 to 28 of 28
 94Likes
Thread: Parkin Cast Steel restoration
 LinkBack URL
 About LinkBacks
-
08-22-2017, 06:07 PM #21Senior Member


- Join Date
- Mar 2015
- Location
- Akron, Ohio
- Posts
- 12,115
Thanked: 4315
You knocked it outta the park, Tuzi.
Looks like your gonna make me pull out my Hague, and get on it.
Well done my friend, you've raised the bar on me..Again!! Mike
Mike
-
The Following User Says Thank You to outback For This Useful Post:
xiaotuzi (08-22-2017)
-
08-22-2017, 07:17 PM #22Senior Member


- Join Date
- Jun 2016
- Location
- NH
- Posts
- 1,924
Thanked: 1363
Thanks, buddy! I was hoping I would do you proud. Originally Posted by outback


But... Me raise the bar on YOU? Pffft! I don't know about that. Maybe after a hundred more of these I'll be playing in the same ballpark as you. And several others too, I could name quite a few ballparks I'd like to be in!
I love that about this place - sharing ideas, methods, and info. Encouraging each other to keep improving and bringing out the best in one another when we can. Keep on keepin' on, bro!"Go easy"
-
The Following 2 Users Say Thank You to xiaotuzi For This Useful Post:
ejmolitor37 (08-22-2017), outback (08-22-2017)
-
08-22-2017, 08:18 PM #23Captain ARAD.

- Join Date
- May 2011
- Location
- Pacifica, CA
- Posts
- 2,474
Thanked: 2227
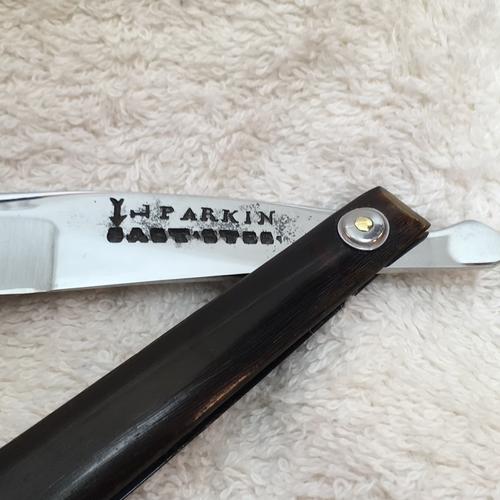
Ah, you've found one of the other mysterious old scale tricks. The under-washer pin. I can't recall for certain if I've seen it myself, or just pictures (I think I have one, but haven't fully disassembled it yet), but I know I've come across it. Originally Posted by xiaotuzi
The 'solid' tin wedge makes me think it's 1805-ish.ejmolitor37 and xiaotuzi like this.-Zak Jarvis. Writer. Artist. Bon vivant.
-
The Following User Says Thank You to Voidmonster For This Useful Post:
xiaotuzi (08-22-2017)
-
08-23-2017, 09:23 PM #24Captain ARAD.
- Join Date
- May 2011
- Location
- Pacifica, CA
- Posts
- 2,474
Thanked: 2227
I found the razor I was thinking of that has that feature.


Look closely at the worn away washer -- there's a brass pin under it.
The wedge and the scales both are tortoiseshell, and the wedge is very roughly shaped.
The razor is late 1700's, very early 1800's French.
I don't think "holding the wedge in place" fully explains this. The pins used are a different gauge than the others used to assemble the razors (and in the case of this French razor, a different material!)
It would take more time to align and install those pins than to just pin up the scales without them, and the old craftsmen didn't do *anything* that took extra time without some sort of good reason.
What that reason was will have to remain a mystery because no one that's done it professionally has been alive for at least 180 years, and sadly, it's one of those tiny bits of process (like the different shapes grinding wheels or the specialized tools made for working particular razor shapes) which has been thoroughly lost to time.-Zak Jarvis. Writer. Artist. Bon vivant.
-
The Following User Says Thank You to Voidmonster For This Useful Post:
xiaotuzi (08-23-2017)
-
08-23-2017, 11:48 PM #25Senior Member
- Join Date
- Jun 2016
- Location
- NH
- Posts
- 1,924
Thanked: 1363
Thanks for sharing that, Zak. I definitely see it there right under the edge of the collar.
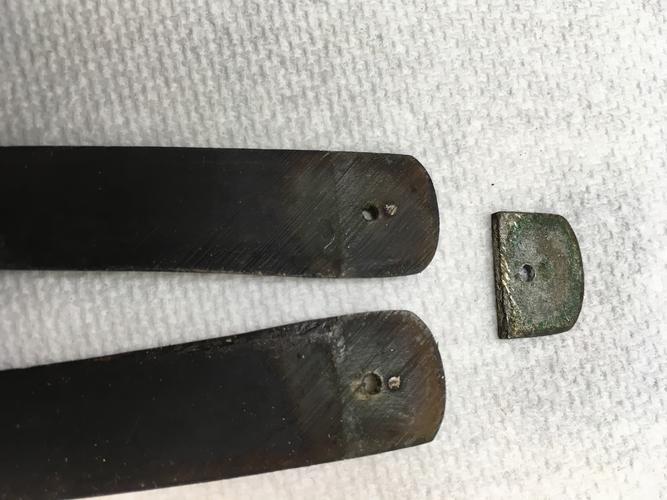
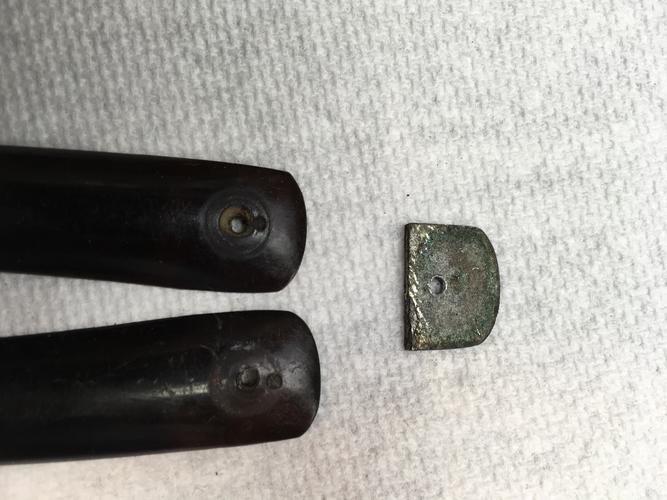
Looking back at the pictures of mine, inside and out, Doesn't it seem like the pins were in place before final shaping? They are smoothed to the outer surface and then on the inner surface of the scales the diagonal marks appear to go through the pins.
I'm wondering about the diagonal marks, it would seem that after the scales were made they gave the wedge end some texture to keep the wedge from shifting or rotating, maybe? Anyway, these marks seem to go through the pins meaning they were already in place before assembly.
Why would they be there before assembly? The only thing I can think of is that maybe it was one pin holding two horn blanks together for shaping, so they turn out the same shape. Once shaping was complete, the pin was cut in the middle, freeing the two scales, and they just left it in there, did the final shaping and covered the remains with the collar. Maybe?"Go easy"
-
08-24-2017, 03:05 AM #26Captain ARAD.
- Join Date
- May 2011
- Location
- Pacifica, CA
- Posts
- 2,474
Thanked: 2227
Yeah, almost all old Sheffield razors I've taken apart have that textured surface at the wedge end, and it's always way bigger than the area the wedge covers. Originally Posted by xiaotuzi
As for the pins, yeah, it definitely looks like they were in there when the scales were scratched up for texturing. However, they wouldn't have anything do with the shaping. Technically, all old Sheffield scales are 'pressed horn'. It was way, way faster to churn them out that way than fit them up and shape every set by hand.
I honestly cannot come up with a reason for the pins, and the reasons I can come up with for the cavities and the extra holes are -- at best -- tenuous.-Zak Jarvis. Writer. Artist. Bon vivant.
-
The Following User Says Thank You to Voidmonster For This Useful Post:
xiaotuzi (08-24-2017)
-
08-25-2017, 05:18 PM #27Member
- Join Date
- Apr 2016
- Location
- Utah, U.S.A
- Posts
- 37
Thanked: 3
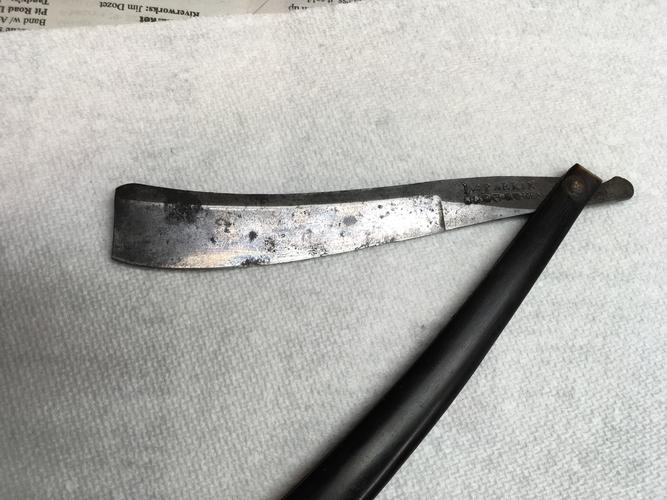
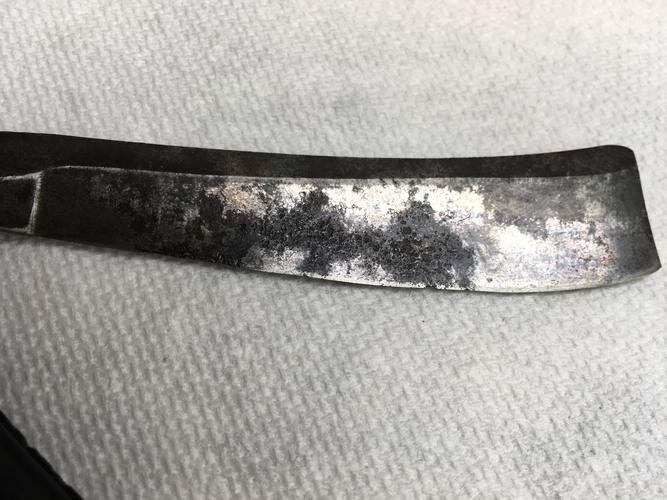
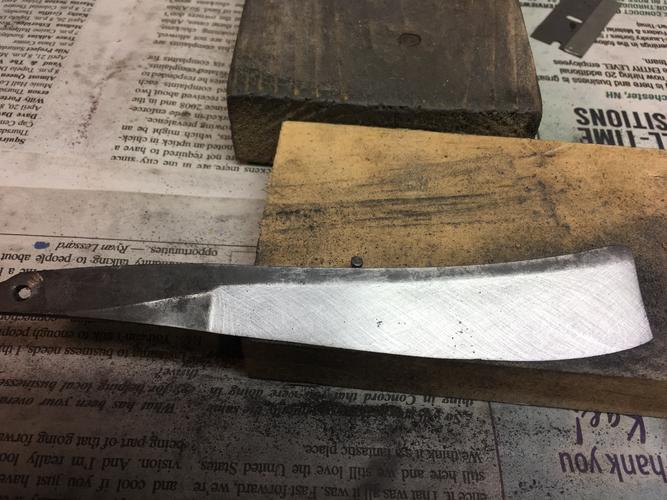
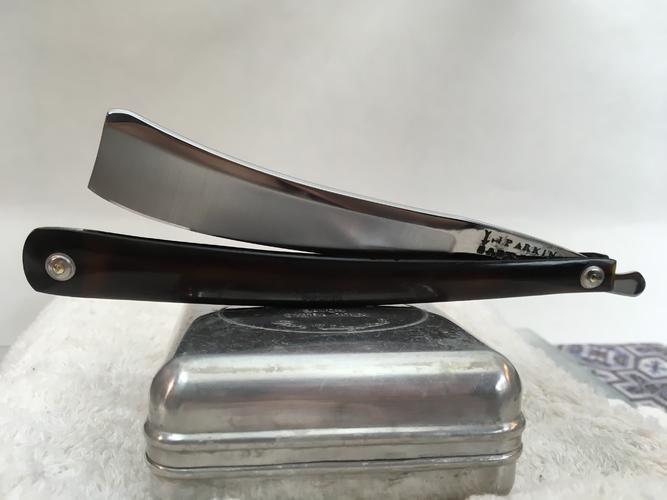
Great job. I love the shape of that blade Originally Posted by xiaotuzi
Sent from my SM-N920V using Tapatalkxiaotuzi likes this.
-
The Following User Says Thank You to Mars72 For This Useful Post:
xiaotuzi (08-25-2017)
-
11-17-2017, 05:04 AM #28Senior Member

- Join Date
- Oct 2016
- Posts
- 983
Thanked: 134
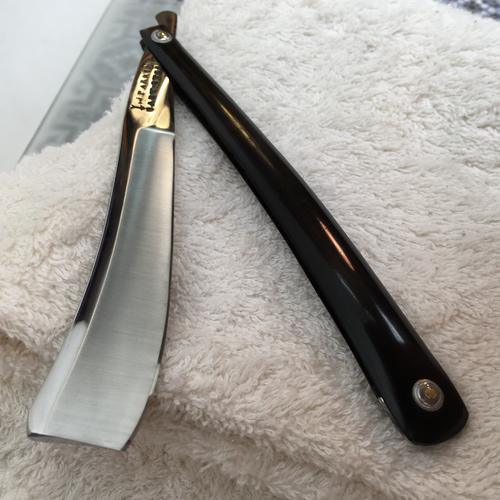
No way.... i would have bet my choseras that such recovery would not be possible!!
I would had given up in that razor... but no more.. i need to get one of those old english razors to start practicing!!!!honing my mind...


 Reply With Quote