
Results 1 to 4 of 4
 9Likes
 LinkBack URL
 About LinkBacks
Hybrid View
-
03-28-2018, 08:49 PM #1Senior Member

- Join Date
- May 2016
- Location
- Yakima, WA
- Posts
- 177
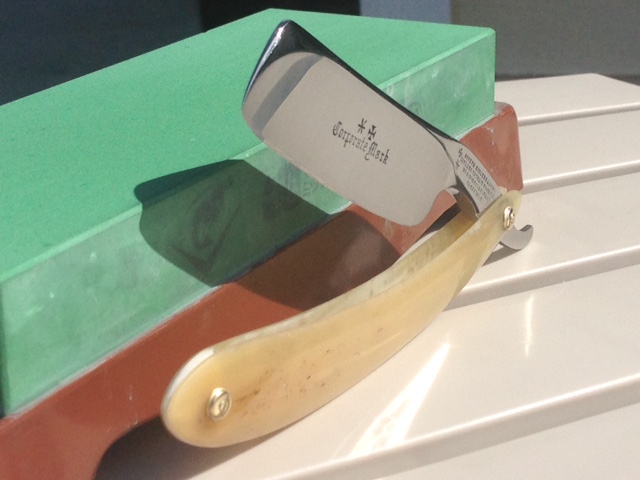
Thanked: 89 Joseph Rodgers "Corporate Mark" Razor in Honey Horn
I'm not exactly cranking these out at a high rate of speed, but I think the patience (aka lack of free time) is producing better and better results.
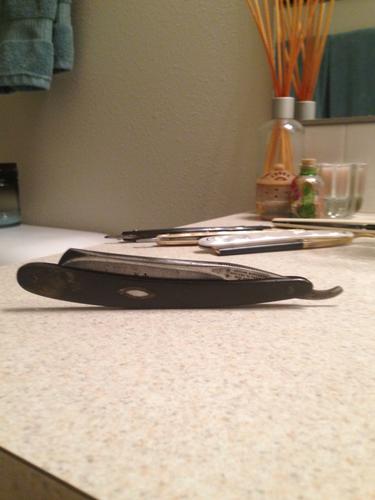
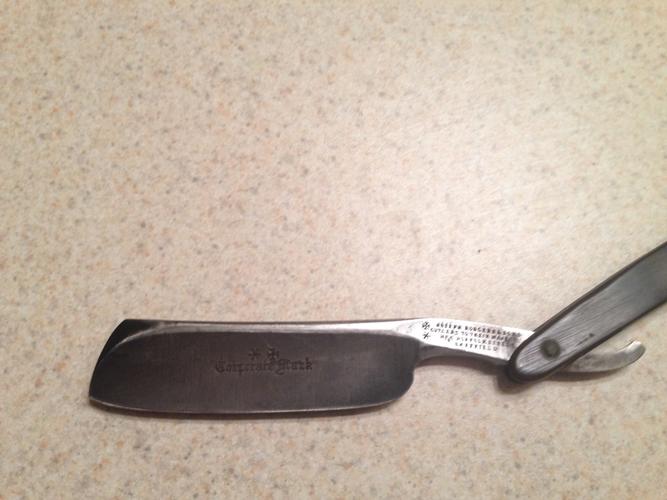
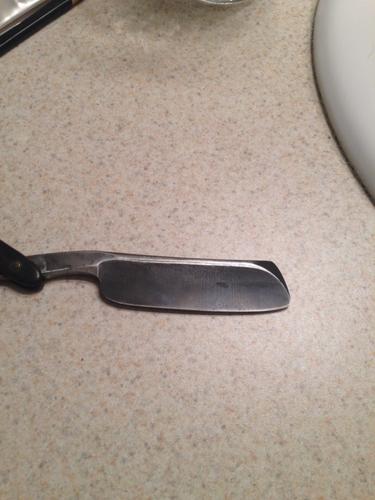
I fell in love with this blade when I saw it on the Bay and wanted it for my personal collection. The blade was entirely hand sanded. The tang, spine and toe areas were left in a mirror polish and I applied a satin-finish to the ground face areas using Tuzi's technique (to the best of my abilities anyway). I probably could have done better capturing that--photo skills and a light box are also on the to-do list.
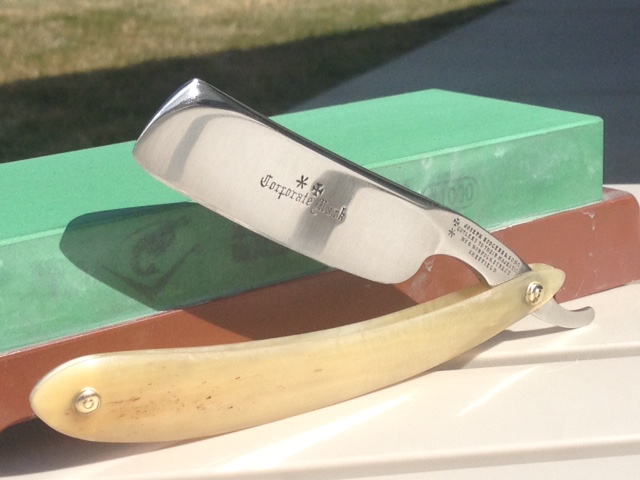
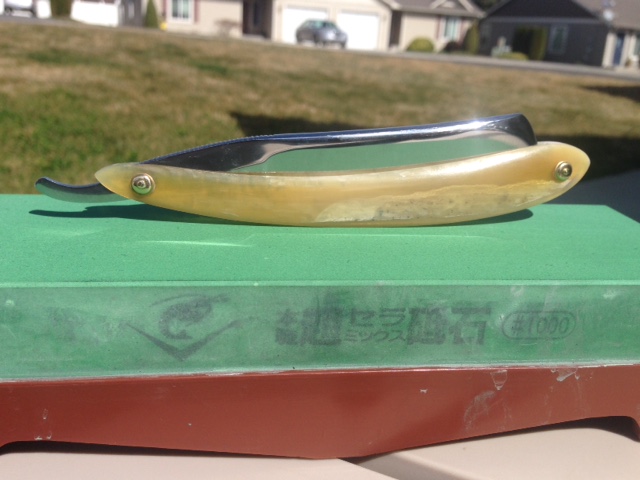
The dome replica collars you will all recognize as Austin's, and I used some honey horn I picked up from him as well. I was really cruising on the scales, perhaps my best effort to date, but when I was nearly finished shaping them on the belt sander, I must have hit some kind of stress line in the horn that caused the delamination that you see on the non-show side. It's really cosmetic at this point, so I'm leaving them for now until they turn into an issue that justifies full replacement. This is my second attempt with honey horn and I'm finding that it is really fickle stuff as compared to buffalo horn.
I am still working on honing it, which is also presenting quite the challenge--having a helluva time getting the bevel set. So, I'm also trying to be patient in that regard too.
Anyway, hope you guys like pictures.

-
The Following User Says Thank You to jseitz For This Useful Post:
Geezer (03-28-2018)
-
03-28-2018, 10:43 PM #2Senior Member


- Join Date
- Feb 2013
- Location
- Haida Gwaii, British Columbia, Canada
- Posts
- 14,458
Thanked: 4830
Nice job. You can stabilize the delamination by filling it with very thin CA.
It's not what you know, it's who you take fishing!
-
The Following User Says Thank You to RezDog For This Useful Post:
jseitz (03-28-2018)
-
03-28-2018, 10:58 PM #3Senior Member
- Join Date
- May 2016
- Location
- Yakima, WA
- Posts
- 177
Thanked: 89
So, would you just coat right along the stress line running along the bottom and then sand/buff? The delamination runs deep into the scale (if that makes sense) such that everything above the line is actually smooth/contoured. I had thought that I could keep sanding down and get past it, but I would have had paper thin scales at that point. Originally Posted by RezDog

-
03-28-2018, 11:53 PM #4Senior Member
- Join Date
- Feb 2013
- Location
- Haida Gwaii, British Columbia, Canada
- Posts
- 14,458
Thanked: 4830
That is pretty much it. You may also find shaping with a scraper instead of a sander produces less delamination. It is also very fast.
It's not what you know, it's who you take fishing!


 Reply With Quote