
Results 21 to 25 of 25
 57Likes
Thread: custom J'G Escher hone box
 LinkBack URL
 About LinkBacks
Threaded View
-
10-11-2018, 09:10 PM #1Senior Member


- Join Date
- Jun 2013
- Location
- archbold ohio
- Posts
- 2,379
Thanked: 546 custom J'G Escher hone box
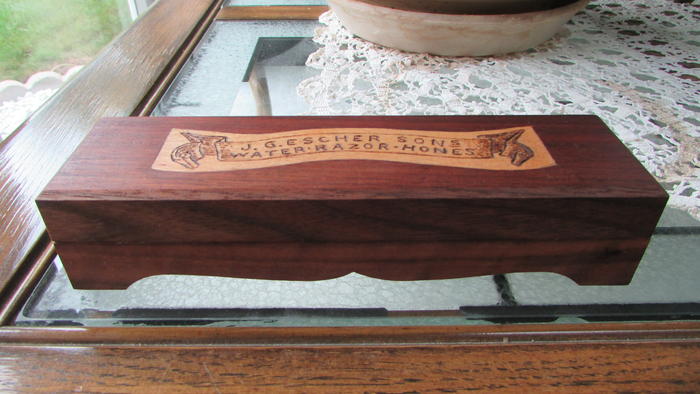
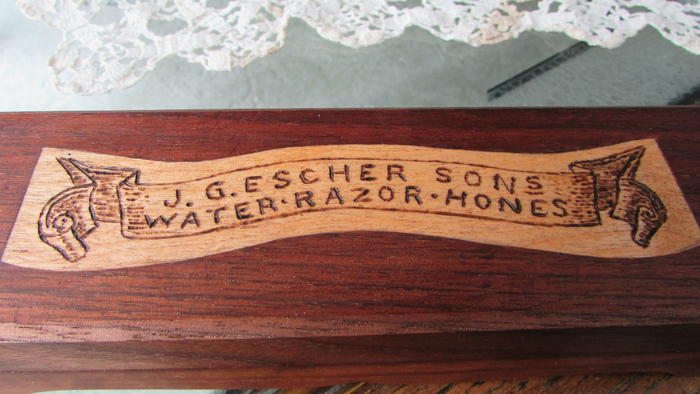
Though not a razor it is a custom build! Thought my green Escher needed a special home so i made it it's own custom walnut box. Inlaid a piece of veneer with a copy of the banner wood burnt into it and a copy of the label glued to the inside of the lid (still has the label on the hone). Went for a vintage look over all. Hope it give someone inspiration.

-
The Following 11 Users Say Thank You to tintin For This Useful Post:
Gasman (10-12-2018), JOB15 (10-12-2018), Kees (10-12-2018), markbignosekelly (10-12-2018), MikeB52 (10-12-2018), outback (10-12-2018), petercp4e (10-12-2018), ScottGoodman (10-12-2018), ScoutHikerDad (10-12-2018), sharptonn (10-12-2018), Steel (10-11-2018)


 Reply With Quote