Results 21 to 30 of 42
Threaded View
-
12-10-2010, 05:37 AM #1At this point in time...


- Join Date
- Jun 2007
- Location
- North Idaho Redoubt
- Posts
- 27,194
- Blog Entries
- 1
Thanked: 13250 Full Custom rebuild of a Microtome
David/nubskills and I were talking about this one night in chat which led me to doing one of these awhile back here in this thread...
After that one, he sent me this Microtome, and a set of designs that he had drawn up... of course to almost perfect scale, pretty impressive drawing actually...
This started out the same way as a pretty boring old unknown Microtome..
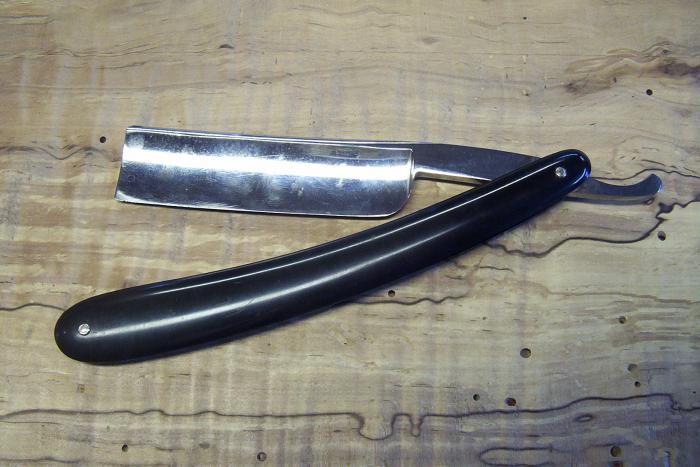
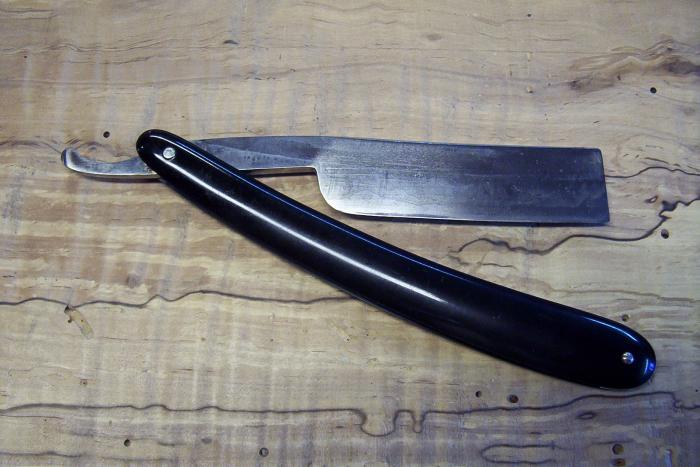
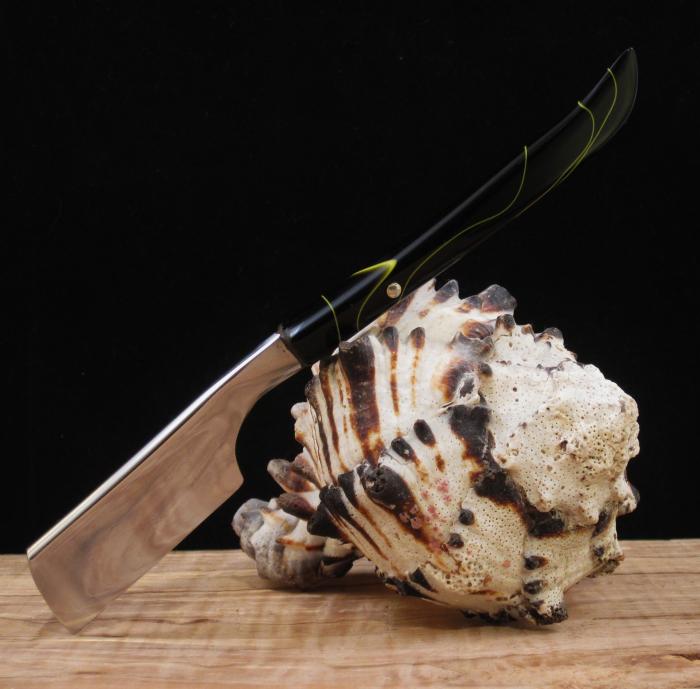
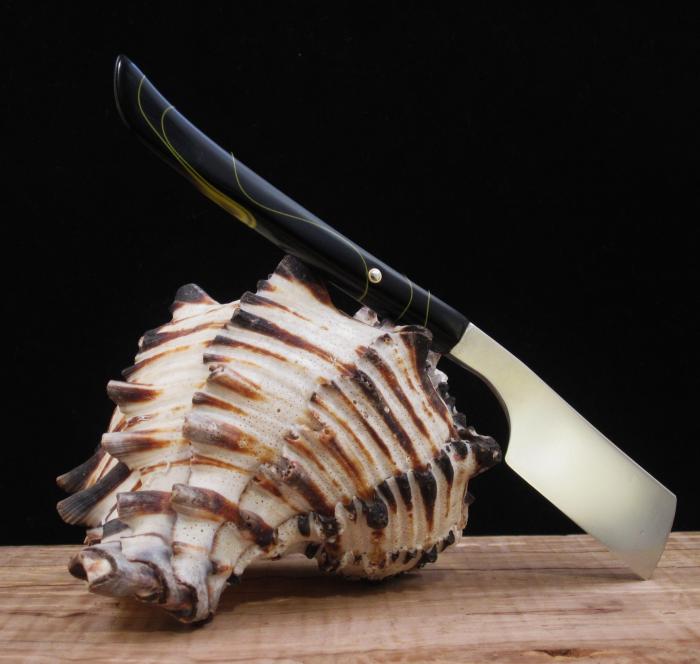
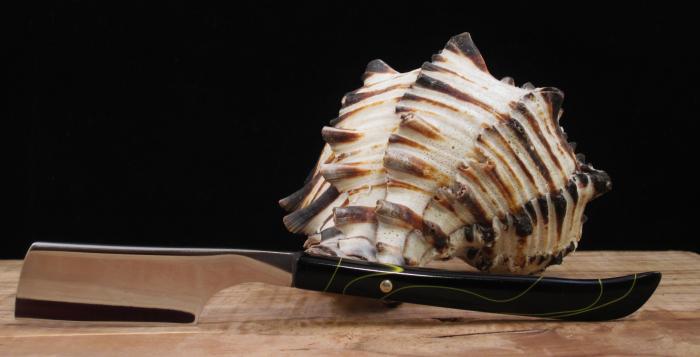
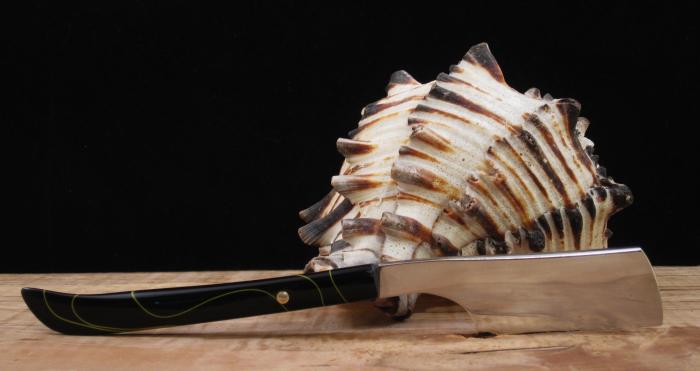
But with a few cuts, and some serious Dremel grinding and modding, the basic Kamisori shape began to come out..
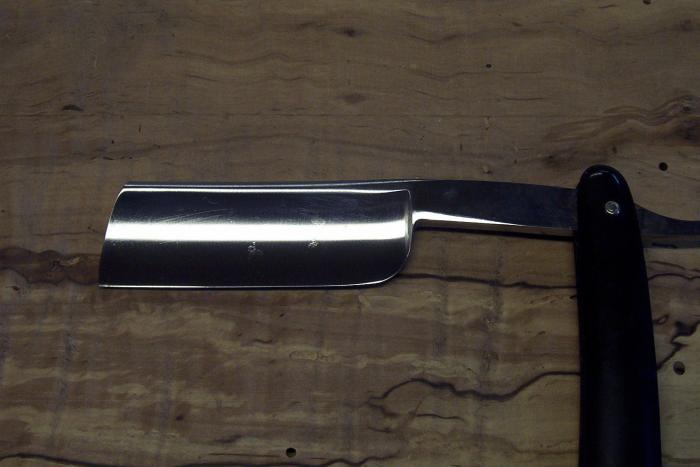
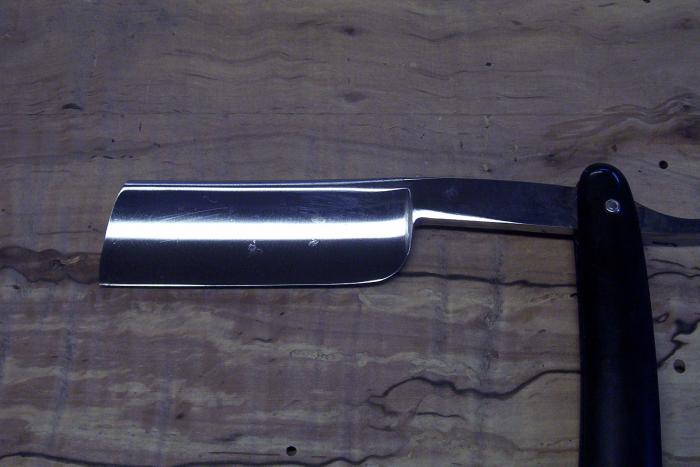
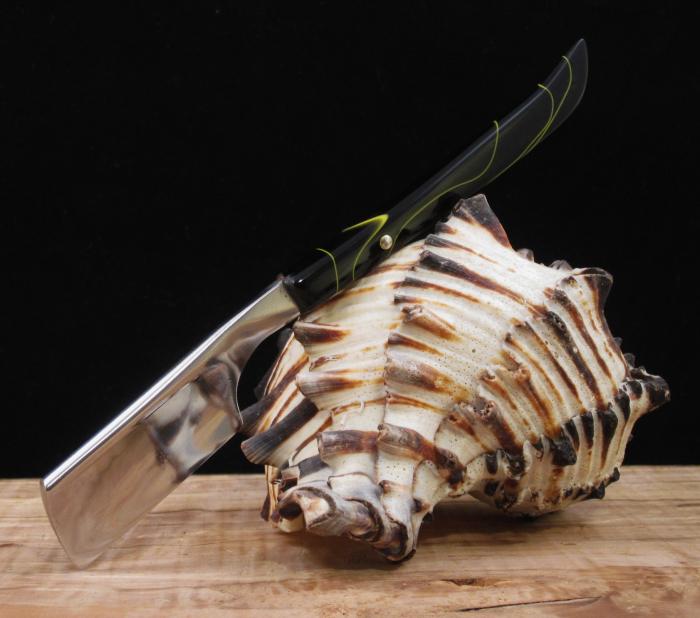
I re-fashioned the entire tang, by cutting off the tail and grinding in a sword/knife style tang, and went with a one piece design for the handle, for which I used Black Lightning acrylic...
I drilled out the tang hole, and drilled through a hole to use a locking pin as per David's design even though it wasn't really needed.. I used Acraglass bedding to seal in the tang then the Nickel Silver cross pin... I tell you this was possibly the most hours I have put in on any restore/rebuild, and yes David I saw the dull spots that showed up in these Macro pics and re-polished it already
So here are the finished pics of a new Micro-sori
-
The Following 7 Users Say Thank You to gssixgun For This Useful Post:
freenarative (05-23-2013), Grizzley1 (12-22-2010), lz6 (12-12-2010), NoseWarmer (12-10-2010), nubskillz (12-10-2010), ThePhill (12-10-2010), Voidmonster (11-15-2011)


 6Likes
 LinkBack URL
 About LinkBacks


 Reply With Quote
