
Results 1 to 10 of 10
 LinkBack URL
 About LinkBacks
-
03-28-2011, 10:03 PM #1Senior Member


- Join Date
- Jan 2010
- Location
- St. Louis, MO
- Posts
- 259
Thanked: 48 Joseph Smith & Sons in purpleheart
This is a 13/16", about half-hollow, Joseph Smith and Sons razor from the World's Columbian Exposition, also known as the 1893 Chicago Worlds Fair. I did the scales in Purpleheart and the wedge in ebony. Didn't want to go too hard on polishing the blade with the etching, so I left the metal relatively untouched under 1000 grit.
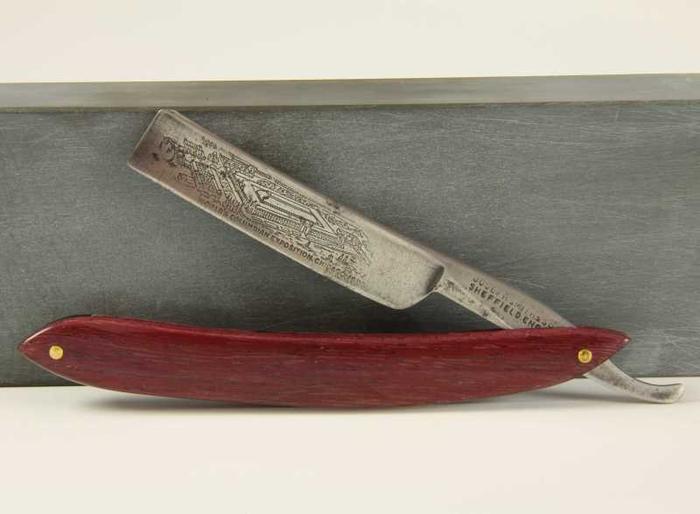
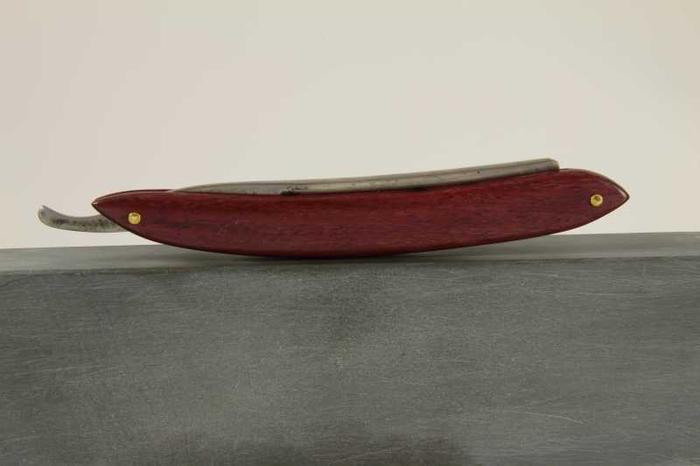
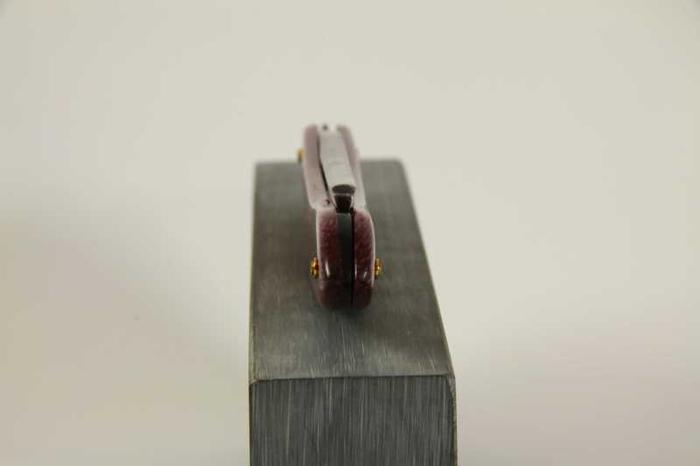
This is my second complete restoration, and if there is something I wish I would have paid more attention to it is the fit of the wedge. I ended up gluing the wedge to one side of the scales, which allowed me to get that seamless transition... on one side. I am hesitant to glue both sides, lest I need to do something to the inside of the scales for some reason. I will be researching some options here after I cook some dinner with the wife.
-
03-28-2011, 10:25 PM #2Senior Member


- Join Date
- Aug 2010
- Location
- Fort Lauderdale
- Posts
- 718
Thanked: 160
Good looking result!!! Nice job with a very historic blade.
-
03-28-2011, 10:37 PM #3Senior Member


- Join Date
- Feb 2010
- Location
- California
- Posts
- 4,833
Thanked: 1841
Very nice save of an antique razor. New life!
Bob
"God is a Havana smoker. I have seen his gray clouds" Gainsburg
-
03-29-2011, 02:21 AM #4Senior Member

- Join Date
- Mar 2011
- Location
- Washington, DC
- Posts
- 219
Thanked: 86
Very nicely done - I like the way the scale shape matches the spine while closed, and of course that etching is sweet too!
-
03-29-2011, 05:09 AM #5< Banned User >
- Join Date
- Mar 2011
- Location
- Chicago
- Posts
- 92
Thanked: 13
That is a very nice job there. Now, I'm no expert (just a long-time hobbyist) but I read that you had wedge transition issues, (you did a fine job by the way) and if you really want to be particular on the next one, I suggest placing the wedge before lacquering with the wedge sticking out of the scales some. It helps if you glue it in, on both sides. Then, you can sand the wedge and the scales down as one, giving you that perfectly seamless look you want. After you spray lacquer, just use a Q-tip to wipe off your pins. I do not suggest this method if you are using epoxy resin.
-
03-29-2011, 09:16 PM #6Senior Member
- Join Date
- Jan 2010
- Location
- St. Louis, MO
- Posts
- 259
Thanked: 48
I have been using superglue to finish my razors. I have considered finishing the insides of the scales, then gluing the wedge onto both scales and finishing the outside of the razor. The only thing I am afraid of is something going awry, causing me to have to break the wedge out somehow or start over. I just got my order from microfasteners so hopefully I will be able to get the razor mocked up a little better, and get a good joint between the scales and wedge. Originally Posted by joenasarino

-
03-30-2011, 01:12 AM #7The Great & Powerful Oz


- Join Date
- May 2008
- Location
- Bodalla, NSW
- Posts
- 15,638
Thanked: 3751
Congrats & good choice on saving the etch.
The wedge just needs to mate properly with the scales to avoid gaps but finishing in place with microfasteners will help to get that flush look.The white gleam of swords, not the black ink of books, clears doubts and uncertainties and bleak outlooks.
-
03-31-2011, 04:32 PM #8Poor Fit
- Join Date
- May 2010
- Posts
- 4,562
Thanked: 1263
Not too bad at all
 Beautiful looking old blade..great choice in saving the etch.
-
03-31-2011, 04:41 PM #9At this point in time...


- Join Date
- Jun 2007
- Location
- North Idaho Redoubt
- Posts
- 27,212
- Blog Entries
- 1
Thanked: 13250
Originally Posted by joenasarino
Originally Posted by adbuett
Gluing in the wedge is a one option, but proper fit and finish might be better in the long run..
Whether anything goes wrong or not, you are eliminating a flexing point for the scales, and an adjustment point later on..
Vintage razors have all the various options, so there is no right or wrong really, just giving you some thoughts
On the vintage ones you will find:
One piece
One side attached
Both sides attached
Neither side attached (by far the predominant system)
-
03-31-2011, 09:04 PM #10Senior Member
- Join Date
- Jan 2010
- Location
- St. Louis, MO
- Posts
- 259
Thanked: 48
I have just started the finishing of my current restoration: ebony scales with an ebony wedge. I made a flattening thing out of some sandpaper glued to a flat piece of maple and worked a while at flattening the scales. I had some fairly thin pieces of ebony from when I goofed a cut while ripping stock so I used that to make the wedge. I used rubber cement and microfasteners to sturdily fix the wedge in position, sanded it down even to the scales, and hopefully after finishing with CA they will still fit well together.


 Reply With Quote