
Results 1 to 10 of 13
 2Likes
 LinkBack URL
 About LinkBacks
-
04-29-2011, 02:36 AM #1the deepest roots


- Join Date
- Feb 2011
- Location
- Seattle
- Posts
- 1,221
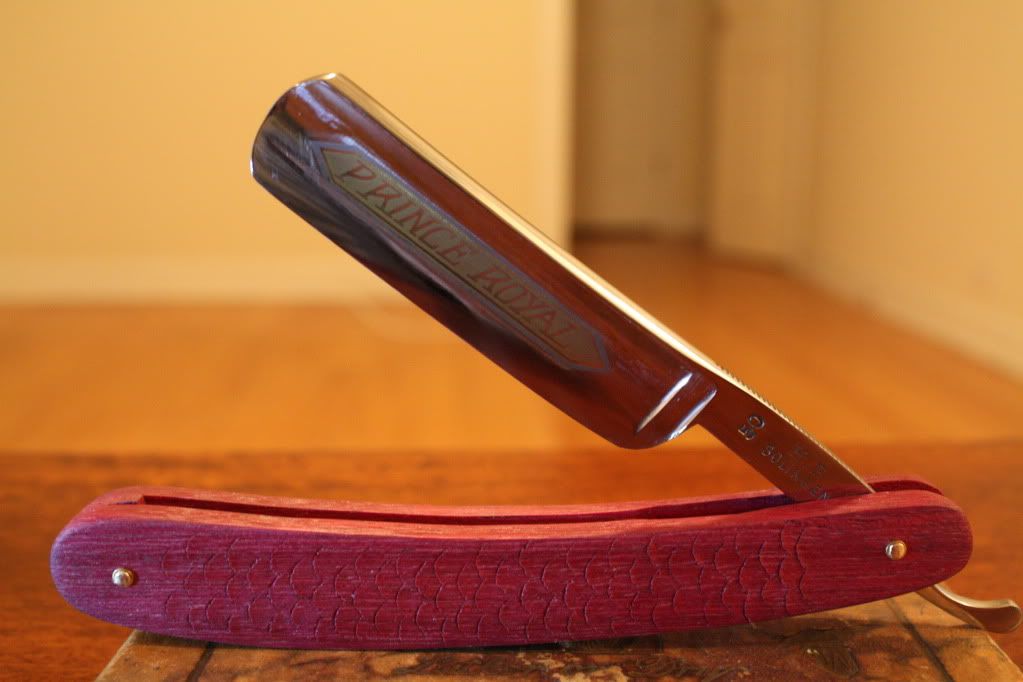
Thanked: 169 Prince Royal with custom scales (pic heavy)
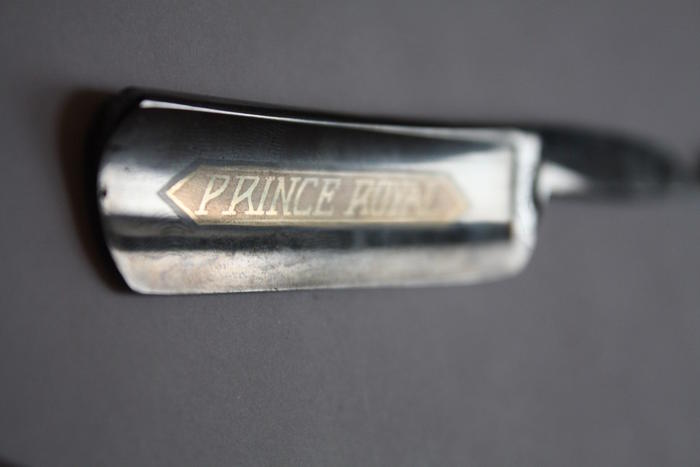
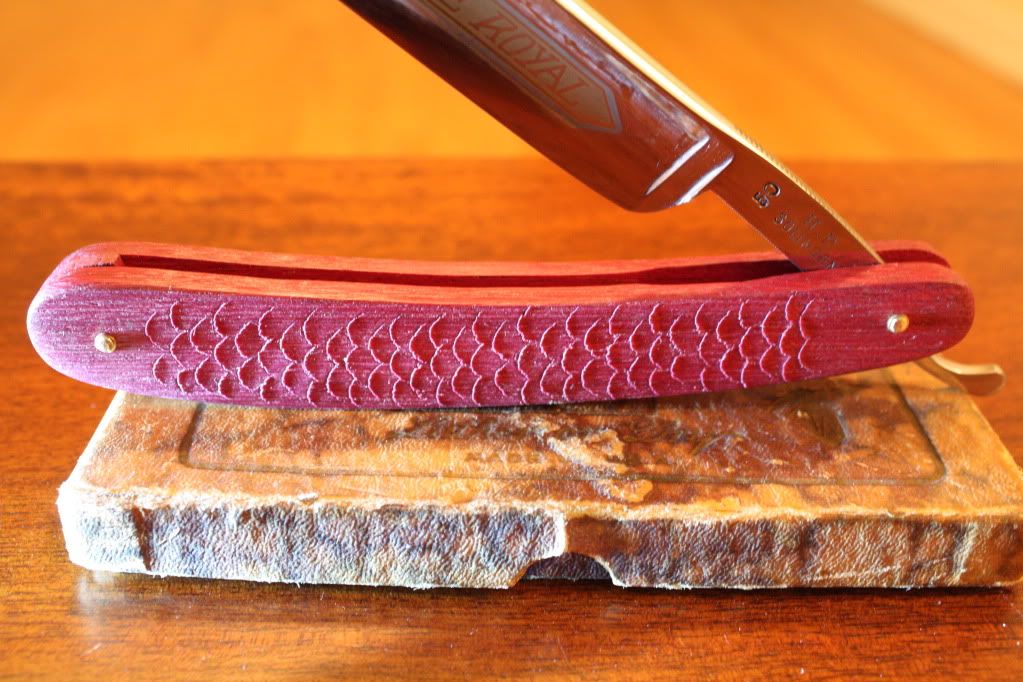
This is my first attempt at scales and blade polishing!
Blade: hand sanded from 150-1500g paper; dremel polished with Dico as in the tutorial.
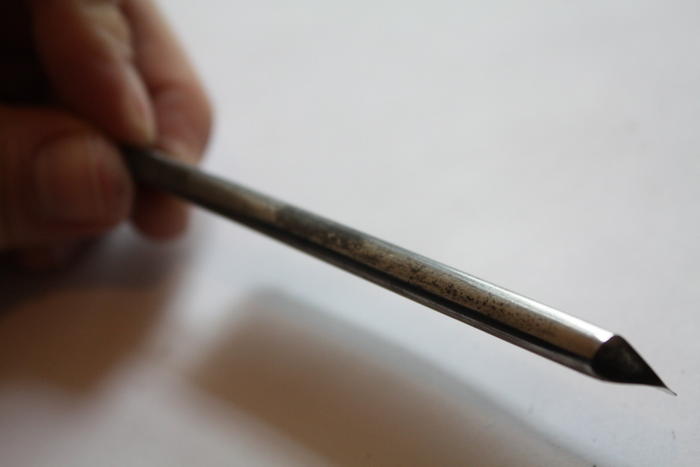
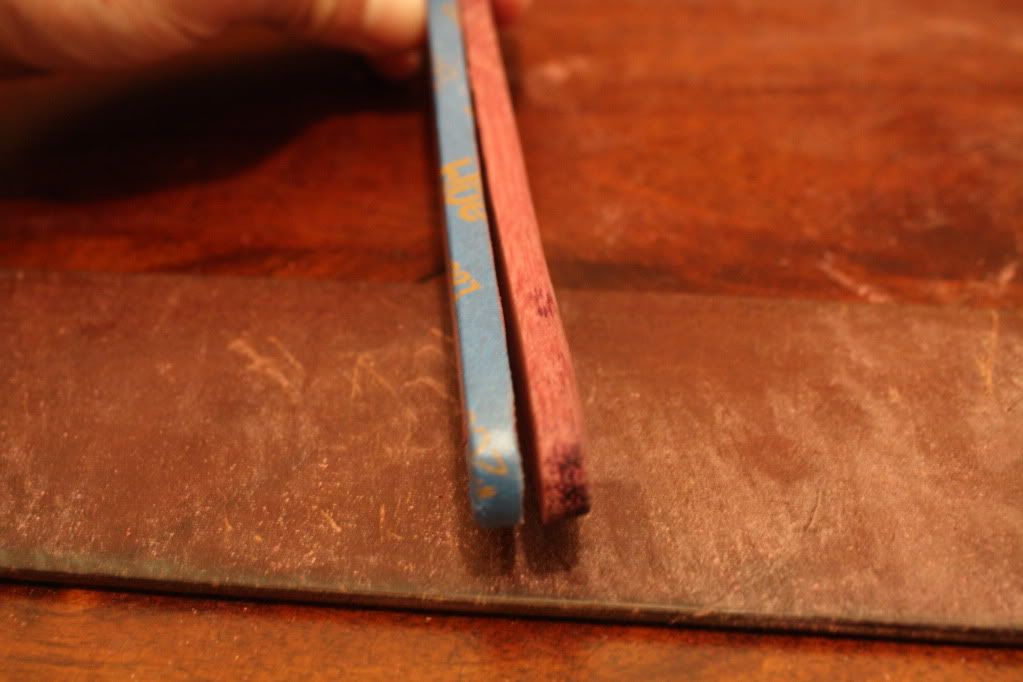
- round point, approximately 6/8, bellied hollow (I think), top and bottom jimping
Scales/wedge: purple heart; dremel + hand sanded with 220g paper; 3 coats of Formby's tung oil, hand gouged fish scale pattern
Pins and washer: plain brass
Tools: Dremel for blade polish and major scale shaping, cheap gouge from Michael's, coping saw, assortment of small files, cordless drill with 1/16 bit, and my mitts.
After disassemble, before cleaning:
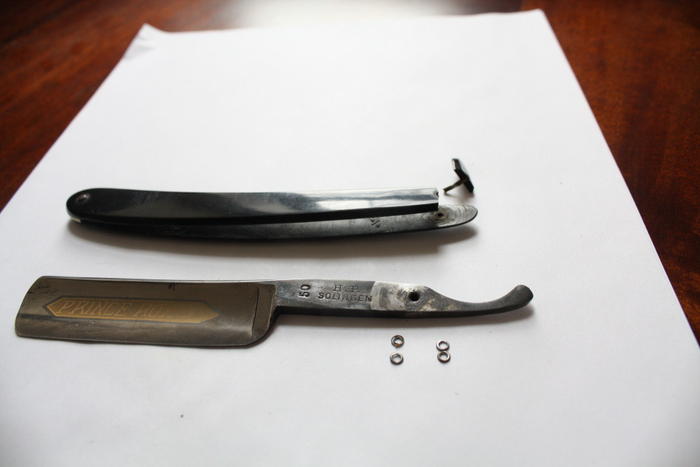
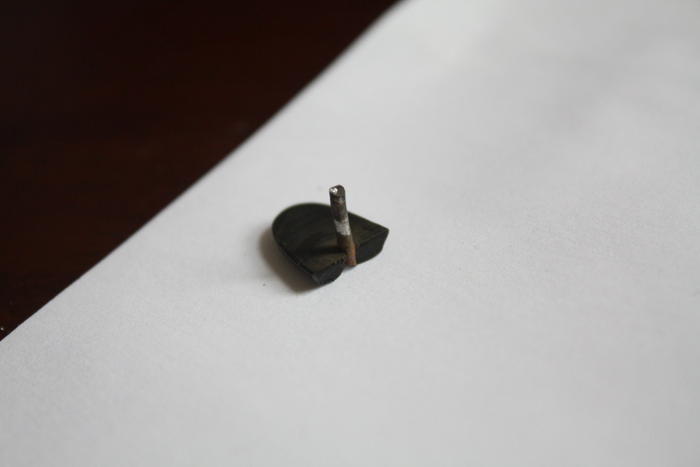
Casualty of rusted pins and hamfistedness (oh well, they were warped anyway)
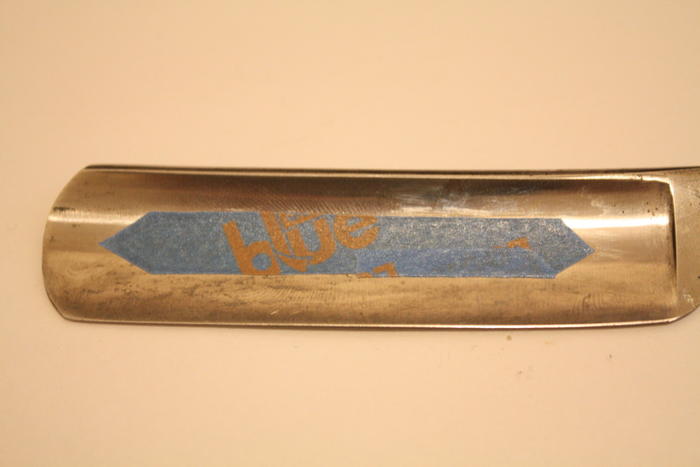
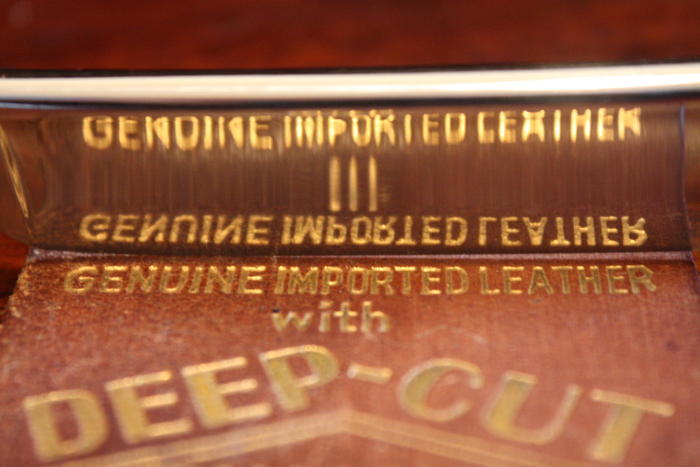
Carefully taped to help preserve the gold
After hand sanding progression
After dremel compound progression
Last edited by TwistedOak; 04-29-2011 at 04:41 AM.
-
04-29-2011, 02:45 AM #2Razor Vulture


- Join Date
- Oct 2010
- Location
- Lone Star State
- Posts
- 26,152
Thanked: 8616
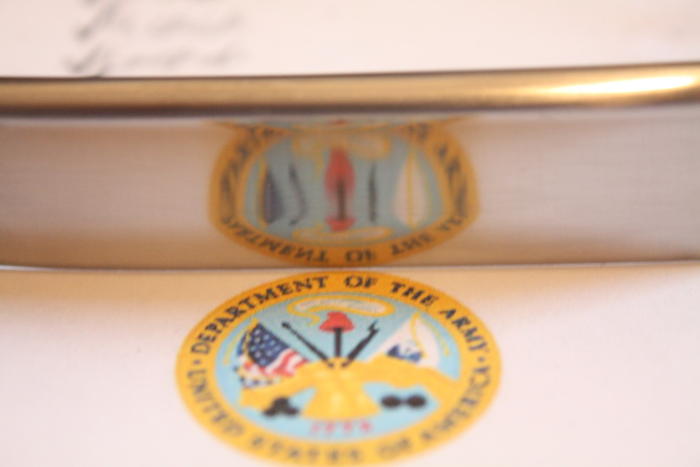
Good job on the blade, The goldwash has to go sometimes! Lets get it into some scales!
"Don't be stubborn. You are missing out."
I rest my case.
-
04-29-2011, 02:50 AM #3the deepest roots
- Join Date
- Feb 2011
- Location
- Seattle
- Posts
- 1,221
Thanked: 169 Scale creation
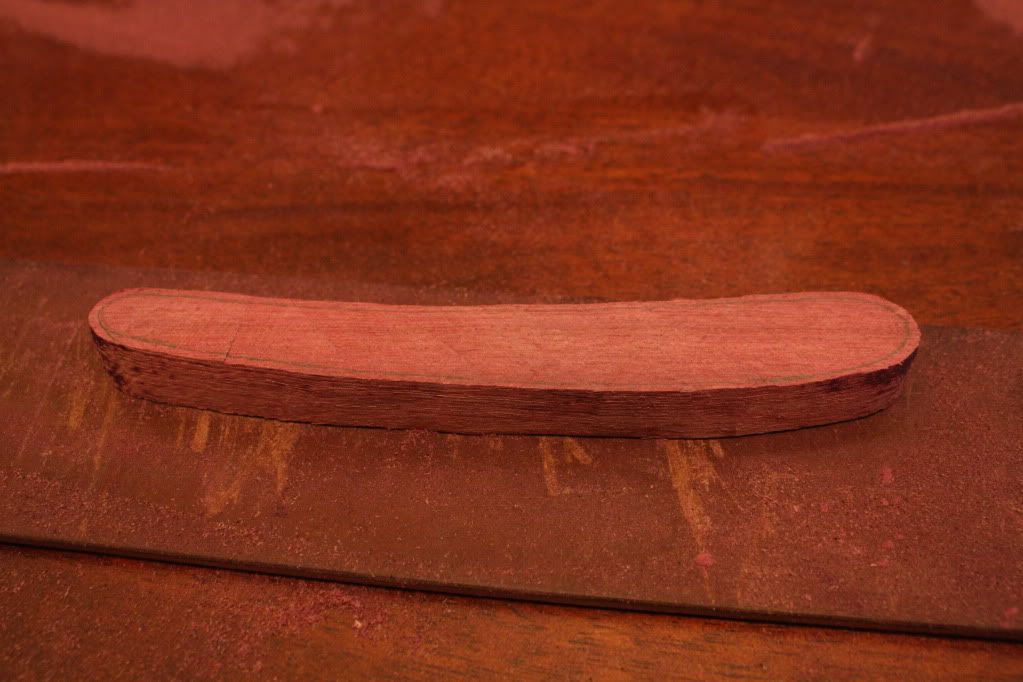
Rough shaping from a 1"x1"x6" block of purpleheart:
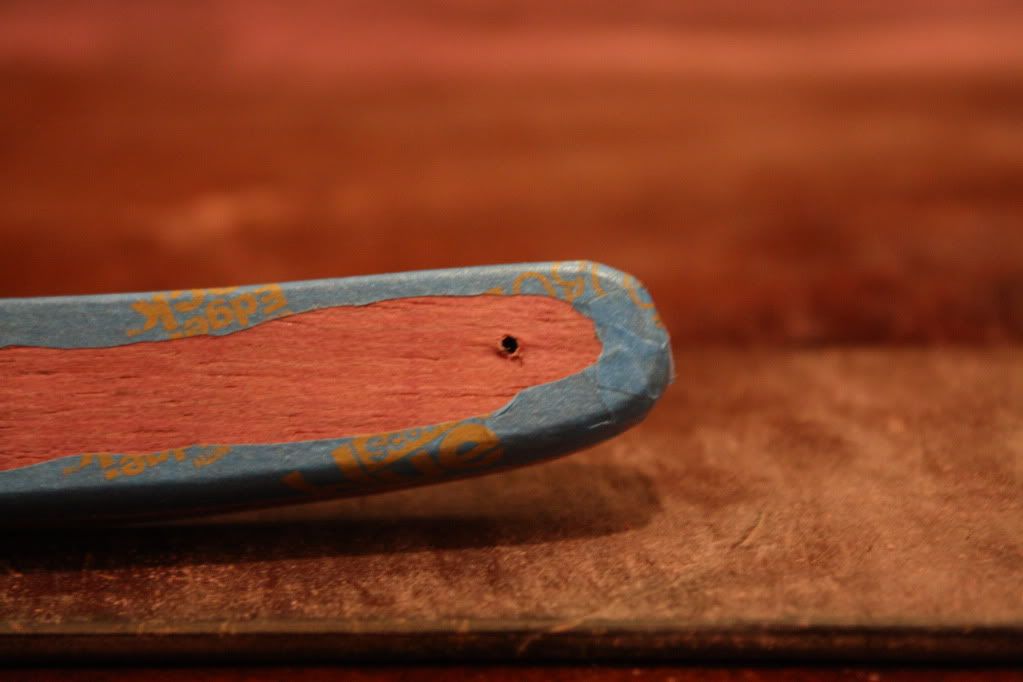
Drilled holes before cutting in two. A drill press would have made this less stressful. However, if you aren't perfectly straight you can sand down the scales from the outside (leaving the two sections of the drill path closest to each other). This will lessen the delineation of your crooked pin hole.
I found that measuring and marking a bisecting line, then taping along it made a straight cut by hand easier with a coping saw.
Of course changing the angle helped make quick work of cutting, but left a bit of smoothing work to be done.

-
04-29-2011, 02:56 AM #4the deepest roots
- Join Date
- Feb 2011
- Location
- Seattle
- Posts
- 1,221
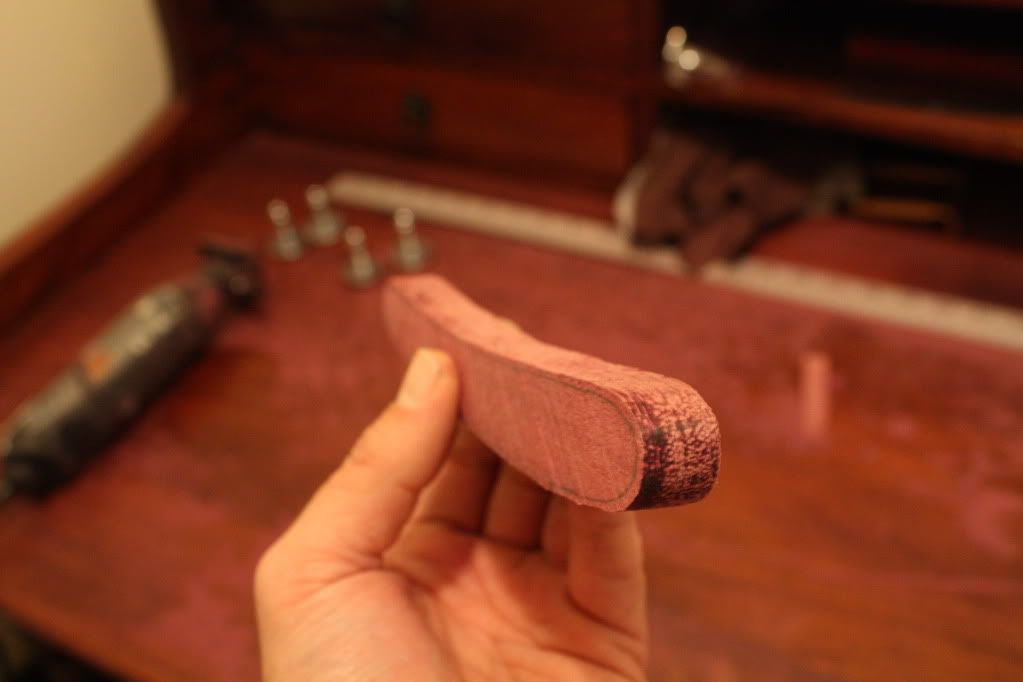
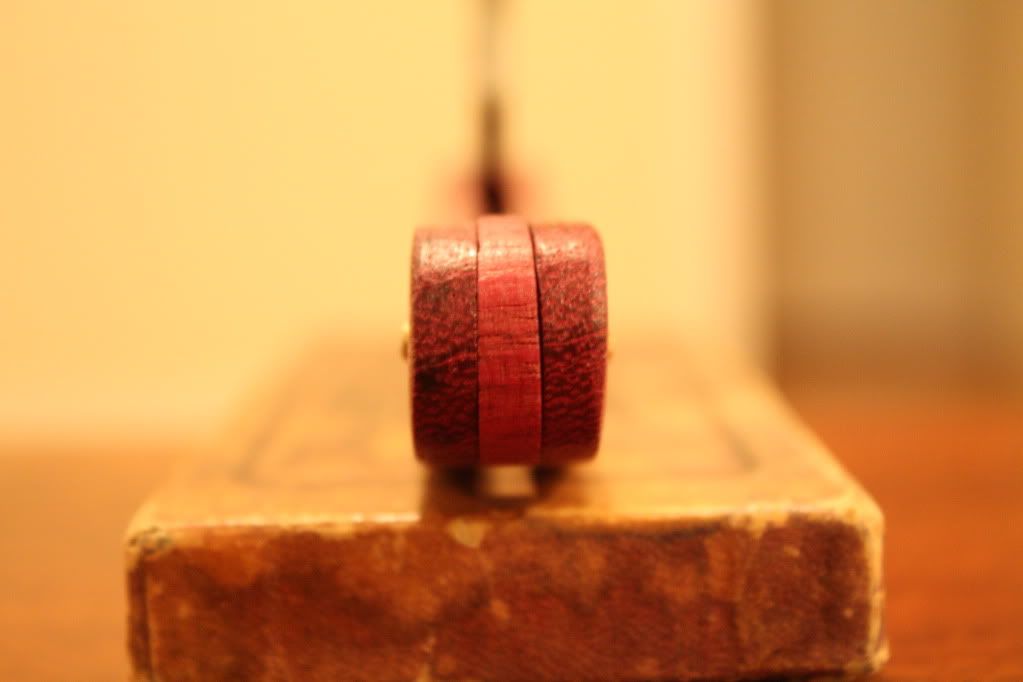
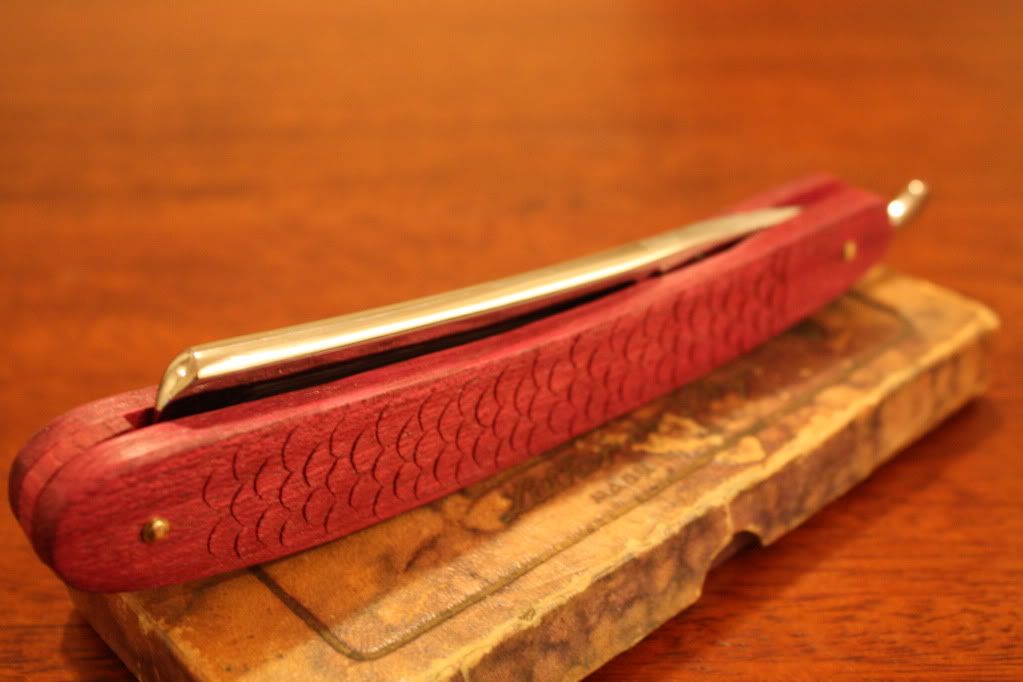
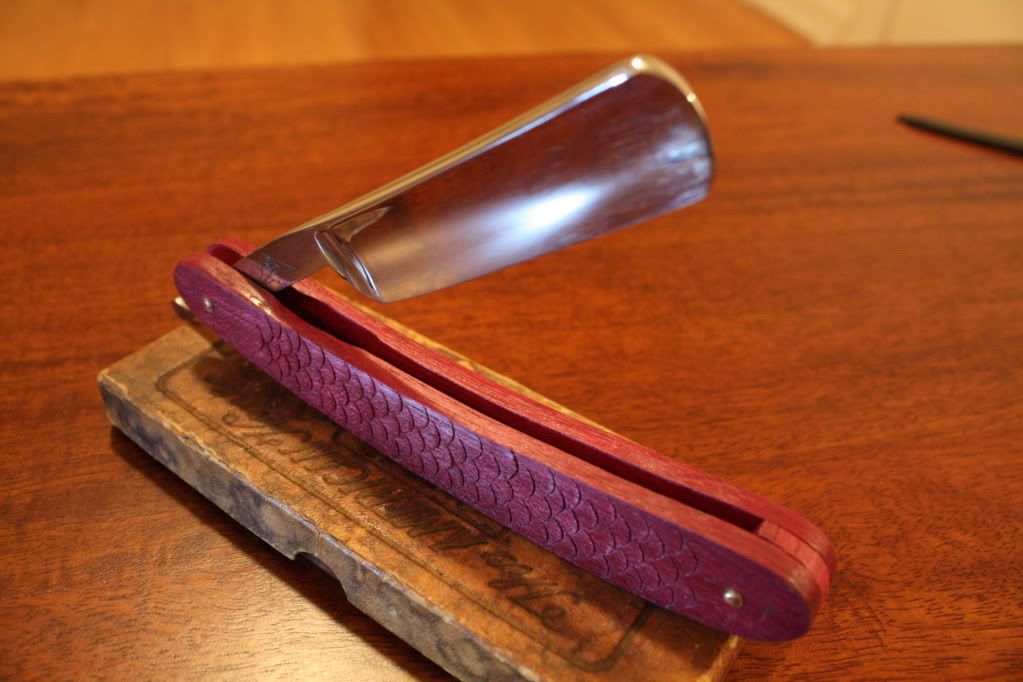
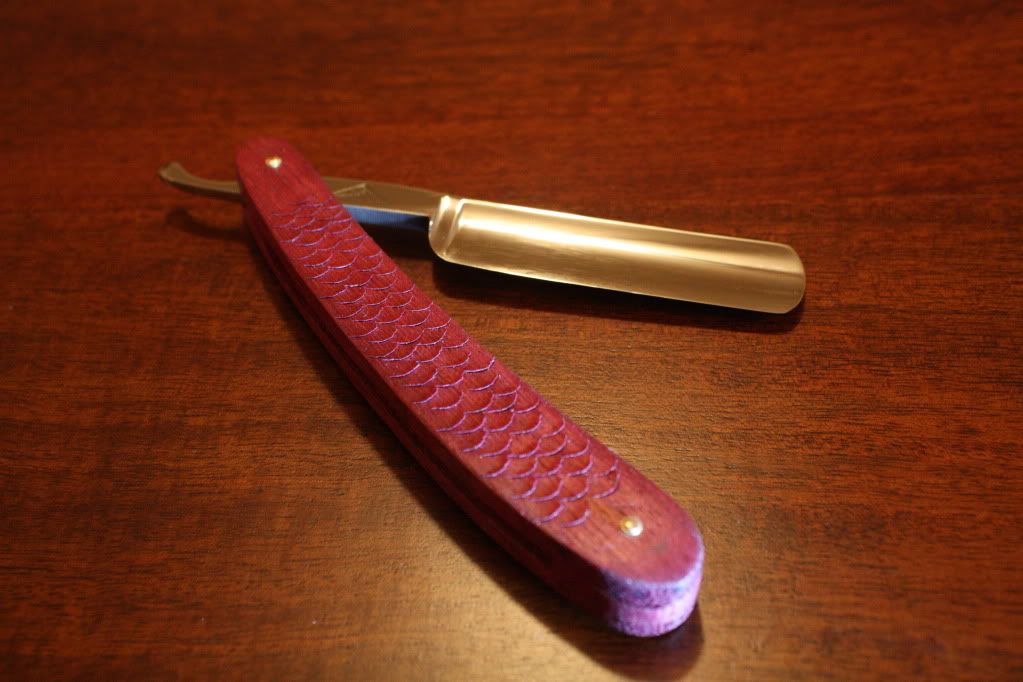
Thanked: 169 and the finished product :D
These handles are a big ol' fat set and you can feel the difference between your ring and middle finger when holding it. Whether that's a bad or good thing is up for review...
-
04-29-2011, 02:57 AM #5the deepest roots
- Join Date
- Feb 2011
- Location
- Seattle
- Posts
- 1,221
Thanked: 169
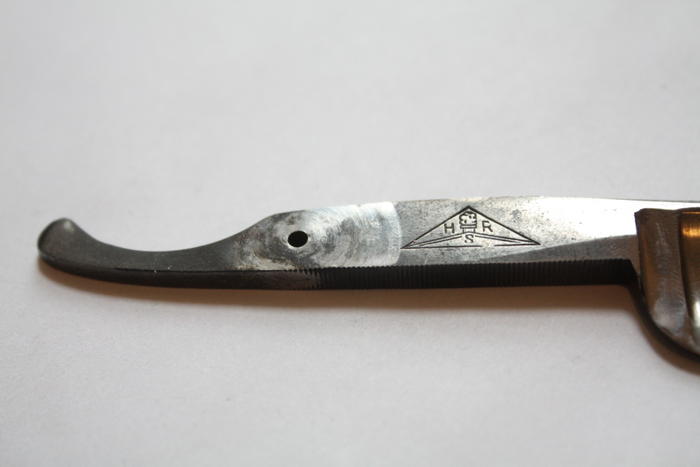
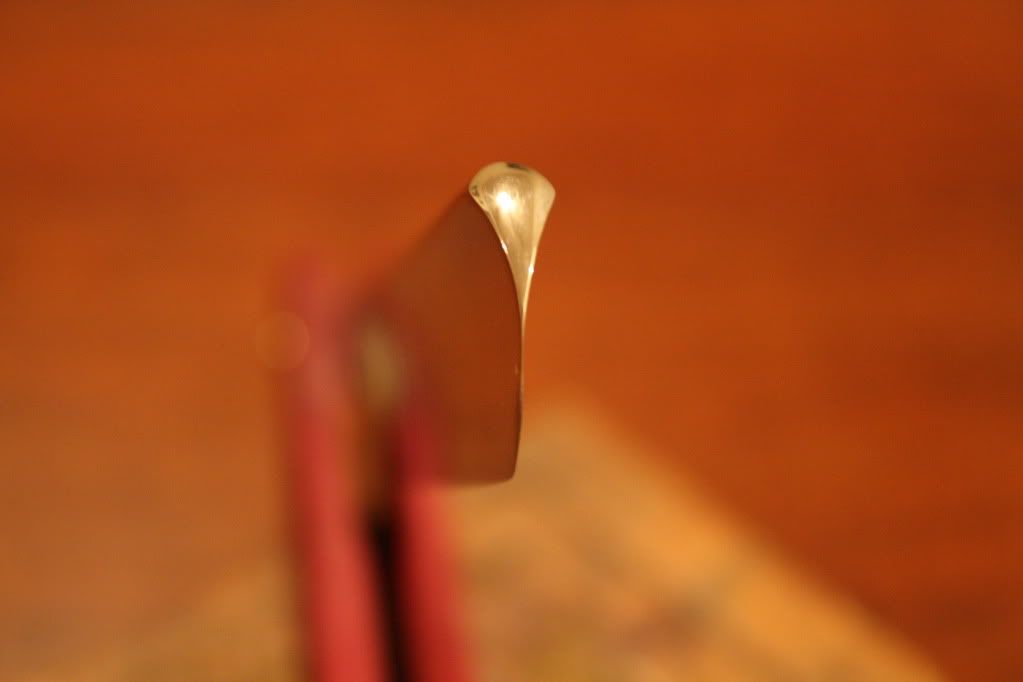
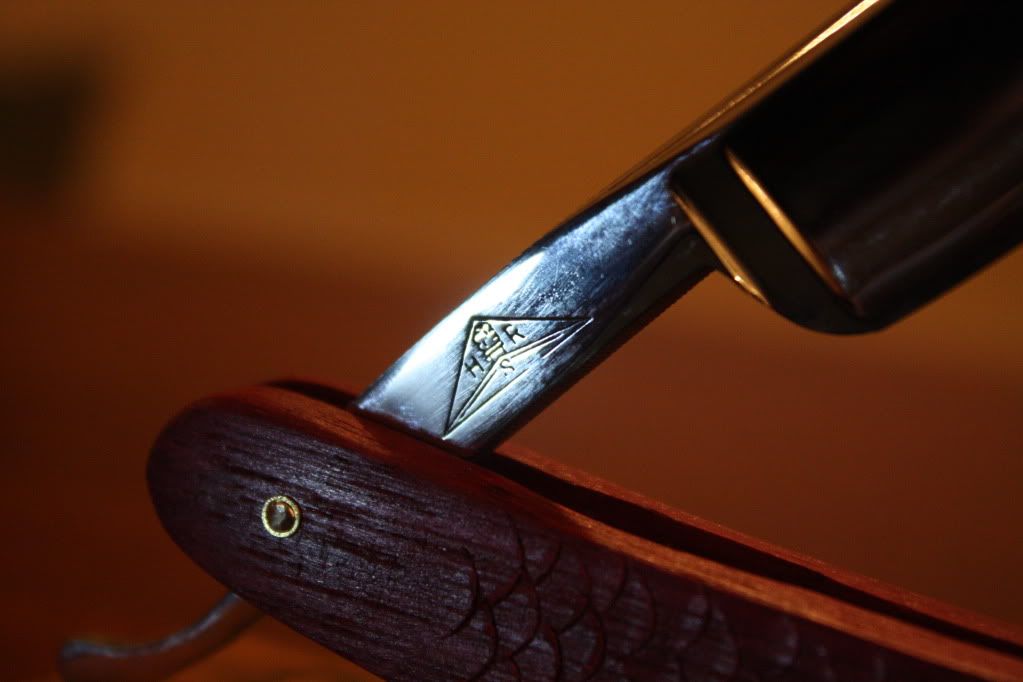
little side lighting to show relief:
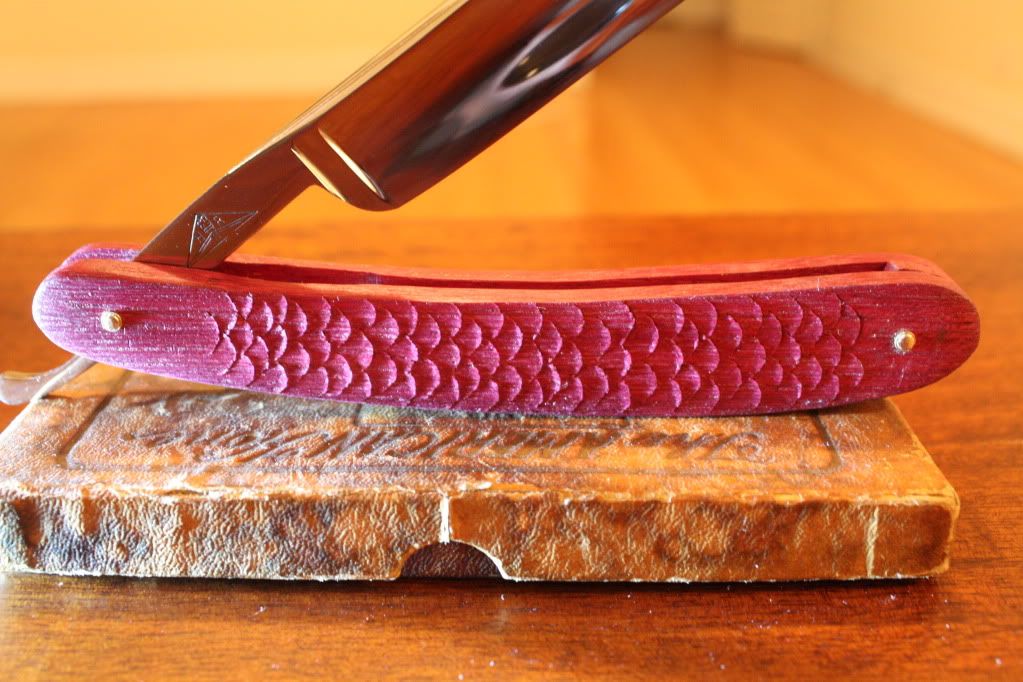
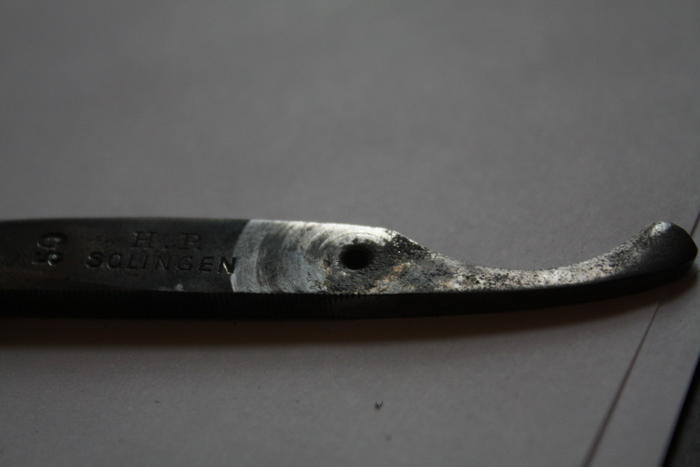
I still haven't found out who's stamp this is:
-
04-29-2011, 03:41 AM #6Senior Member

- Join Date
- Mar 2010
- Location
- Arizona
- Posts
- 652
Thanked: 408
Like the scales on the scales, nice treatment.
Inspires me of doing something like that, then coat with epoxy resin. Darn, another project, lol
ask and you shall receive; 5 minutes after your post, and its in some scales, lol Originally Posted by sharptonn

-
05-01-2011, 04:30 PM #7the deepest roots
- Join Date
- Feb 2011
- Location
- Seattle
- Posts
- 1,221
Thanked: 169
Can anyone help me identify this blade? I have had no definite answers to who made it.
-
05-01-2011, 06:29 PM #8Senior Member

- Join Date
- Mar 2011
- Location
- Jeffersonville, IN
- Posts
- 467
Thanked: 164
Very nice work. I'd love to shave with it and see how those wide scales feel. Great job.
-
05-01-2011, 06:36 PM #9the deepest roots
- Join Date
- Feb 2011
- Location
- Seattle
- Posts
- 1,221
Thanked: 169
I have already been thinking of taking it apart and making some modifications to them...
sanding them down to be a normal or even thinner width than normal scales, lining them with some gold/brass, and slimming down the wedge. But I have another scales project that needs to get finished before I attempt to redo these.sharptonn likes this.
-
05-02-2011, 02:38 AM #10The Great & Powerful Oz


- Join Date
- May 2008
- Location
- Bodalla, NSW
- Posts
- 15,636
Thanked: 3751
Really nice job on the blade & carving.
First attempts always have some challenges for us
It may be the pics but your wedge looks reverse tapered & too thick which is maybe why you needed to hollow out the scales near the pivot to clear the tang ? Thinner scales will also allow the flex needed for a good fit .The white gleam of swords, not the black ink of books, clears doubts and uncertainties and bleak outlooks.
-
The Following User Says Thank You to onimaru55 For This Useful Post:
TwistedOak (05-02-2011)


 Reply With Quote