Results 1 to 6 of 6
Threaded View
-
03-25-2012, 04:53 PM #1Senior Member

- Join Date
- Sep 2011
- Location
- The Philadelphian Suburbs
- Posts
- 365
Thanked: 30 First time making scales...No-name Razor w/ two-tone Walnut scales
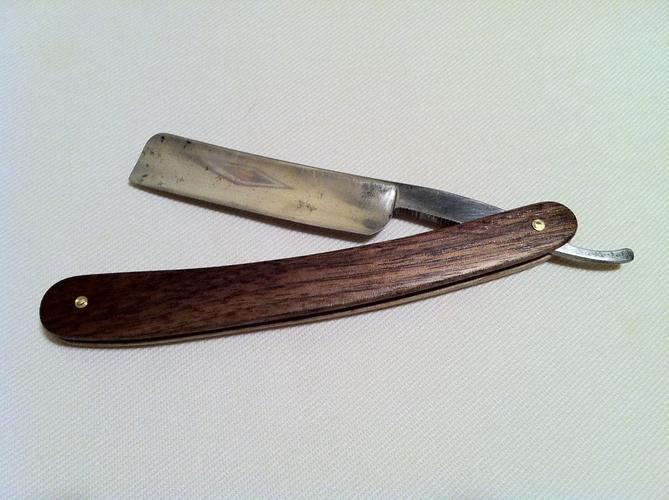
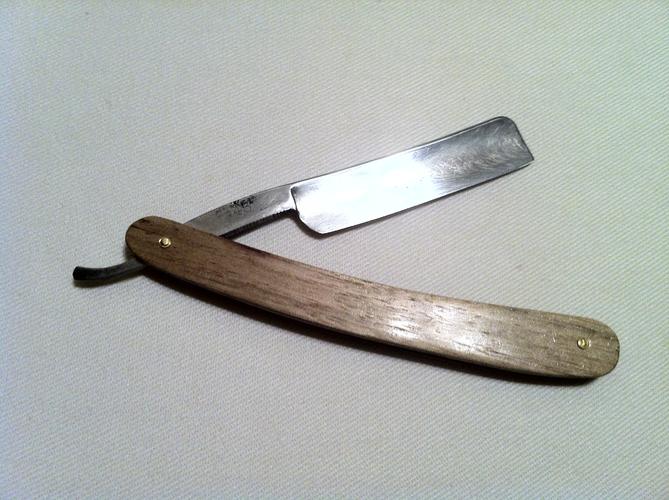
So I've finally finished my first razor preservation and made my first set of scales. I started with a no-name razor with nothing but a "45" stamped on it. Original plastic scales were flimsy and cracked when I was practicing my bevel setting on it, so it led me to this...
Before I get to my terrible photos of the razor and scales, here's what I learned/observed/whatever.
First of all, my scales look like scales and function like scales. In that regard, it was a rousing success.
However, my pinning looks like it was done by a child (though it's very tight), and the scales I carved are too thick. Also, my wedge is terrible. I'm debating making a new wedge, but part of me wants to just leave it so I can always remember what my first set of scales looked like. The wedge I made is tapered in the wrong direction (big oops), too thin and not flush to the scales, because I made the mistake of finishing the scales before making the wedge (another big oops).
So the process...
I hand-sanded the razor to get the nasty stuff off, but I left a lot of the pitting and other marks. I sanded up to 1000 grit and used Brasso to finish.
The wood was a small rectangular sheet I got from a hobby shop. It's two-tone because half of the sheet was dark walnut, the other half light walnut. Rather than buy 2 sheets to match the colors, I opted for each side to be a different tone of wood. It's harder to see in the bad iphone photos, but in person it's like I used two different types of wood. I used the old scales as a template, but I didn't carve effectively and they ended up too thick. It's not an issue though. I sanded up to 1500 grit and finished with 4 coats of Tru-Oil. Same with the wedge, though like I said I messed that up. It functions, but just barely.
So, some pics...


Overall not bad for a beginner, eh?
Next up is to hone it. Who knows when I'll get around to that...


 LinkBack URL
 About LinkBacks


 Reply With Quote