Results 1 to 6 of 6
Hybrid View
-
04-01-2012, 12:02 AM #1Senior Member

- Join Date
- Sep 2011
- Location
- The Philadelphian Suburbs
- Posts
- 365
Thanked: 30 Unstamped Razor w/ Two-Tone Walnut scales...Version 2.0!
You can see my first attempt at these scales here.
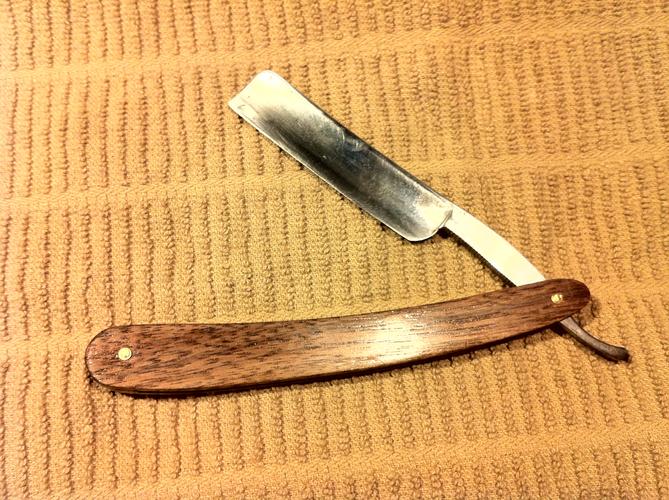
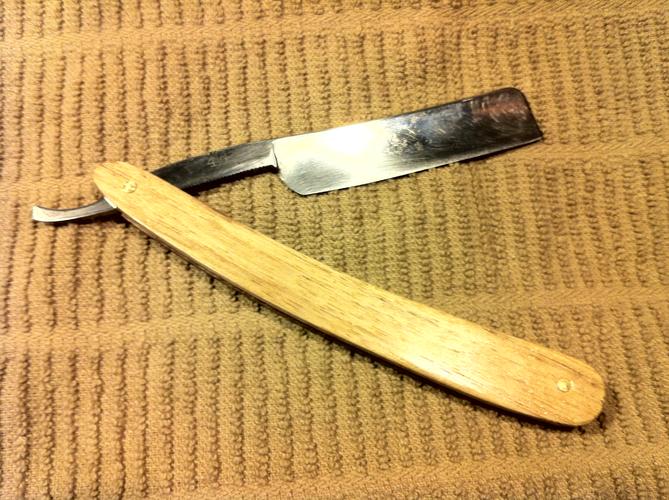
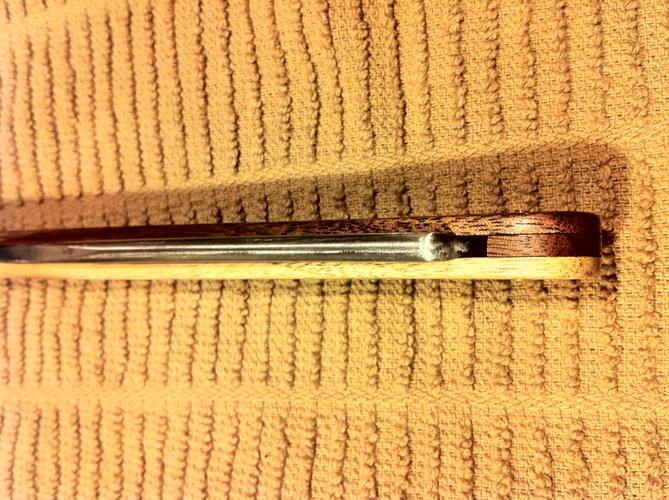
Last week I finished my first set of scales. There was some issues, and I was going to make new scales and keep these for nostalgic purposes. Then I said screw it. I took the razor apart and set out to do it right. I made a new wedge, one that wasn't tapered and was much thicker. I tapered the tang end of the scales to make it more comfortable in the hand. Then I refinished and repinned. My pinning on version 2.0 is much better. Still, I imagine those of you more seasoned than I would cringe at my pinning. I'm happy with it, though I plan on spending more time with the pins tomorrow to smooth and round them out better. I just couldn't wait to post my new pics.
The wood is walnut. It's from the same piece of wood despite the different colors. I like it a lot.
The result is a razor that looks almost identical, but on close inspection is a much better realized creation.
I plan to start a new set of scales for my Ontario razor. How can I further refine my technique in preparation for my second scales?
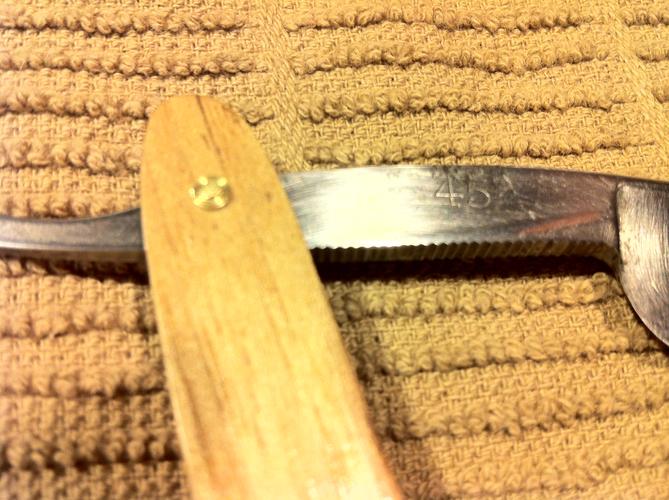
I also included a photo of the tang stamp...anyone recognize it?


-
The Following User Says Thank You to U2Bono269 For This Useful Post:
sleekandsmooth (04-01-2012)
-
04-01-2012, 04:47 PM #2

If you want to keep the flat/non-angled wedge look, I would recommend to make the scales thinner than you normally might. Just so they don't have a bulky appearance.
*edit* you could also taper the ends of the scales like how Spazola talks about in his scale making video, that would also help slim them down.
For the photography, if you are using a flash then you might try turning it off and setting up a small desk lamp instead. This will help cut down the harsh reflections by positioning the lamp at different angles with some sort of light diffuser (piece of paper taped over it)Last edited by TwistedOak; 04-01-2012 at 04:50 PM.
-
04-01-2012, 04:53 PM #3< Banned User >

- Join Date
- Feb 2011
- Posts
- 1,256
Thanked: 194
very nice
 thanks for sharing
-
04-01-2012, 05:18 PM #4Senior Member

- Join Date
- Sep 2011
- Location
- The Philadelphian Suburbs
- Posts
- 365
Thanked: 30
I'll thin/taper the scales for my next set, that's good advice. For these, I based the design off of my Boker Edelweiss, which does have bulkier scales. Personally, I prefer the bulkier scales to the thin, tapered plastic of my other razors. It feels more solid and substantial to me. I tend to be heavy-handed in a lot of things, so I like things to feel sturdy.
I didn't use a flash on these...I just used my iphone under overhead kitchen lighting. I did diffuse it with paper and that's still what I got. The lighting in my apartment is terrible and my photography expertise applies only to outdoor conditions in natural light. Using a smartphone camera doesn't help. I don't have any small lamps or anything, and hardly any flat surfaces to take photos on. My indoor photography is atrocious, especially considering that I'm a published photographer, so I have no excuse . Next time I'll break out my dslr.
-
04-01-2012, 06:26 PM #5

haha if you're a published photographer you know more about photography than I do, so just follow whatever you know to be proper procedure for manufactured light exposures. I think the cell phone camera is the piece of the puzzle at fault here.
If you like a weighted feel in your razors, you could try making the wedge completely from metal. Similar to old W&B's lead wedge.
-
04-01-2012, 07:32 PM #6Senior Member

- Join Date
- Sep 2011
- Location
- The Philadelphian Suburbs
- Posts
- 365
Thanked: 30
Maybe one day I'll have space for a light box and none of this would matter. Ah, dreams.


 LinkBack URL
 About LinkBacks


 Reply With Quote

