Results 1 to 10 of 18
-
05-01-2012, 03:50 AM #1At this point in time...


- Join Date
- Jun 2007
- Location
- North Idaho Redoubt
- Posts
- 27,182
- Blog Entries
- 1
Thanked: 13250 Complete DD Goldedge re-build and another Set
Here are a couple going home to our very own ZeroCool
The first is a complete Goldedge re-build in Bloodwood, the finish is CA and the tranfers were done with CA too, I used the original wedge and center post...
I will put up some before pics next
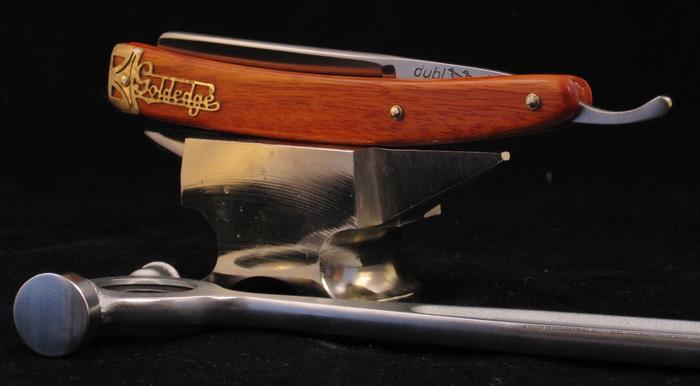
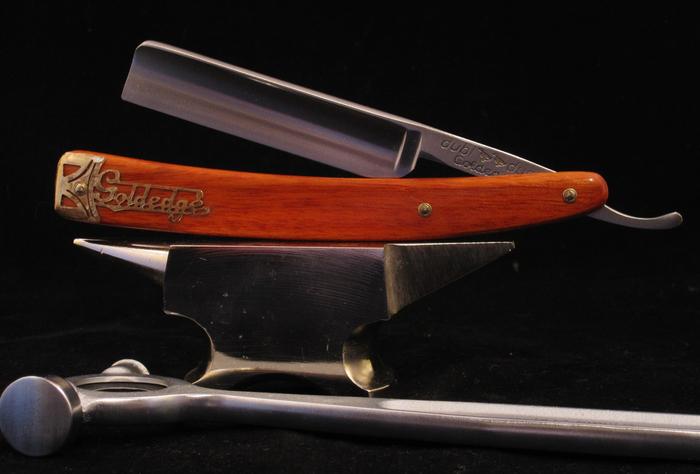
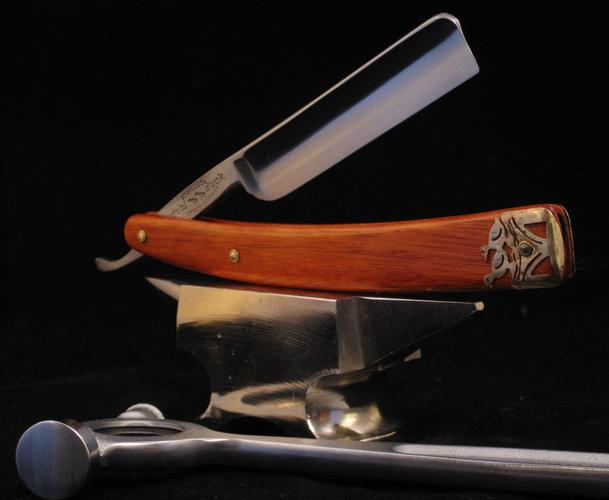
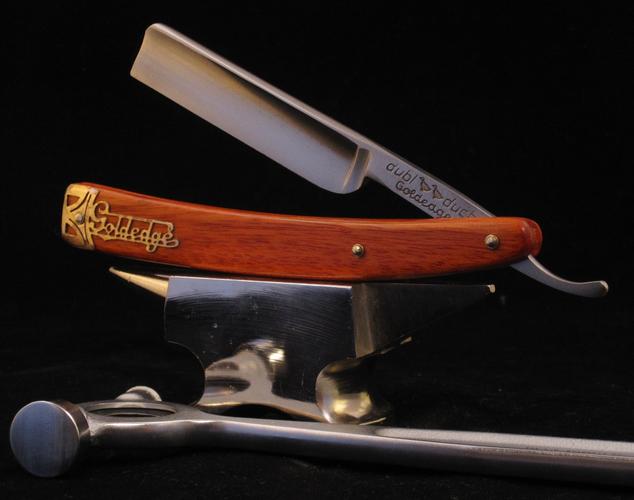
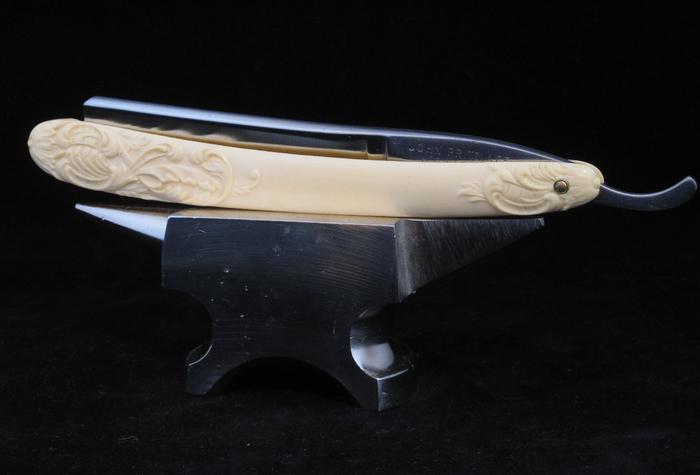
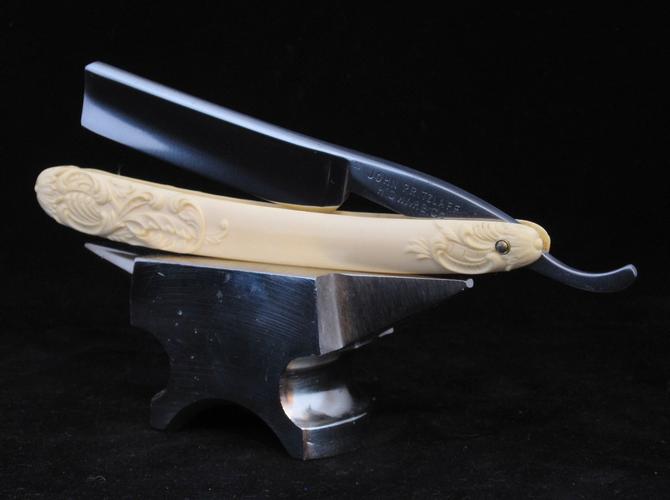
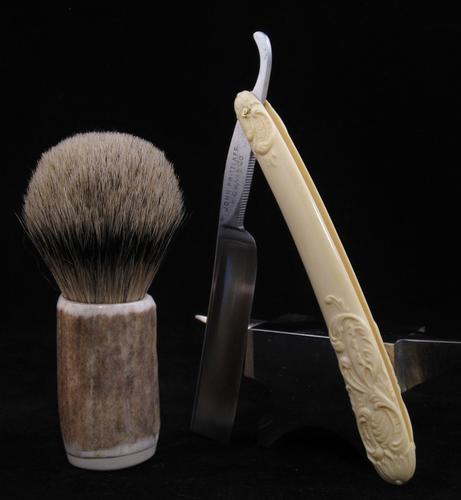
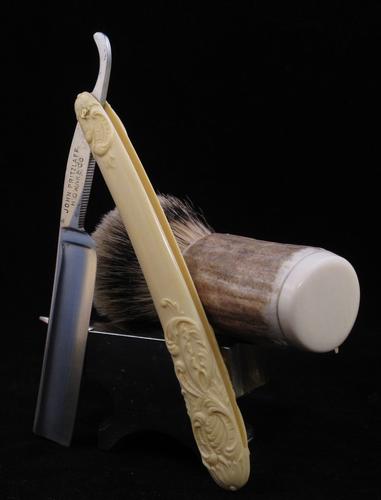
The second is a Vintage restore of a John Pritzlaff I added a Faux Ivory base to the Elk antler brush to tie the two together I used a 24mm overstuffed Silvertip
More pics coming
-
The Following User Says Thank You to gssixgun For This Useful Post:
sleekandsmooth (05-01-2012)
-
05-01-2012, 04:04 AM #2At this point in time...


- Join Date
- Jun 2007
- Location
- North Idaho Redoubt
- Posts
- 27,182
- Blog Entries
- 1
Thanked: 13250 Before pics
You can actually make out the signs of early Celluliod rot if you look close
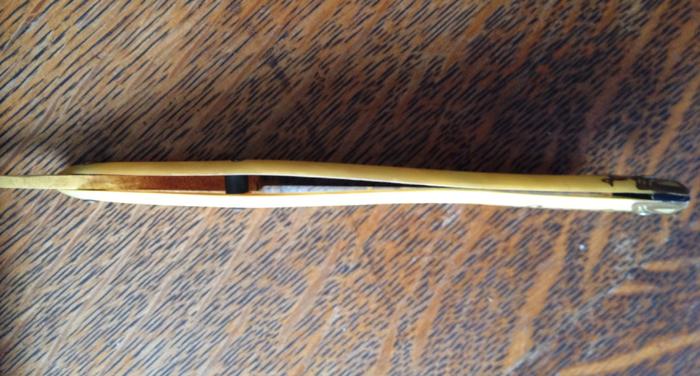
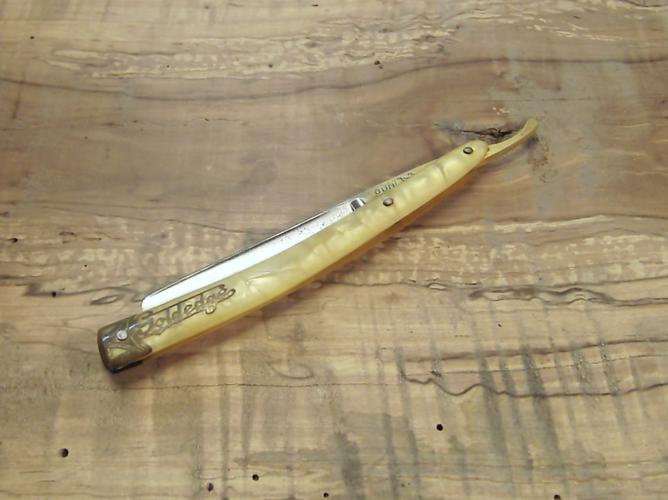
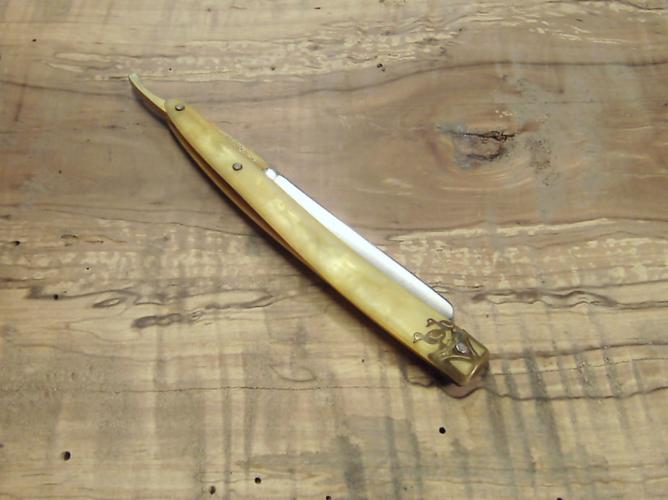
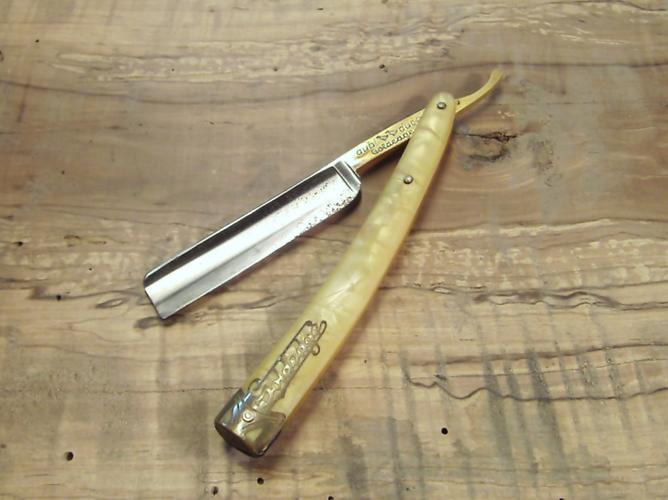
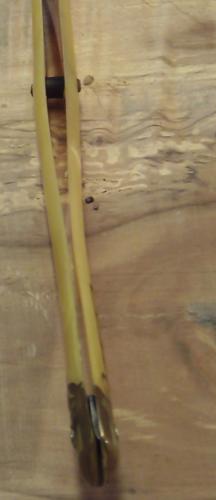
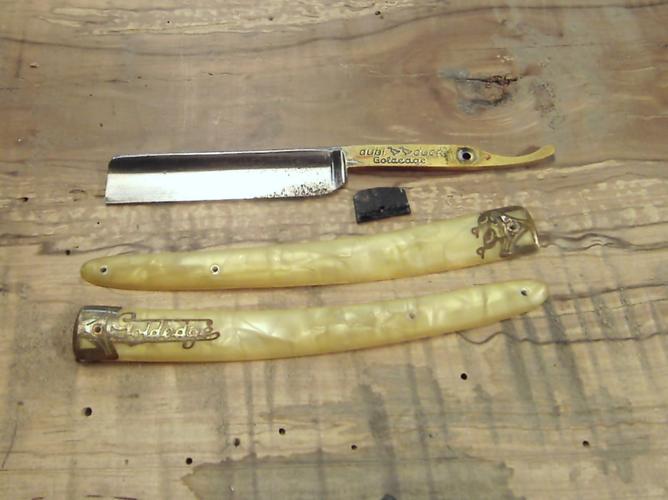
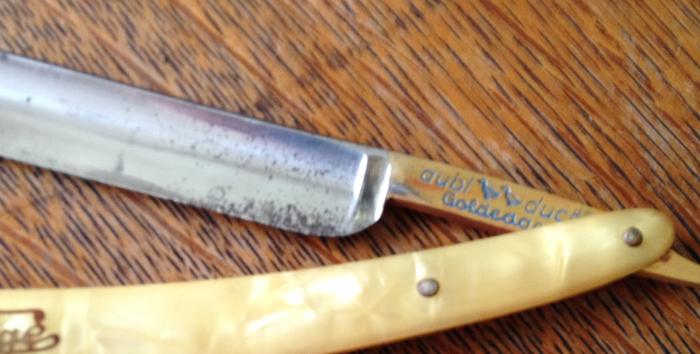
Quick hint always polish the inlays before you remove them
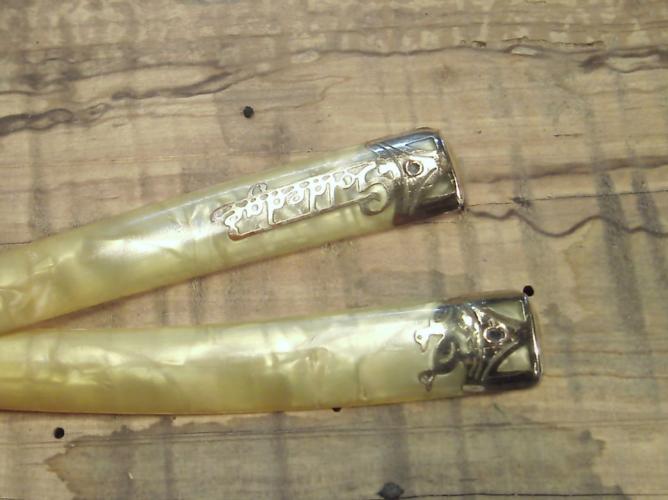
Here is how I allign the bolsters
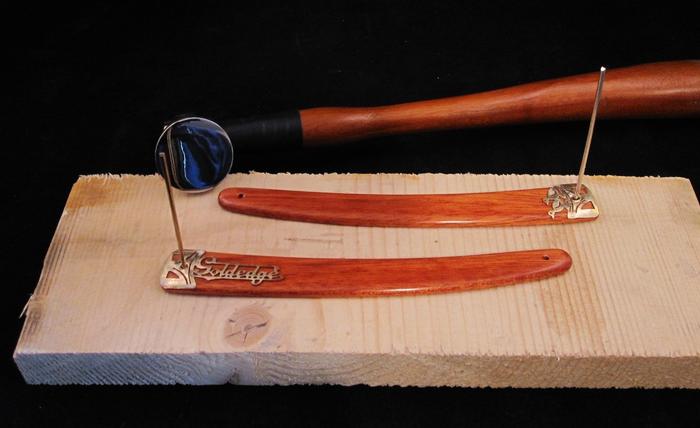
I use a Chasing hammer to re-fit the inlays to the new scalesLast edited by gssixgun; 05-01-2012 at 04:06 AM.
-
The Following 3 Users Say Thank You to gssixgun For This Useful Post:
Cove5440 (05-01-2012), regularjoe (05-03-2012), str8fencer (05-01-2012)
-
05-01-2012, 04:08 AM #3< Banned User >

- Join Date
- Feb 2011
- Posts
- 1,256
Thanked: 194
your work amazes me everytime!! I can't wait to get my duck to you. I am excited lol
 great work!
-
The Following User Says Thank You to sleekandsmooth For This Useful Post:
gssixgun (05-01-2012)
-
05-01-2012, 04:32 AM #4

I might have to actually let u do that to my duck when it Comes in that's simply breathe taking
-
The Following User Says Thank You to Tylerbrycen For This Useful Post:
gssixgun (05-01-2012)
-
05-01-2012, 04:42 AM #5

Love the how-to progression of your photographs, Glen. I'm guessing your quick hint on polishing the inlays was not picked up the "easy way." Thanks for passing along your hard-fought knowledge regarding razor restorations.
Oh, and before I forget, fantastic work as always. You set the bar high, Glen!
-
The Following User Says Thank You to Speedster For This Useful Post:
gssixgun (05-01-2012)
-
05-01-2012, 04:53 AM #6Senior Member

- Join Date
- Mar 2009
- Location
- Philadelphia
- Posts
- 198
Thanked: 34
stunning just stunning!
-
The Following User Says Thank You to aircoder For This Useful Post:
gssixgun (05-01-2012)
-
05-01-2012, 05:54 AM #7

Great work as always Glen, both razors look absolutely fantastic.
Jamie.
-
The Following User Says Thank You to celticcrusader For This Useful Post:
gssixgun (05-01-2012)
-
05-01-2012, 09:38 AM #8

Wow Glen! They look amazing!
The DD came out better then I imagined. You definitely put a ton of work into them. Thanks again!
The SWMBO almost couldn't believe the Pritz was the same razor lol looking forward the brush too.
The next projects on their way are much tamer in comparison
-
The Following User Says Thank You to ZeroCool For This Useful Post:
gssixgun (05-01-2012)
-
05-01-2012, 09:51 AM #9
-
The Following User Says Thank You to Cove5440 For This Useful Post:
gssixgun (05-01-2012)
-
05-02-2012, 02:30 AM #10

Thanks for the pic's Glen and story Glen. Both razors are superb additions to a collection.
-
The Following User Says Thank You to lz6 For This Useful Post:
gssixgun (05-02-2012)


 15Likes
 LinkBack URL
 About LinkBacks


 Reply With Quote


