Results 1 to 10 of 11
-
06-26-2012, 10:30 PM #1Senior Member

- Join Date
- Jun 2011
- Location
- Calgary, Alberta, Canada
- Posts
- 218
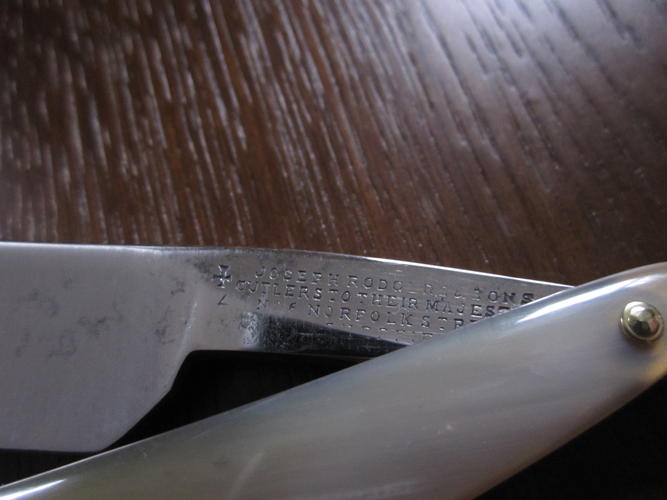
Thanked: 43 Joseph Rodgers satin finish in honey horn
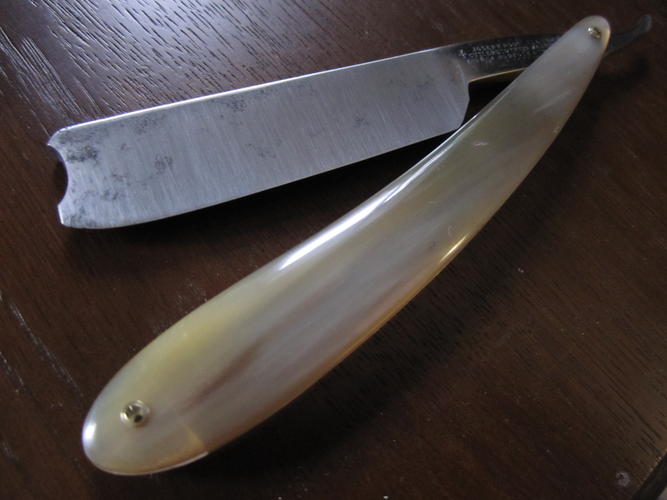
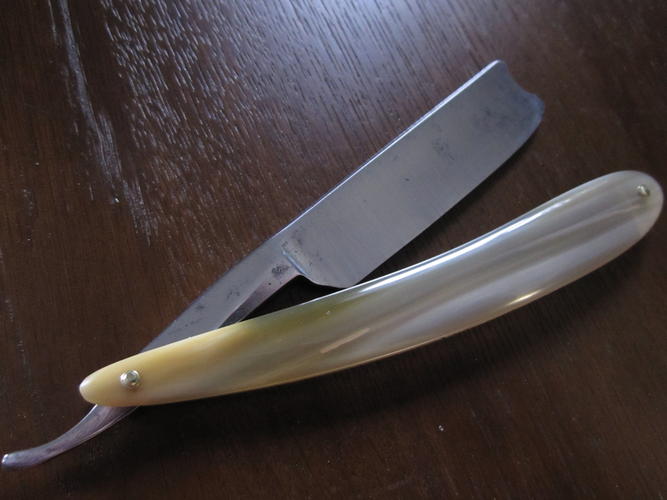
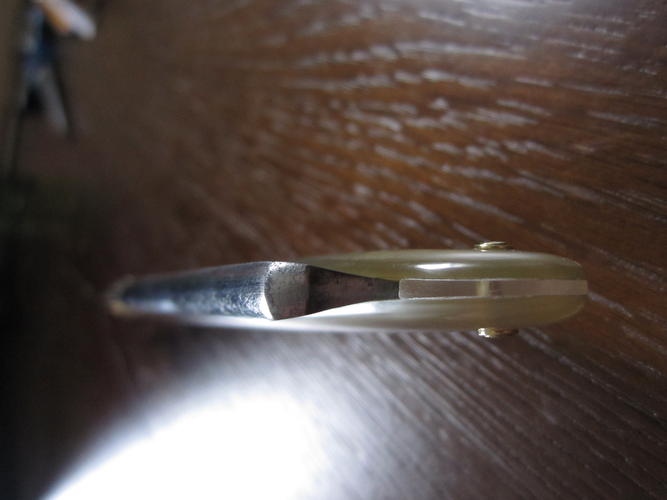
This is my first time using horn for scales but I think it worked out reasonably well, all things considered.
The blade is left at a satin finish but the shank is polished. I kind of like it because it provides a nice contrast between the two parts.
The scales are made of honey colored horn with a clear poly-carbonate wedge. The scales have been sanded up to 600 grit, polished with rubbing compound and then rubbed down with neatsfoot oil.
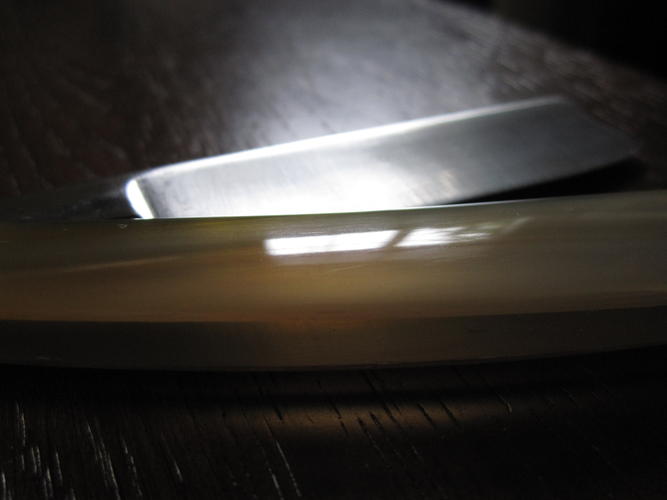
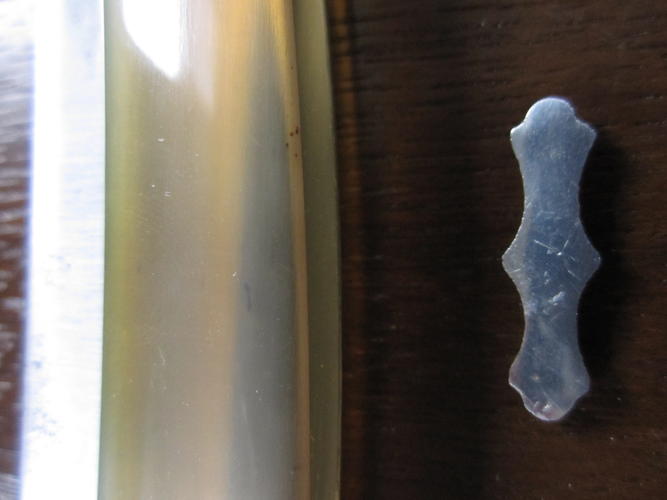
The original scales had a silver inlay that I kind of like but I'm not sure if I should try to put it on this new set. The last picture shows the inlay. What do you all think, try to install it or not?
-
06-26-2012, 11:37 PM #2

Nice work!
IMO, try to get the inlay into the new scales... I think it would be a nice touch. But, it looks stellar without.
-
The Following User Says Thank You to Crzylizard For This Useful Post:
rmalak (06-27-2012)
-
06-27-2012, 12:16 AM #3Senior Member

- Join Date
- Jun 2011
- Location
- Calgary, Alberta, Canada
- Posts
- 218
Thanked: 43
Thank you! It is amazing what you can do with just hand tools and a lot of time. I just honed it up and it is ready for the shave test. Sadly I couldn't get the very tip of the blade sharp due to some pitting.
-
06-27-2012, 12:34 AM #4

Great looking scales. Ive tried transfering an inlay into some new horn scales - without much success. Light horn especially will want to lift up in layers as soon as you start cutting down into it which can cause fractures below the surface and give it that 'white, torn fingernail look'. Ive also tried using a laser cutter but its very hard to control the depth and it tends to burn the extremities of the recess. Let us know if you decide to try it though just because I gave up doesn't mean its impossible.
-
The Following User Says Thank You to EisenFaust For This Useful Post:
rmalak (06-27-2012)
-
06-27-2012, 12:34 AM #5Senior Member


- Join Date
- Mar 2012
- Location
- Thunder Bay, Ontario, Canada
- Posts
- 17,312
Thanked: 3228
Good looking horn scales for the first time out of the chute, actually anytime. The inlay would be a nice touch but..... I'd hate to ruin those scales.
Bob
-
The Following User Says Thank You to BobH For This Useful Post:
rmalak (06-27-2012)
-
06-27-2012, 12:45 AM #6Senior Member

- Join Date
- Jun 2011
- Location
- Calgary, Alberta, Canada
- Posts
- 218
Thanked: 43
Thank you for the information Eisen. I think I will try it on the left over piece of horn I cut the scales from first and see how that goes. If it goes well I may try on the real thing.
-
06-27-2012, 02:19 AM #7Senior Member


- Join Date
- Jan 2011
- Location
- Roseville,Kali
- Posts
- 10,432
Thanked: 2027
Chamfer the edges of the inlay,make it paper thin overall,rough up the backside and carefully to the same were the inlay will be placed on the scale,CA glue it in place,than more coats over it,sanding with about 1200 between coats.
All will blend in after about 10 coats.
-
The Following 2 Users Say Thank You to pixelfixed For This Useful Post:
Havachat45 (06-27-2012), rmalak (06-27-2012)
-
06-27-2012, 03:04 AM #8Senior Member

- Join Date
- Jun 2011
- Location
- Calgary, Alberta, Canada
- Posts
- 218
Thanked: 43
That's a good idea pixel. I'll have to practice with CA since I have never used it before. Does it stick to horn?
-
06-27-2012, 03:12 AM #9Senior Member

- Join Date
- Mar 2009
- Location
- Philadelphia
- Posts
- 198
Thanked: 34
+1 on the inlay
-
The Following User Says Thank You to aircoder For This Useful Post:
rmalak (06-27-2012)
-
06-27-2012, 04:46 PM #10Poor Fit

- Join Date
- May 2010
- Posts
- 4,562
Thanked: 1263
Very nice. You did a fine job there

-
The Following User Says Thank You to Catrentshaving For This Useful Post:
rmalak (06-27-2012)


 4Likes
 LinkBack URL
 About LinkBacks


 Reply With Quote