
Results 1 to 10 of 16
 11Likes
Thread: Geo Manby Restoration
 LinkBack URL
 About LinkBacks
Threaded View
-
11-21-2012, 06:47 AM #1Senior Member


- Join Date
- Jul 2012
- Location
- Grain Valley, MO
- Posts
- 272
Thanked: 72 Geo Manby Restoration
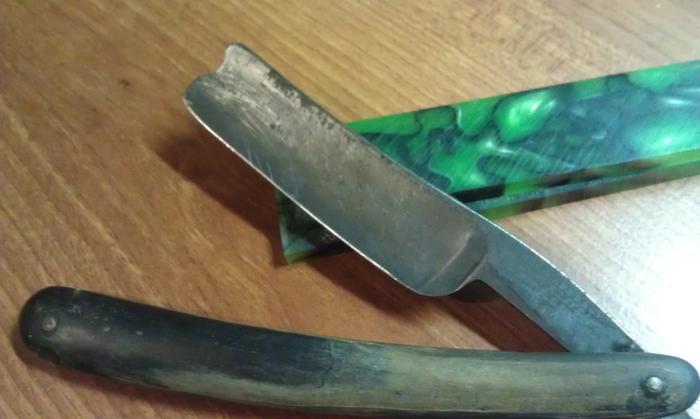
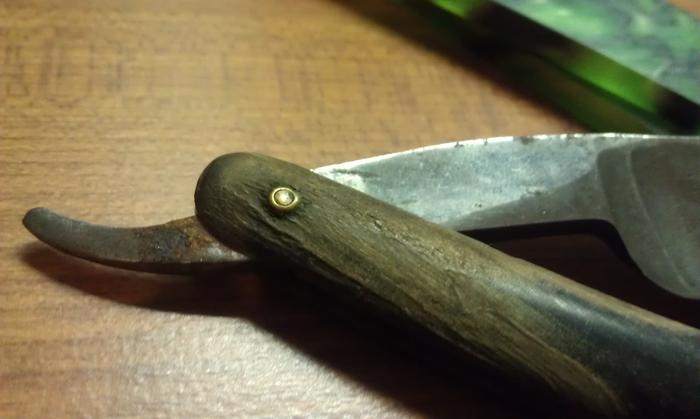
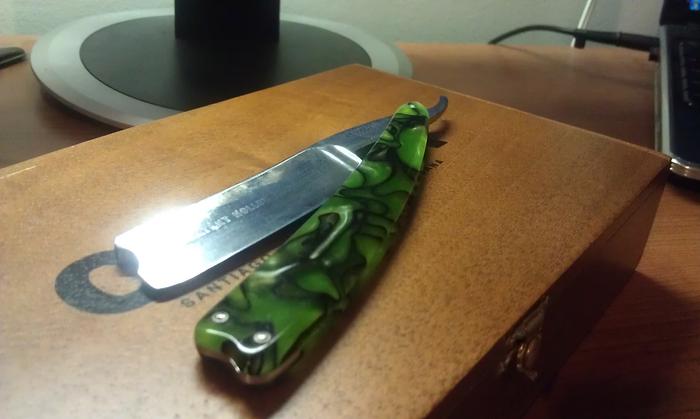
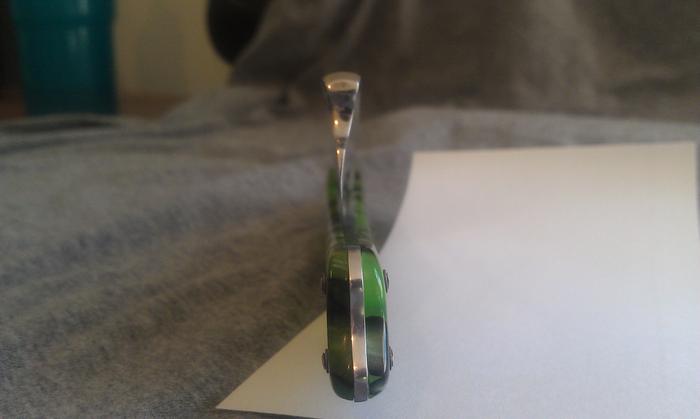
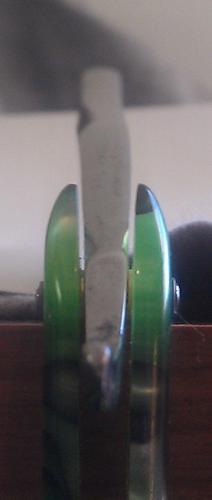
So I nabbed this razor and planned on restoring it. The blade cleaned up fairly well, still some pitting and some scratches that were deeper than I wanted to sand. All in all, it turned out good though! I made some custom acrylic scales for her too! Anyway, here are some before, during, and after pictures. My only problem with the razor is that it is somewhat warped and it has to be guided into the scales. I'm learning from all my mistakes though, now I know to wait and drill holes til the end! haha. Only downside to the warped blade is that I can't get a nice edge on her, so I will be sending it out for honing soon.
Procedure: Sanded blade with 220, 320, 400, 600, 1500, micromesh to 12K then polish. Scales- Sanded down to desired thickness, cut out shape, tapes together (using holes with pins in them to line them up), sanded more to get them the same size, then rounded edges a little, sanded, micromesh to 12K again. Wedge- cut thickness of aluminum, sanded, cut out shape and drilled holes, aligned using pins in holes again, sanded out remaining aluminum to match scale size, micromesh to 12K, polish.
***Credit must be given to Baldy (Grant) for inspiring the idea behind this set of scales, although I think Grant did a better job at executing it. I loved how his scales mimicked the notch in the blade and used an aluminum wedge to really make it pop. So thank you Grant for giving me ideas!***
Grant's scales that gave me the idea- http://straightrazorpalace.com/custom-builts-restorations/85916-new-scales-ugly-blade.html
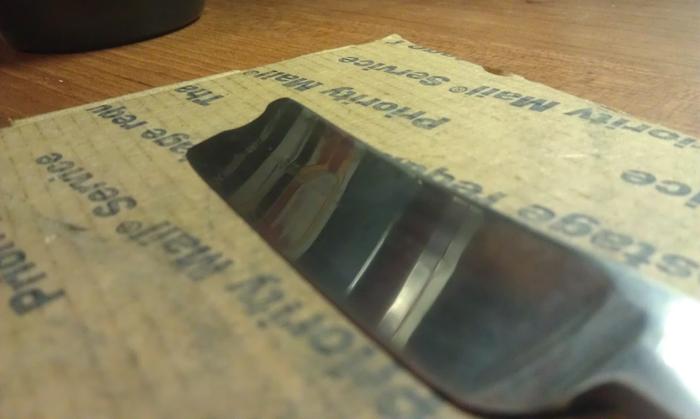
Before:
Sanded to 1500 grit sandpaper
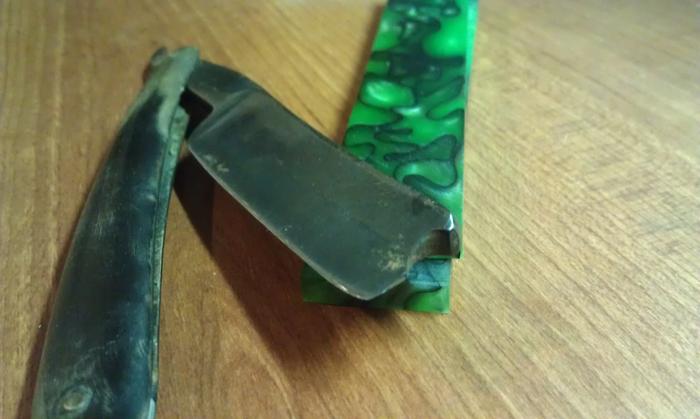
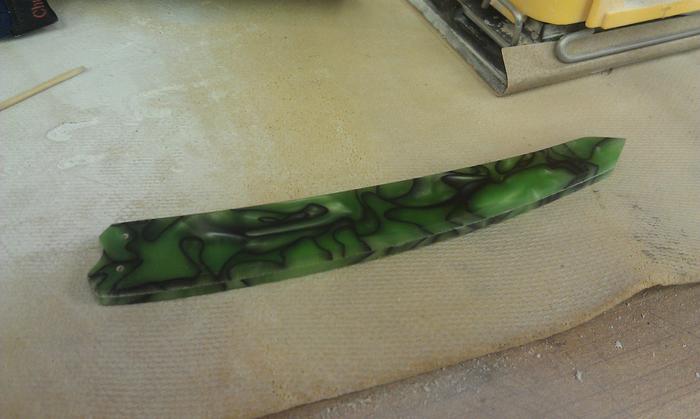
Shape of the scales achieved:
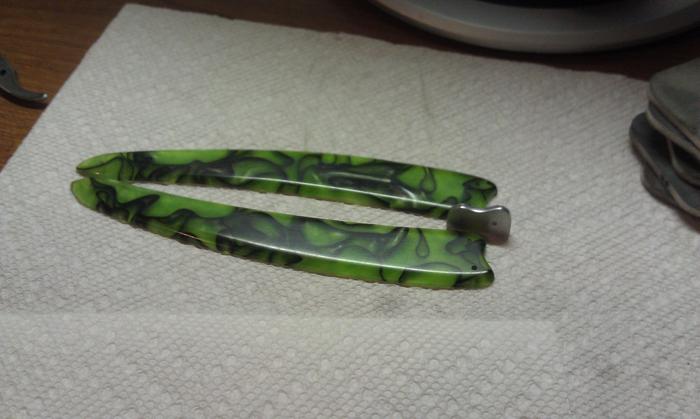
Took off hard corners and sanded/micromesh to 12K scales and wedge (before polishing wedge)
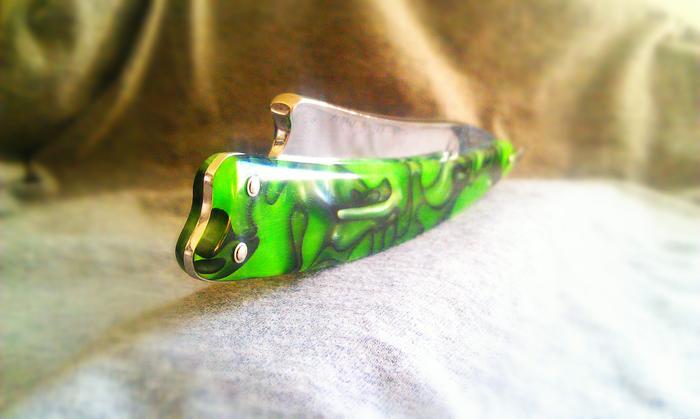
Finished product:
*as promised, better pictures*
Last edited by MuskieMan33; 11-22-2012 at 01:50 AM. Reason: Better pictures


 Reply With Quote