
Results 1 to 10 of 11
 9Likes
Thread: Bismark with "Garibaldi" scales
 LinkBack URL
 About LinkBacks
-
02-21-2013, 06:39 AM #1Senior Member


- Join Date
- Apr 2011
- Location
- Bethlehem, Pa.
- Posts
- 950
Thanked: 555 Bismark with "Garibaldi" scales
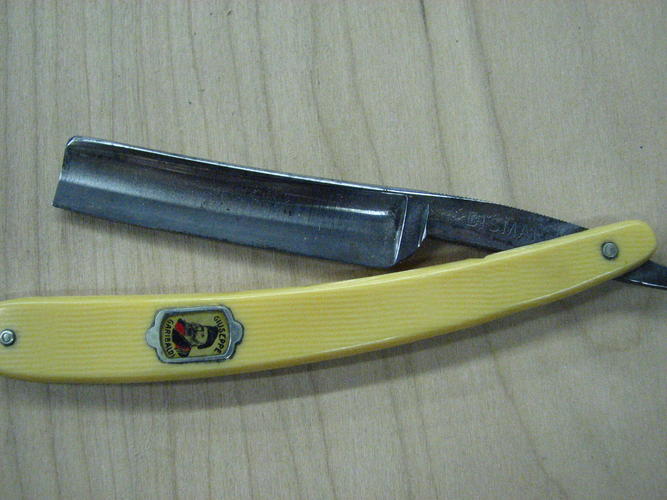
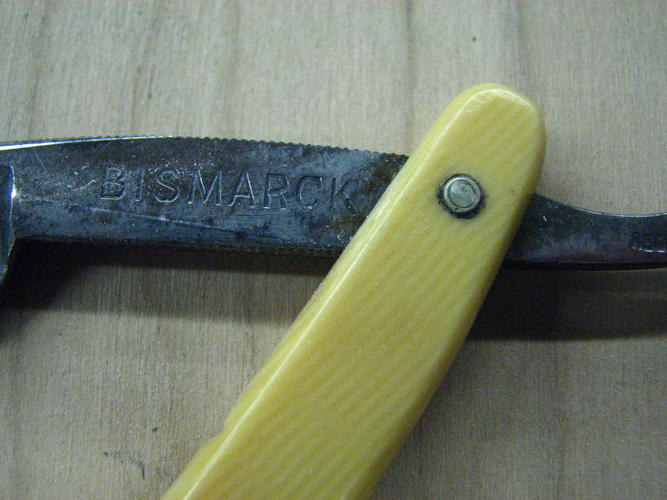
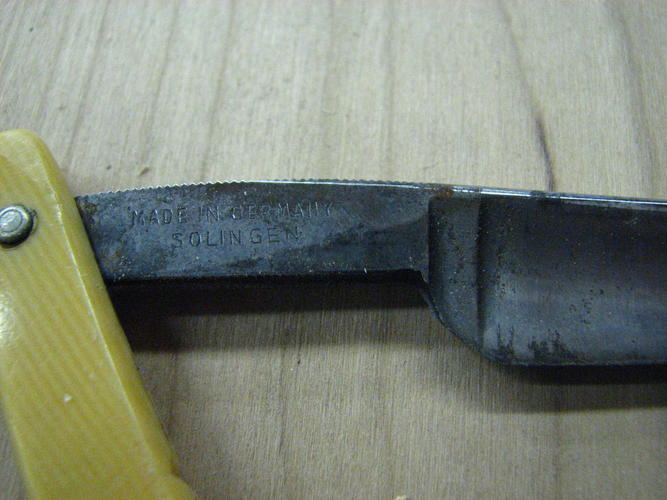
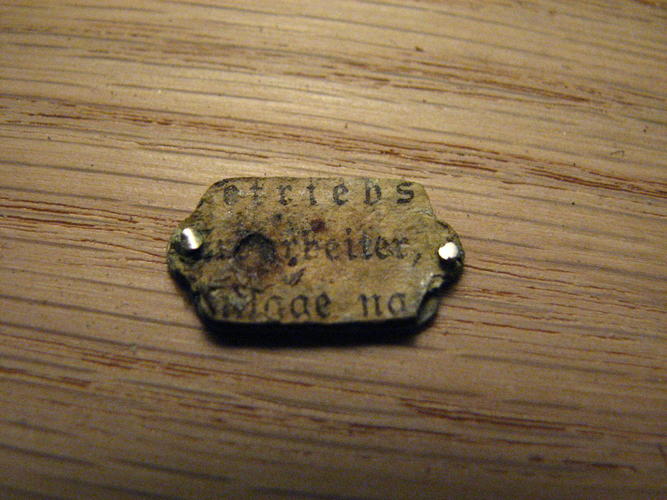
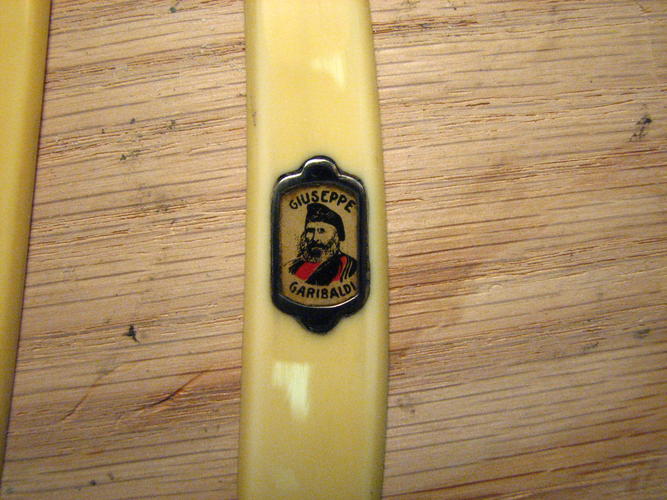
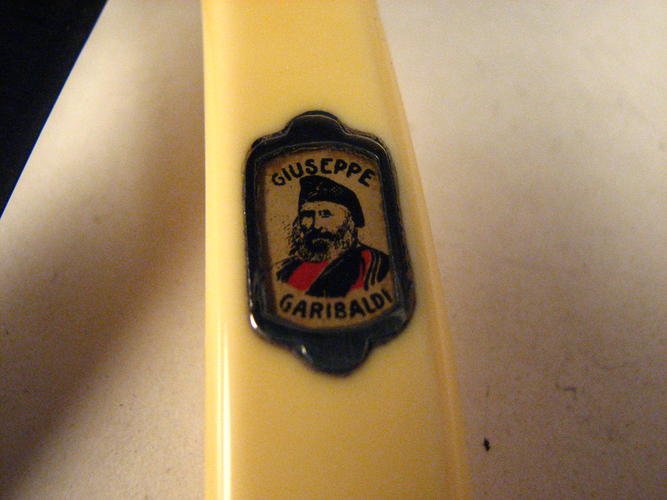
I've always liked these "photo frame" type scales as I don't see them that often. This blade was in decent shape but the scales were so-so.
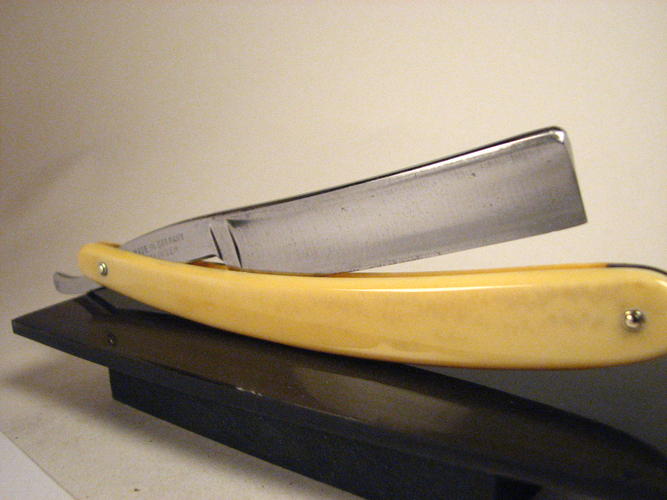
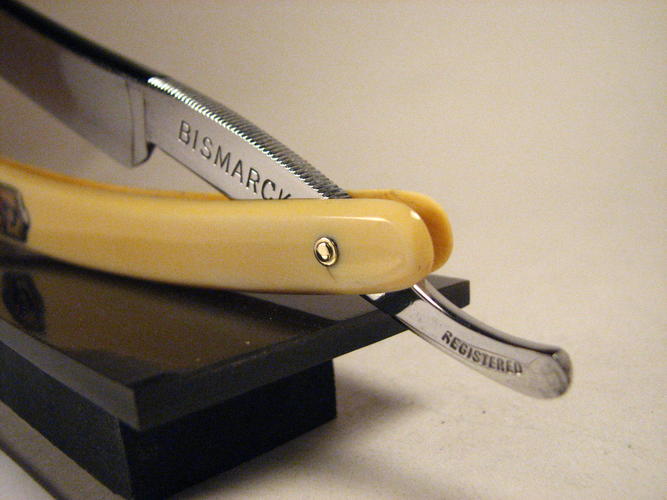
I cleaned up the blade and left it in a brushed finish but polished the spine and shaft.
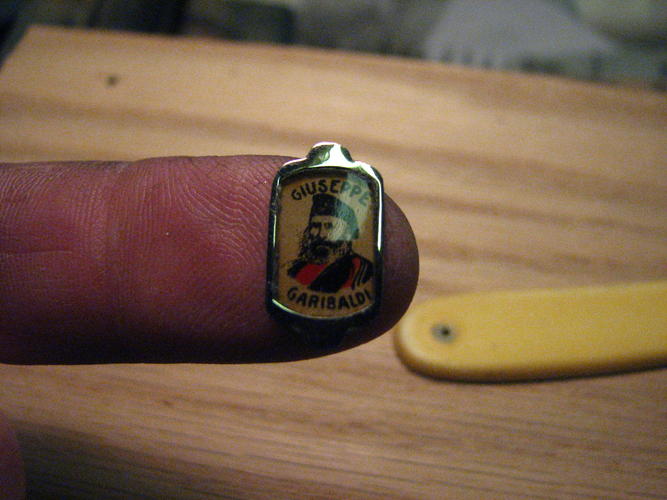
Since I didn't want to use the scales but wanted the photo I went to my to do pile and found a nearly matching color set of scales on another razor. So I took them.
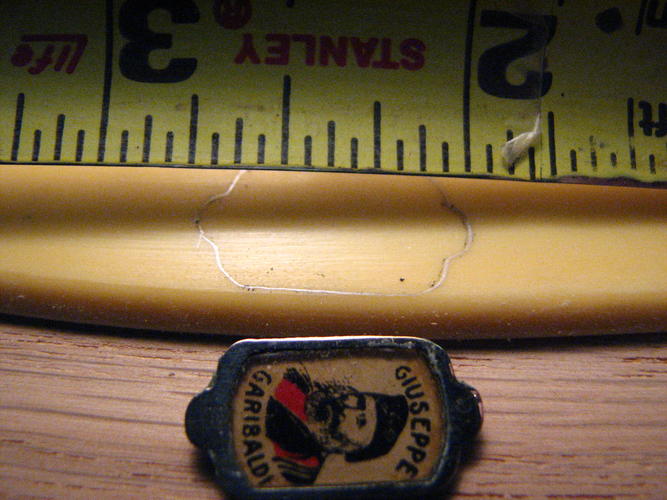
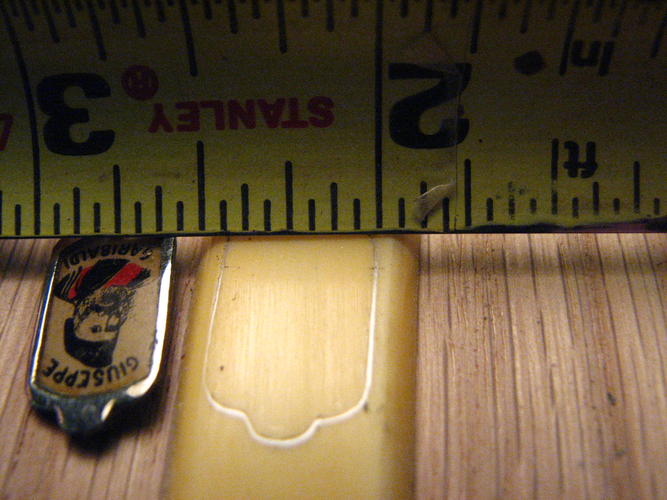
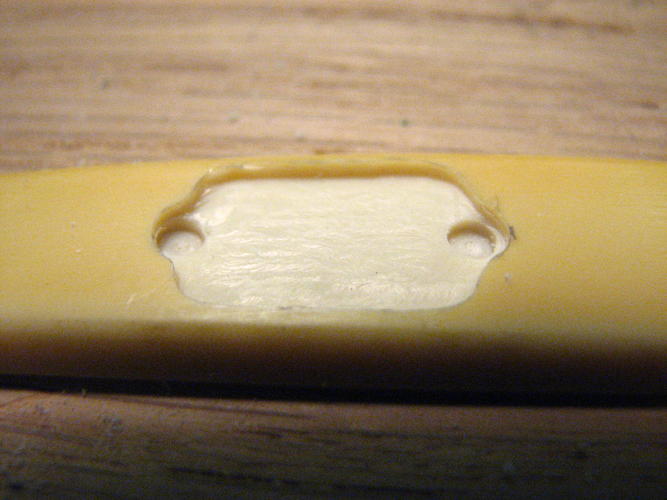
I removed the photo from the original scales and went about making a recess for it to sit in. It has to fit flush.
After a bit of fitting,,,cutting,,fitting etc. I got it to sit flush. And since the posts were gone I made pockets for them to fit into and made the pockets a bit wider on the bottom to act as anchors for the post to fit into when I epoxied it in place.
A fun evening project.
-
02-21-2013, 06:42 AM #2Senior Member
- Join Date
- Apr 2011
- Location
- Bethlehem, Pa.
- Posts
- 950
Thanked: 555
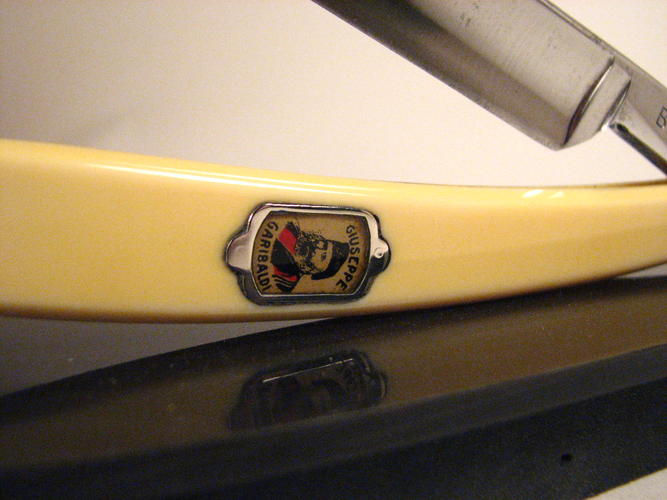
The final steps and razor done.

-
02-21-2013, 10:34 AM #3Lookin like a crim


- Join Date
- Apr 2009
- Location
- Coffs Harbour Australia, Home of the Big Banana
- Posts
- 2,706
Thanked: 1072
Beautiful restoration, and very cool job transfering the photo frame.
Grant"I aint like that no more...my wife, she cured me of drinking and wickedness"
Clint Eastwood as William Munny in Unforgiven
-
02-21-2013, 02:09 PM #4Senior Member

- Join Date
- Nov 2012
- Location
- Long Island/Queens NY
- Posts
- 633
Thanked: 59
beautiful restoration job and great choice of person to put on there as a picture!
-
02-21-2013, 03:28 PM #5Senior Member
- Join Date
- Apr 2011
- Location
- Bethlehem, Pa.
- Posts
- 950
Thanked: 555
The image was already there so it wasn't really my choice. I've seen his image on other razors though.
-
02-21-2013, 04:09 PM #6Senior Member


- Join Date
- Feb 2010
- Location
- California
- Posts
- 4,833
Thanked: 1841
Outstanding with that work. Thanks for sharing.
Bob
"God is a Havana smoker. I have seen his gray clouds" Gainsburg
-
02-21-2013, 04:30 PM #7Senior Member
- Join Date
- Apr 2011
- Location
- Bethlehem, Pa.
- Posts
- 950
Thanked: 555
My pleasure guys, and thanks. It seemed to make more sense than slapping on a set of Micarta or something. I love the old stuff and try to keep it where possible. It's very cool somehow.
-
02-21-2013, 04:45 PM #8Senior Member

- Join Date
- Feb 2012
- Location
- West Midlands, UK
- Posts
- 1,263
Thanked: 360
Can I ask, how did you route out the shape?
-
02-21-2013, 04:49 PM #9Senior Member
- Join Date
- Apr 2011
- Location
- Bethlehem, Pa.
- Posts
- 950
Thanked: 555
I used a tiny ( think dental bit) ball end cutter. Once the main area was relieved I then switched to a square end cutter in a typical router style application. Couldn't breathe while doing this as one little slip and all would be lost. That plastic against a high speed cutter disappears rather quickly!
A bit of a balancing act as too slow the bit wants to grab and walk.. too high and you just make a melted blob on the bit. Diamond cutters just wrapped themselves in melted plastic. Open style cutters at around 20,000 rpm seemed to work best.baldy likes this.
-
The Following User Says Thank You to mycarver For This Useful Post:
pfries (02-21-2013)
-
02-21-2013, 04:58 PM #10Huh... Oh here


- Join Date
- Oct 2011
- Location
- Tri-Cities TN
- Posts
- 2,270
Thanked: 358
Reay nice,
and thanks for the tid bit on the speed with the cutting bit. That will help narrow the learning curve on a few projects I have in mind.


 Reply With Quote