Results 1 to 10 of 16
Threaded View
-
03-01-2013, 11:38 AM #1
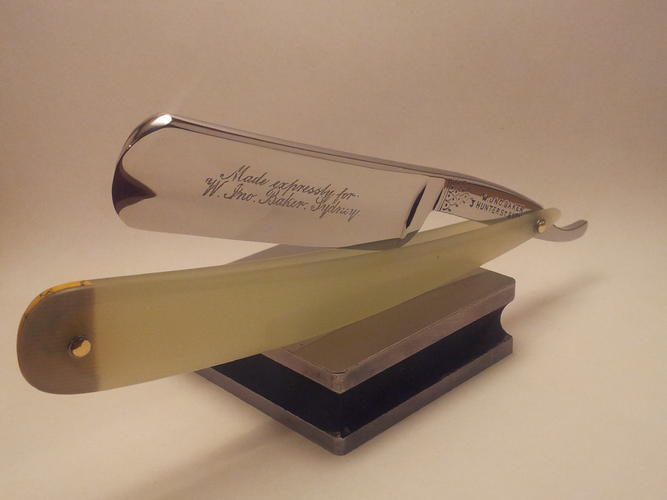
 W. JNO. Baker in natural G10 scales and recon stone wedge
I recently picked up this W. JNO. Baker razor off the bay and wanted to give it an overhaul. This is my first time at fully custom restoring a razor. I have simply polished most of the dirt and grime off of a couple razors so far but had yet to make scales and fully finish cleaning up a blade. Here are the ebay pics of what the razor looked like when I first got it. I made the rookie mistake of forgetting to take my own before shots and so had to rely on these lol.
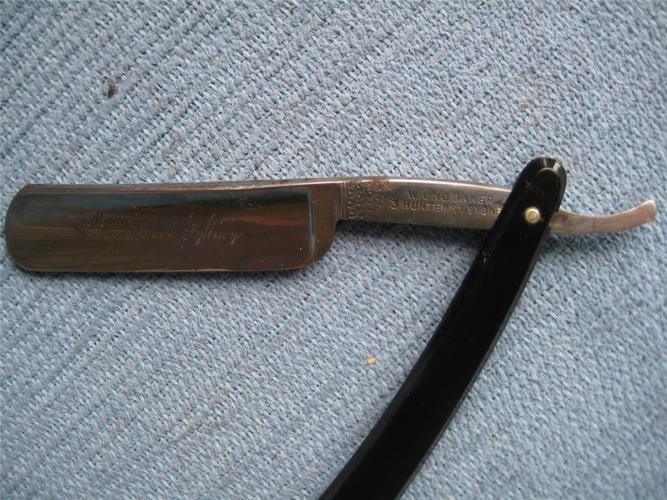
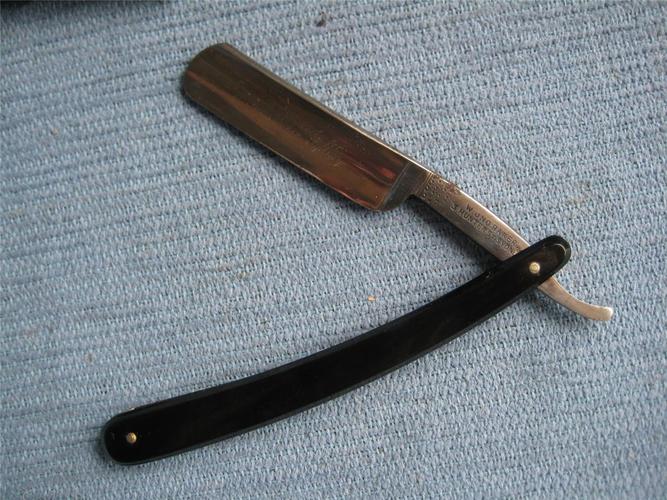
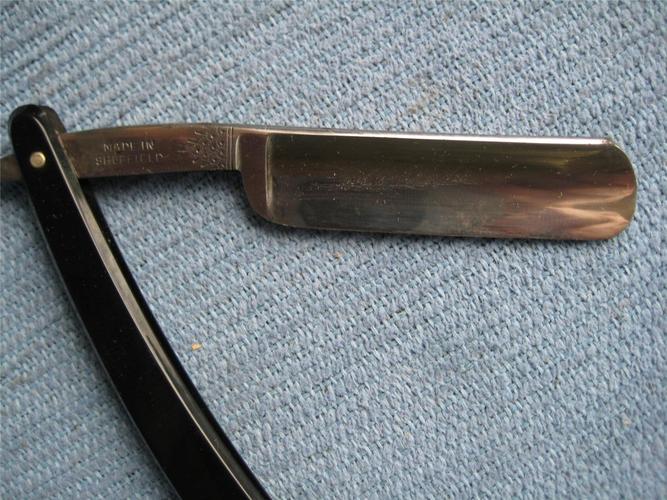
I finished this one yesterday but have only had the chance to do this write up tonight after work. This has been a huge learning experience that you canít get from just reading, itís something that has to be done. I am a bit of a perfectionist in a lot of things so my first attempt leaves me both immensely proud of myself but also slightly annoyed that I couldnít get everything perfect! lol.
lol.
Ok.
I removed the scales and then decided I wanted to make some scales so I used some natural colour G-10 with a recon/tru stone for the wedge. I traced out the blade on some paper and made the scale shape I wanted to fit the razor and stuck this onto some 1/8Ē G-10 and then went at it with a coping saw fitted with a hacksaw blade.....FAIL!!!
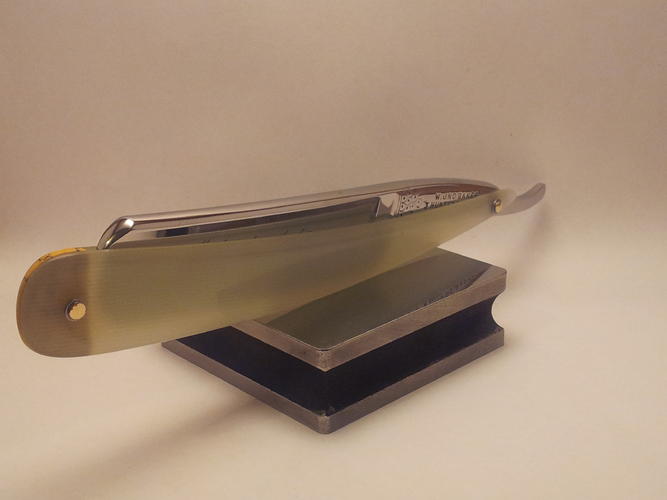
This stuff is HARD. I have been meaning to for a while but this stuff made me finally pull the pin on getting a dremel to cut out a rough cut of the scale. Once I had both sides, I used double sided tape to fix them together and drill out my pin holes and then use the dremel to rough grind the scales closer to the exact shape I wanted. Once I had done this I took them apart and taped them to a flat piece of wood and sanded down to the thickness I wanted, about 0.91 in the thickest part and tapering down towards to the toe and pivot. I realise that I did this in the wrong order as I had to put them together again to finish the shaping and what not, but hey, itís all a learning experience and I learnt a lot haha. I started hand sanding at 120 and went through to 1200 as that is the highest grit I seem to be able to find in SA at any store I have been to. Iíll have to buy it online I guess. I then cut out a piece of my recon stone and fitted it according to Bradís/Undreamís method but also sanding the entire wedge up to 1200 so more pattern was visible through the scales.
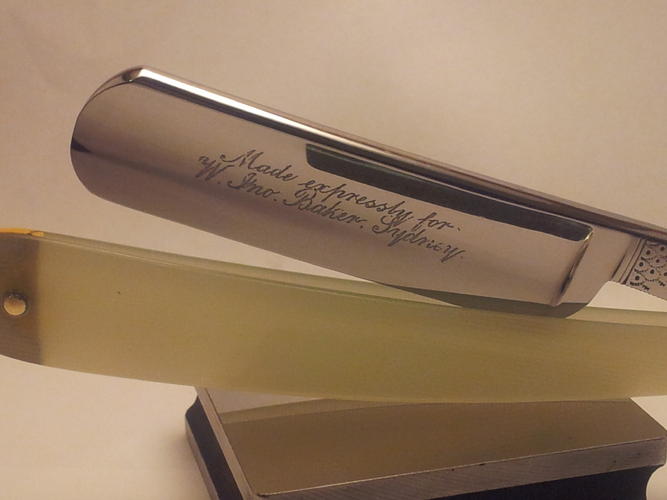
After this, I attacked the razor itself but as it was already in pretty good condition I only sanded the tang and spine in lower grits, working from 150 through to 1200 again, leaving only a smidge of pitting so that if anyone looked real close there was some markers of its age. Or was I just sick of hand sanding...
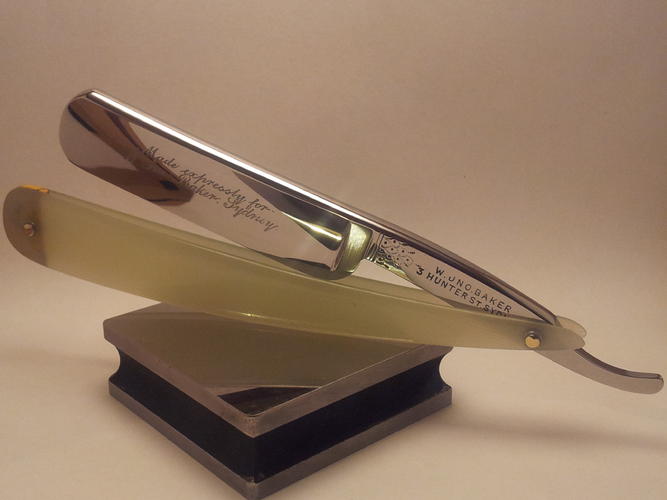
The blade of the razor I only touched with 1200 grit as that is all I thought it needed and I did not want any chance of losing the lovely etching.
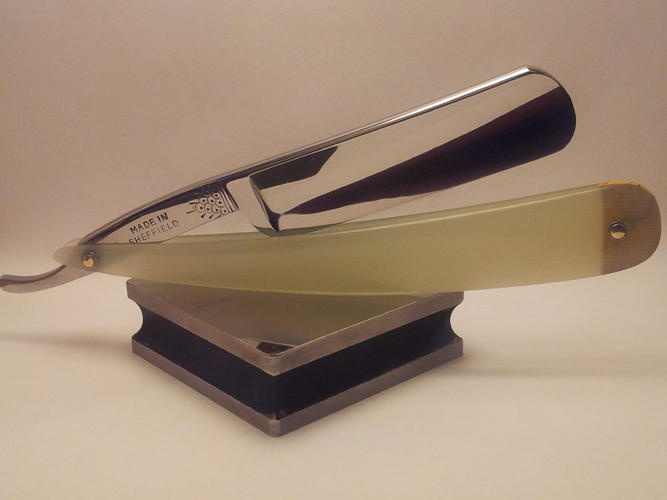
Once I had finished sanding and polished the razor with some autosol I mocked it all up with micro fastener bolts to get a look at it all. I liked it but was not completely happy with the wedge as it sat in the scales just a smidge more than I wanted. So I went back online and read up on fitting wedges and read about Glenís/Gssixgunís (and others), approach, so got out my callipers and went back to sanding the wedge down to around the right specifications and then mocked it up again. The blade sat up just ever so slightly more than before which put it right where I wanted it.
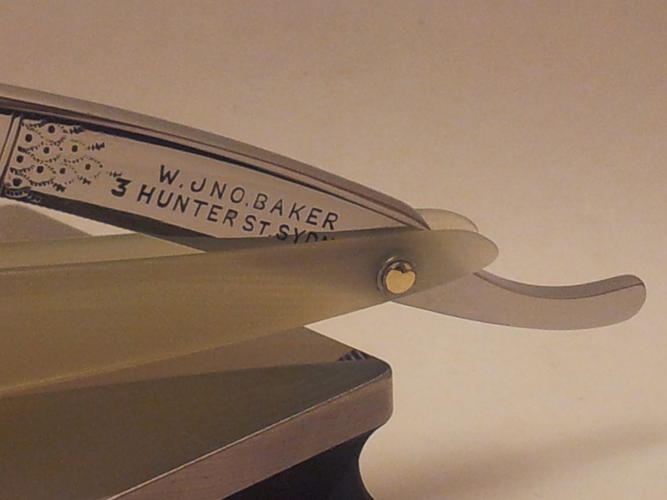
I decided that i wanted to use brass pins as that is what came out of it originally but I wanted to use double stacked stainless steel washers to give it a two-tone colouring that sort of tied in with the effect of the wedge, Plus I thought it looked good.
I read that you should practice pinning on popsicle sticks before you try a razor but as I was getting impatient and wanted to just get it done. I have been flat out for the past two weeks with work, getting ready to go back to uni, spending time with the gf, martial arts training, i get very little time to work on anything so every spare minute has been going into this for the past week or so to finish it! So to stop babbling, I just went straight to pinning on the razor for the first time... I call it a success and a failure. The wedge end tightened up to staying in place well but the scales could still move when I twisted them so I kept on tapping and tapping and tapping. It didnít want to tighten up any more than this but the pin was really starting to spread out, especially on the back side as I think I left a little too much pin pocking out when I started so I decided to just peen it over the entire first washer. It came out pretty well I thought .
.
The pivot end was a little different. I think I didnít quite have enough pin on the back to match the wedge end properly but I tried. I think that it will need to be re-done in the future on the pivot as it ended up being peened out a little thin on the back of the razor, but it holds strong still. In one of the pics you can see the circle mark of the pin in the middle so I donít know how this will hold over time, especially with re-tightening. Iíll find out though I guess .
.
Ok, I have blabbed on long enough, here are the pics!!!
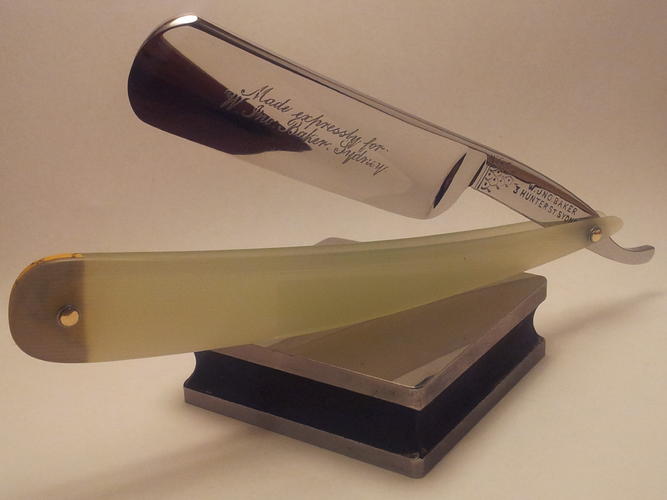
Continue...V


 20Likes
 LinkBack URL
 About LinkBacks


 Reply With Quote