
Results 1 to 10 of 20
 9Likes
 LinkBack URL
 About LinkBacks
-
04-04-2013, 10:58 AM #1Scheerlijk


- Join Date
- Feb 2013
- Location
- The Hague, the Netherlands
- Posts
- 1,184
Thanked: 164 Karl Plümacher all-Dremel restore
I know it's a provocative title, but I wanted to give it a try. I had bought a lot of 10 razors at 55 euros, so I figured I could ruin one. Also, "all-Dremel" is of course a lie, I still did the scales mostly by hand.
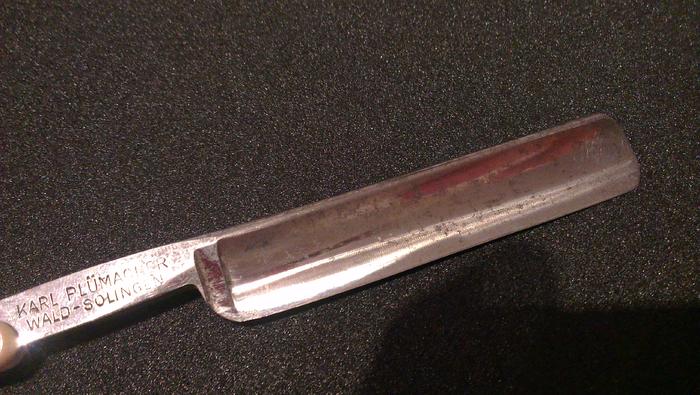
I removed some rust and most of the patina with just some polish, after which it looked like this. Bad lighting, the spots were pretty dark in real life.
I started off on the wrong foot, using normal Dremel accessories and making the typical wavy pattern on the blade (no pics of that). Then I found a tutorial on making sanding drums (http://straightrazorpalace.com/works...-tutorial.html) which turned out to be very useful. I managed to reduce the wavy pattern a lot with just a 180 grit sanding drum at 10000 rpm, after which it looked quite shiny already:

I moved up to 1000 grit, but the sanding paper wore out so quickly, I'm not sure how reliable it was. I polished with a Dremel felt wheel and some pretty cheap metal polish.
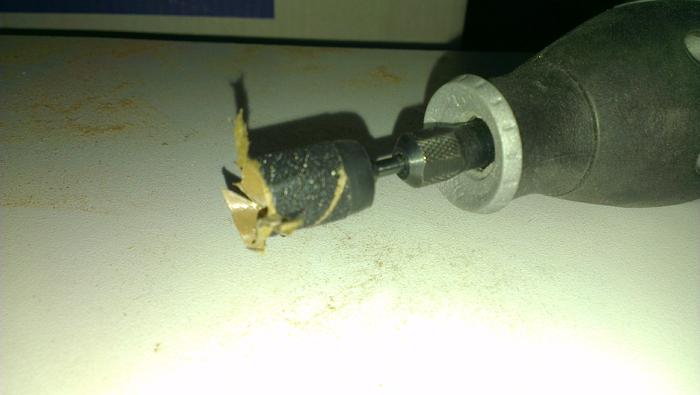
The sanding drum looked like this after I blew it, but it did not come off while spinning:
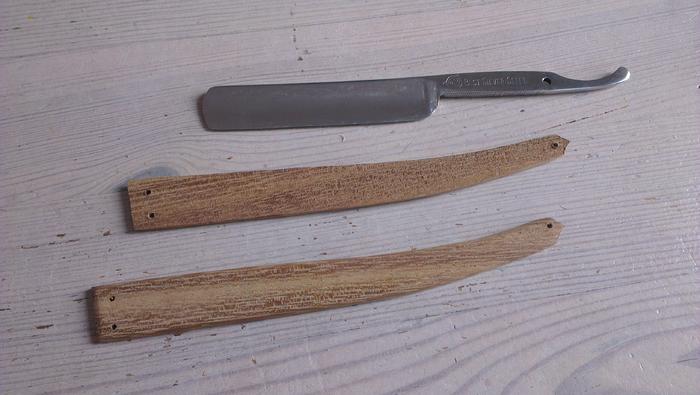
I found some free wood, I believe walnut, at a large retailer and cut out the scales and wedge by hand. I had to do the wedge twice, accidentally breaking the first during pinning. After that, I decided to drill larger holes (2mm instead of 1.5mm) in the wedge to prevent it from happening again, which worked just fine. This picture is before lacquering:
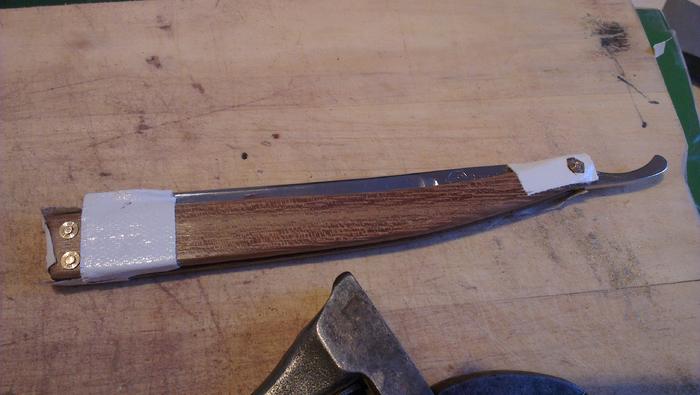
During pinning, I protected the scales from the file and hammer with some tape, after having made some scratches and dents on my first rescale. I will be doing this again, it worked well for me
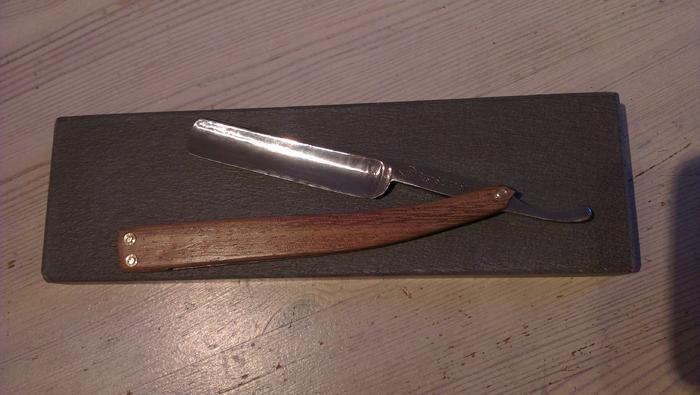
The end result was quite pretty, except for the pinning. I have just received my chasing hammer and the pins look a bit better than on this picture:
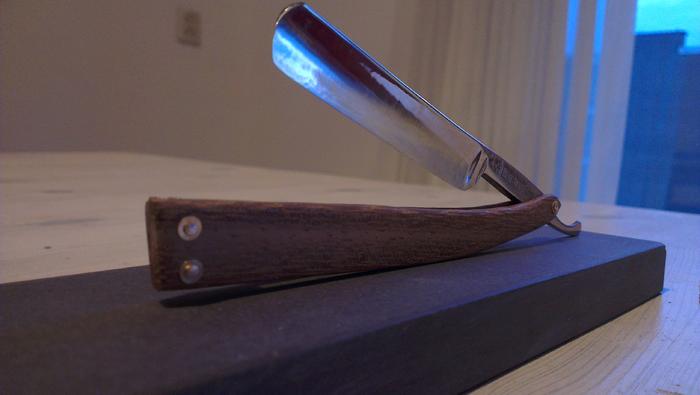
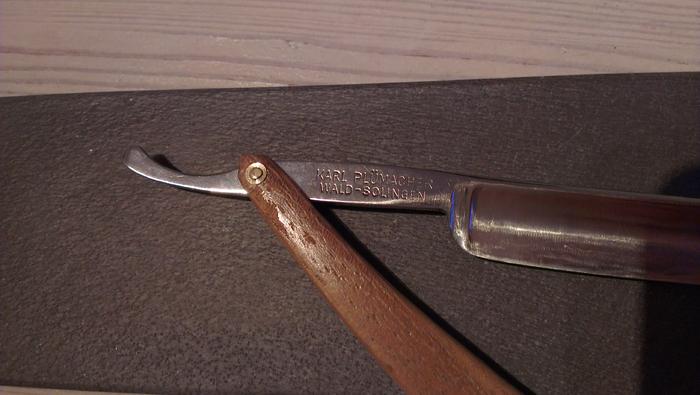
Just like brooksie967 (http://straightrazorpalace.com/razor...-solingen.html), I found this Karl Plümacher took an exceptionally thin bevel.
Unfortunately, the shave was lousy and it got spots within the 25 minutes I used it. I polished away the spots and will be taking it back to the hones soon. It lacked sharpness, I'm still learning to hone.
-
04-04-2013, 11:03 AM #2Scheerlijk
- Join Date
- Feb 2013
- Location
- The Hague, the Netherlands
- Posts
- 1,184
Thanked: 164
More pics:

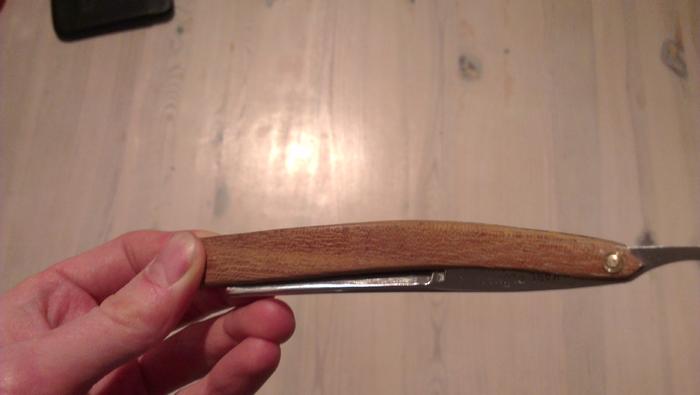
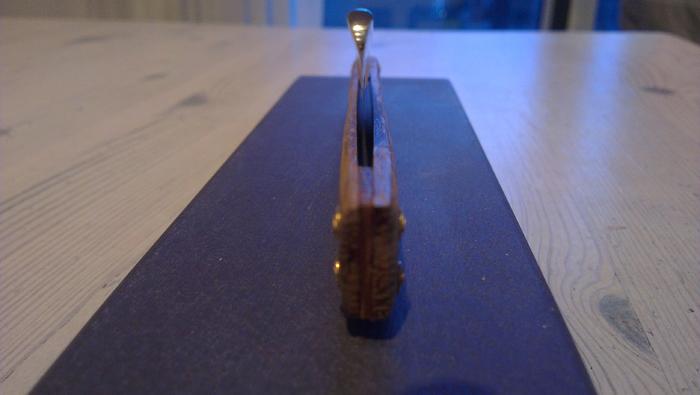
The scales catch the light differently under different angles
-
The Following User Says Thank You to Laurens For This Useful Post:
kratos86 (04-05-2013)
-
04-05-2013, 10:54 AM #3Senior Member

- Join Date
- Feb 2012
- Location
- West Midlands, UK
- Posts
- 1,263
Thanked: 360
I have a couple of suggestions - please don't take them as criticisms. When you shape the scales - do them as one by using double sided tape. This will ensure that they are uniform and you should also drill pivot and wedge holes while the scales are taped together so that they align perfectly.
The washers look as though they are too large so take a look at the Microfasteners site - I'm in the UK and found it's worth the extra shipping time to get exactly what you want.
Regards, Rob
-
The Following User Says Thank You to UKRob For This Useful Post:
Laurens (04-05-2013)
-
04-05-2013, 11:50 AM #4Scheerlijk
- Join Date
- Feb 2013
- Location
- The Hague, the Netherlands
- Posts
- 1,184
Thanked: 164
I did use doubled-over normal tape for the shaping and drilling, but it would still shift a little, making for small imperfections. One time soon I will try not to forget buying double sided tape
Thanks for the tip on the washers. It had not occurred to me, mainly because I had had a hard time finding the right material in the Netherlands (to whom it may concern: stafmateriaal messing P100 1.5 mm and sluitringen DIN 125B 1.4 mm at microscrews.nl) and was happy I at least had something to work with. I will order some screws and bolts along with them as adjustable pins, which should make shaping the wedge a lot easier.Sunbird likes this.
-
04-05-2013, 02:37 PM #5Senior Member

- Join Date
- Jan 2012
- Location
- Los Angeles
- Posts
- 338
Thanked: 21
Looks good. Good job!
-
The Following User Says Thank You to TucoRamirez For This Useful Post:
Laurens (04-05-2013)
-
04-05-2013, 09:33 PM #6Senior Member

- Join Date
- Feb 2013
- Location
- Tuscany, Italy
- Posts
- 336
Thanked: 40
Good work!!!
i 'm afraid of dremel...so i use always my hands "Consider well the seed that gave your birth: you were not made to lives as brutes,but to following virtue and knoweledge"
Dante's The Divine Comedy:Inferno XXVI.
-
The Following User Says Thank You to kratos86 For This Useful Post:
Laurens (04-05-2013)
-
04-06-2013, 07:09 PM #7Senior Member


- Join Date
- Sep 2011
- Posts
- 1,650
Thanked: 1342
What I usually do is cut out the very rough shape, drill first, then bolt the scales together with the micro screws and shape the edges how I want them. Then once I know they are equal I take them apart and shape the flat faces. Originally Posted by Laurens

-
04-07-2013, 11:04 PM #8Scheerlijk
- Join Date
- Feb 2013
- Location
- The Hague, the Netherlands
- Posts
- 1,184
Thanked: 164
Do/would you also drill first if you use double pins like I did on this one? Originally Posted by ScienceGuy
-
04-08-2013, 03:44 AM #9Senior Member
- Join Date
- Sep 2011
- Posts
- 1,650
Thanked: 1342
I have done a few with double pins, and yeah, I drilled them first. It didn't add any extra difficulty. The bolts just hold the scales together much better than tape. Originally Posted by Laurens
-
04-08-2013, 04:15 AM #10The Great & Powerful Oz


- Join Date
- May 2008
- Location
- Bodalla, NSW
- Posts
- 15,638
Thanked: 3751
10000rpm on a dremel. Wow ! How did you gauge the heat at the edge during this process.
The white gleam of swords, not the black ink of books, clears doubts and uncertainties and bleak outlooks.


 Reply With Quote